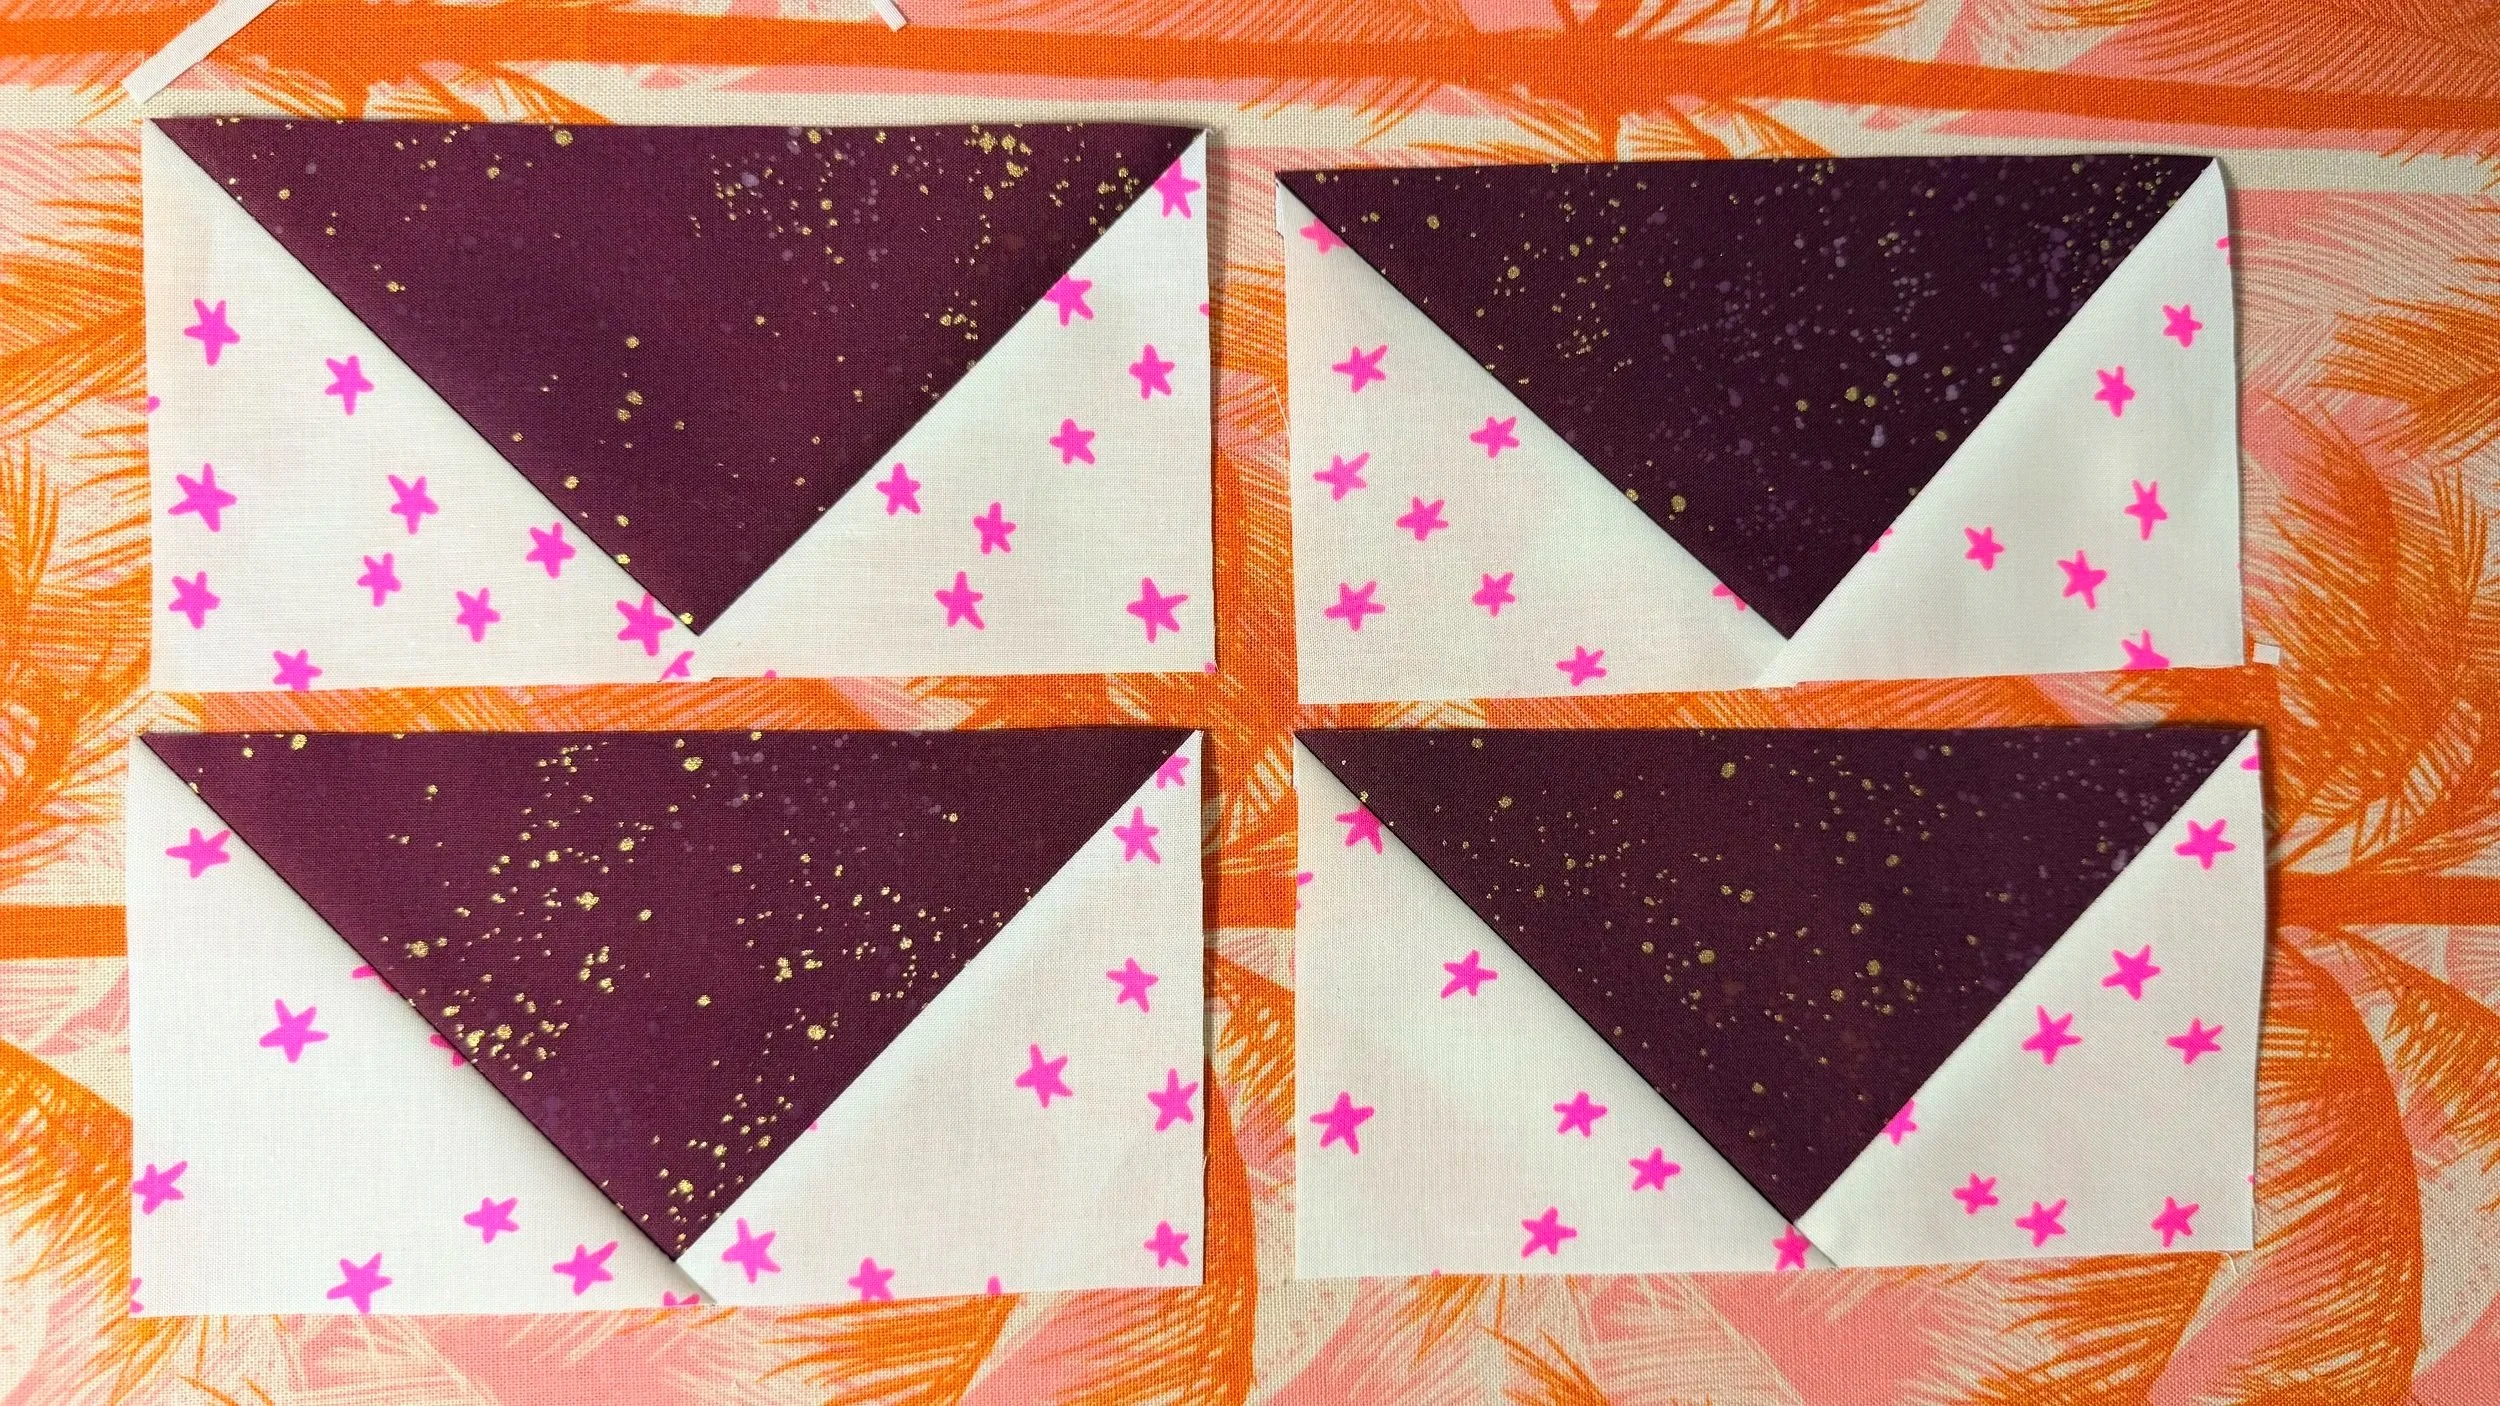
Trimming 4-at-a-Tiime Flying Geese
Click HERE for a FREE printable PDF with handy diagrams for trimming your flying geese using a regular quilting ruler!
Click HERE for a video tutorial on TikTok! Note: the blocks trimmed in the video are a different size from the ones trimmed below, but the same principles apply.
This blog post will have a little more detail for those of us who like a good storytime!
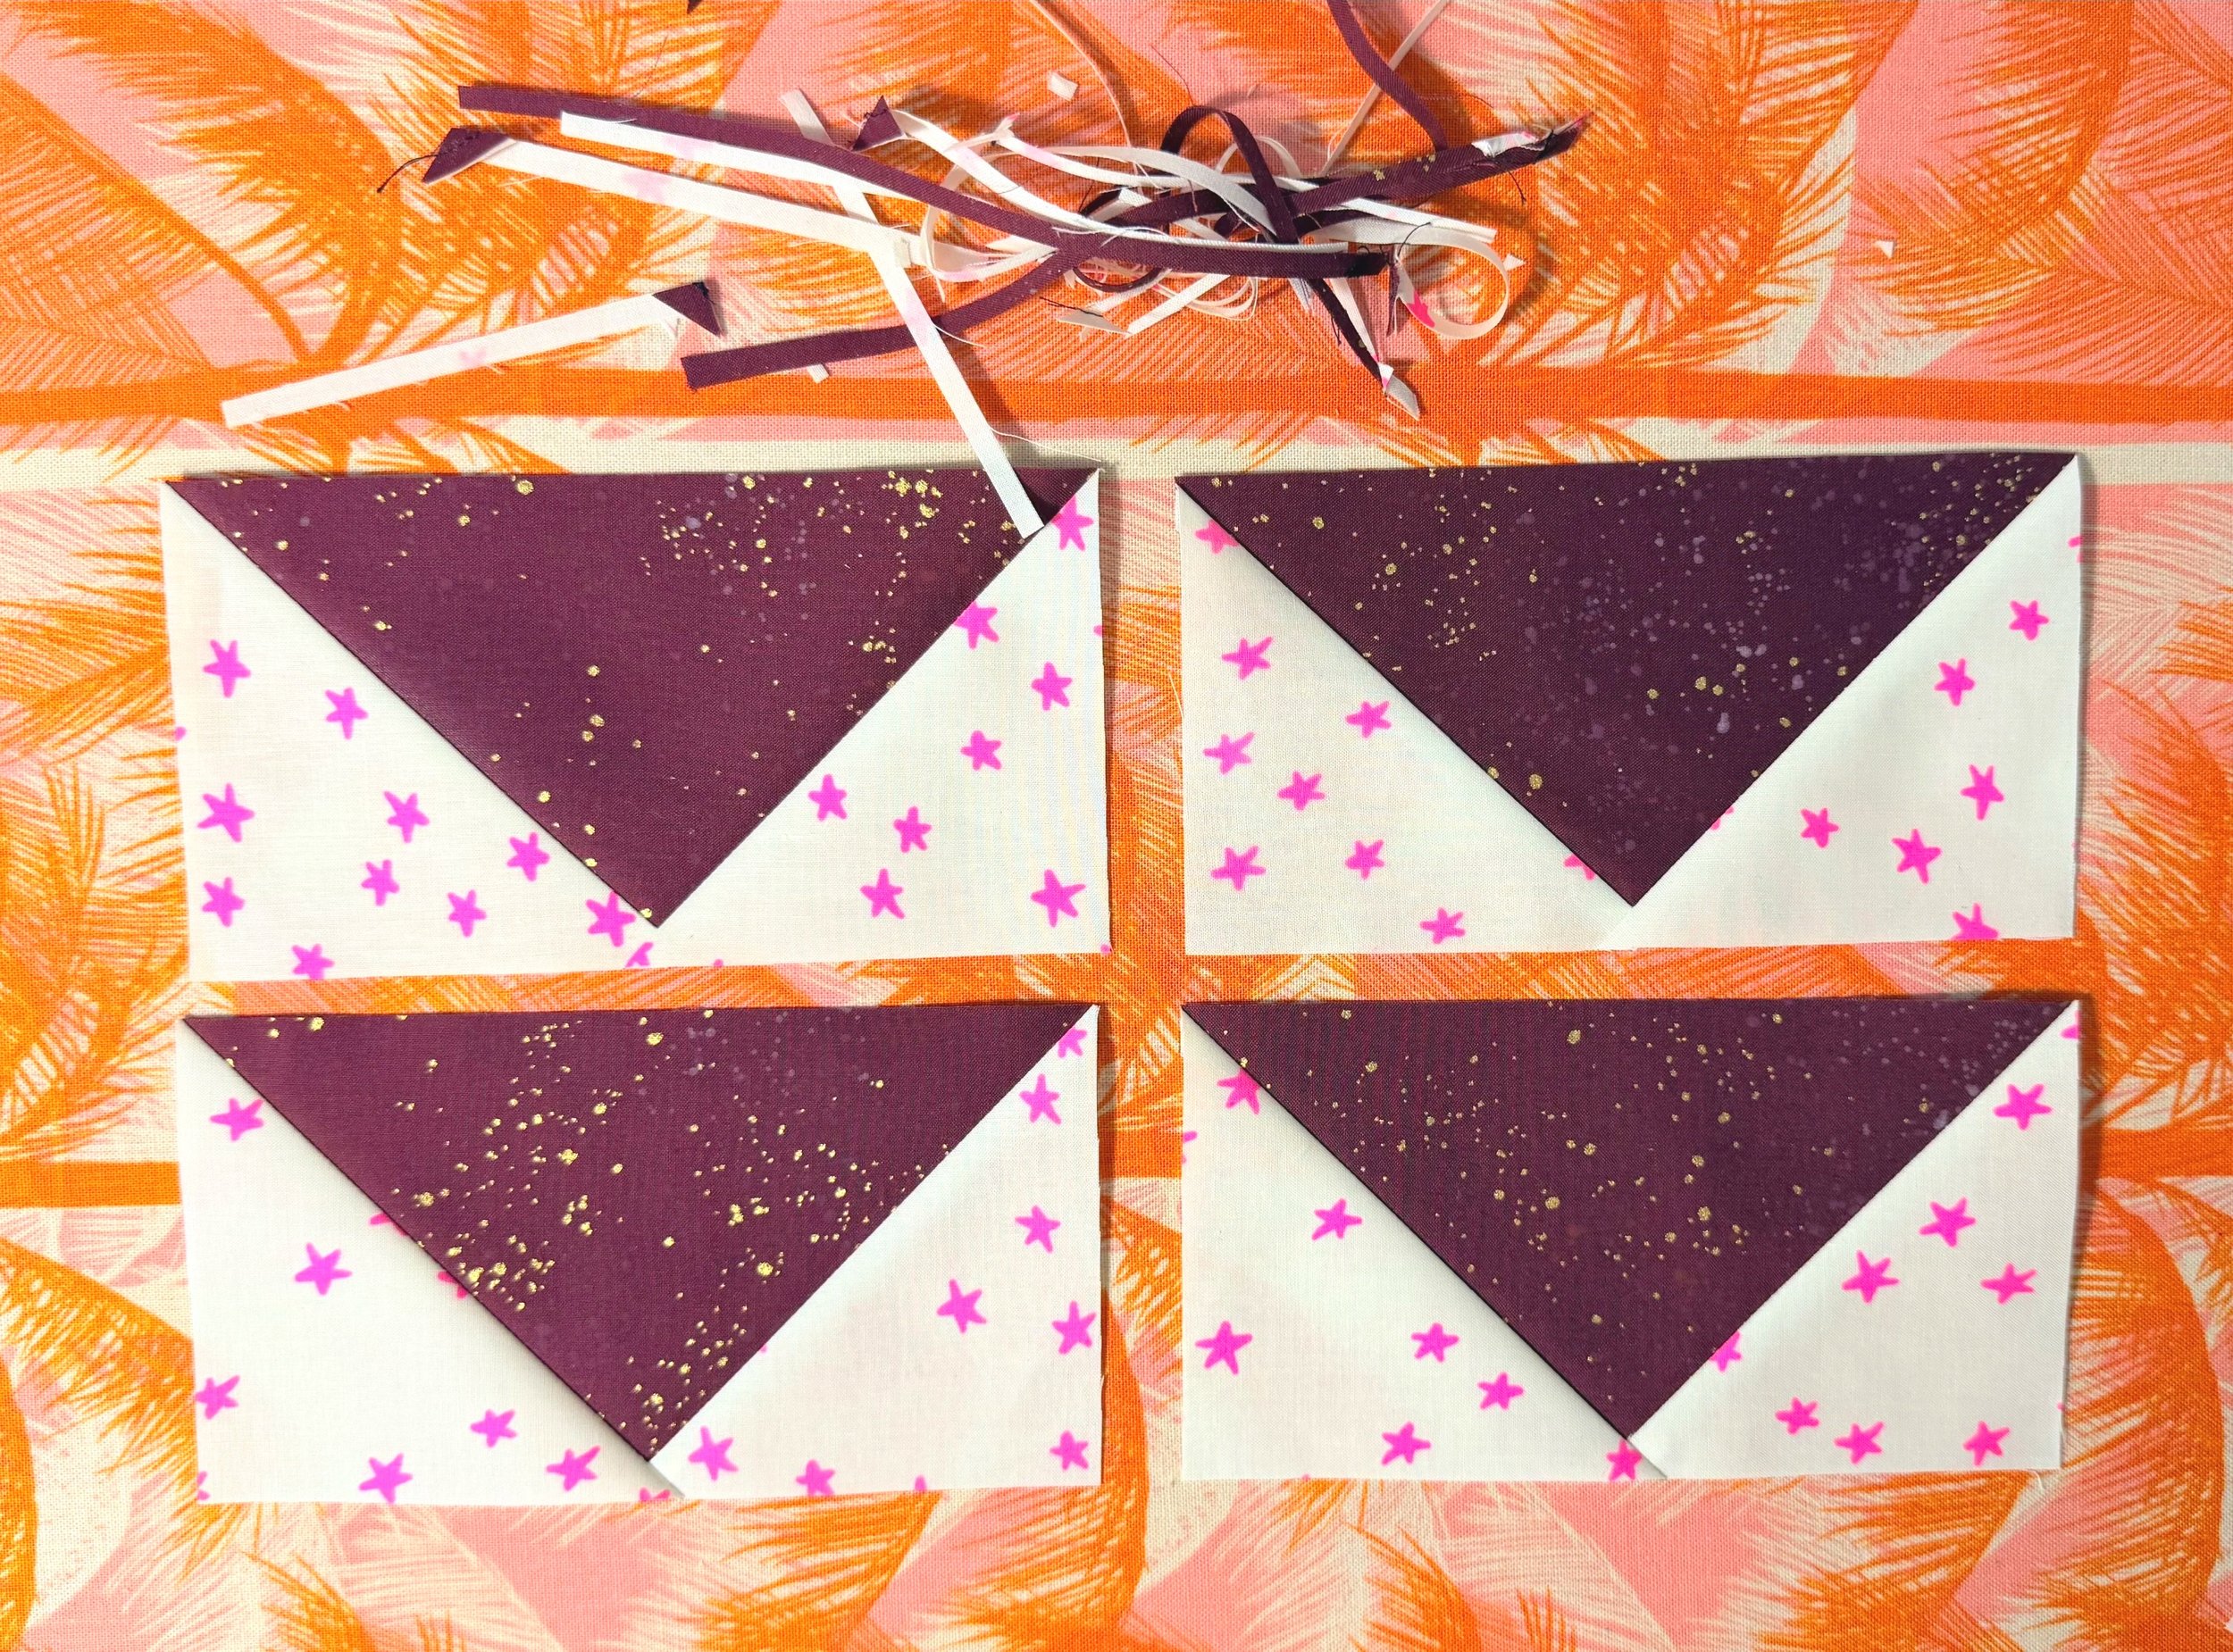
What you’ll need:
ruler*
self-healing cutting mat
washi tape or masking tape
dry erase marker or permanent marker
rubbing alcohol (this—or from what I have heard, a dry erase marker—will erase permanent marker off a ruler when you’re done)
rotary cutter with a fresh blade, especially if you have lots of geese to trim
geese to trim—see previous post!
*Trimming flying geese can be done pretty easily with a specialty ruler, but I don’t like instructing people to guy buy a $30 ruler to make my patterns unless it’s absolutely necessary. If you have the fancy ruler, you don’t need this tutorial—g’bye!
Good news for the rest of us—you can use a regular quilting ruler! You can trim your geese with any square ruler that is at least as big as your geese (I prefer a tick bigger) AND that has a 45-degree line that extends all the way to the upper-right corner of the ruler. The instructions below for marking up your ruler will transform that regular quilting ruler into your own custom flying geese trimmer, and you can go spend that $30 on fabric! You’re welcome. But you may decide that, if you enjoy patterns with flying geese, the specialty ruler might be worth investing in. That’s totally up to you!
Marking up your ruler
If you have a lot of geese to trim, I highly recommend marking up your ruler to reduce the mental load of trimming and greatly reduce trimming errors.
Determine from your pattern the trim dimensions of your block. ALL flying geese finish at a 1:2 ratio (e.g. 3” x 6”, 4” x 8”). But the trim size will be ½” bigger on each dimension. So a 3” x 6” finished block will be trimmed to 3.5” x 6.5”.
Note: For this tutorial, the larger of the 2 trim dimensions will be referred to as the trim width. The smaller will be the trim height.
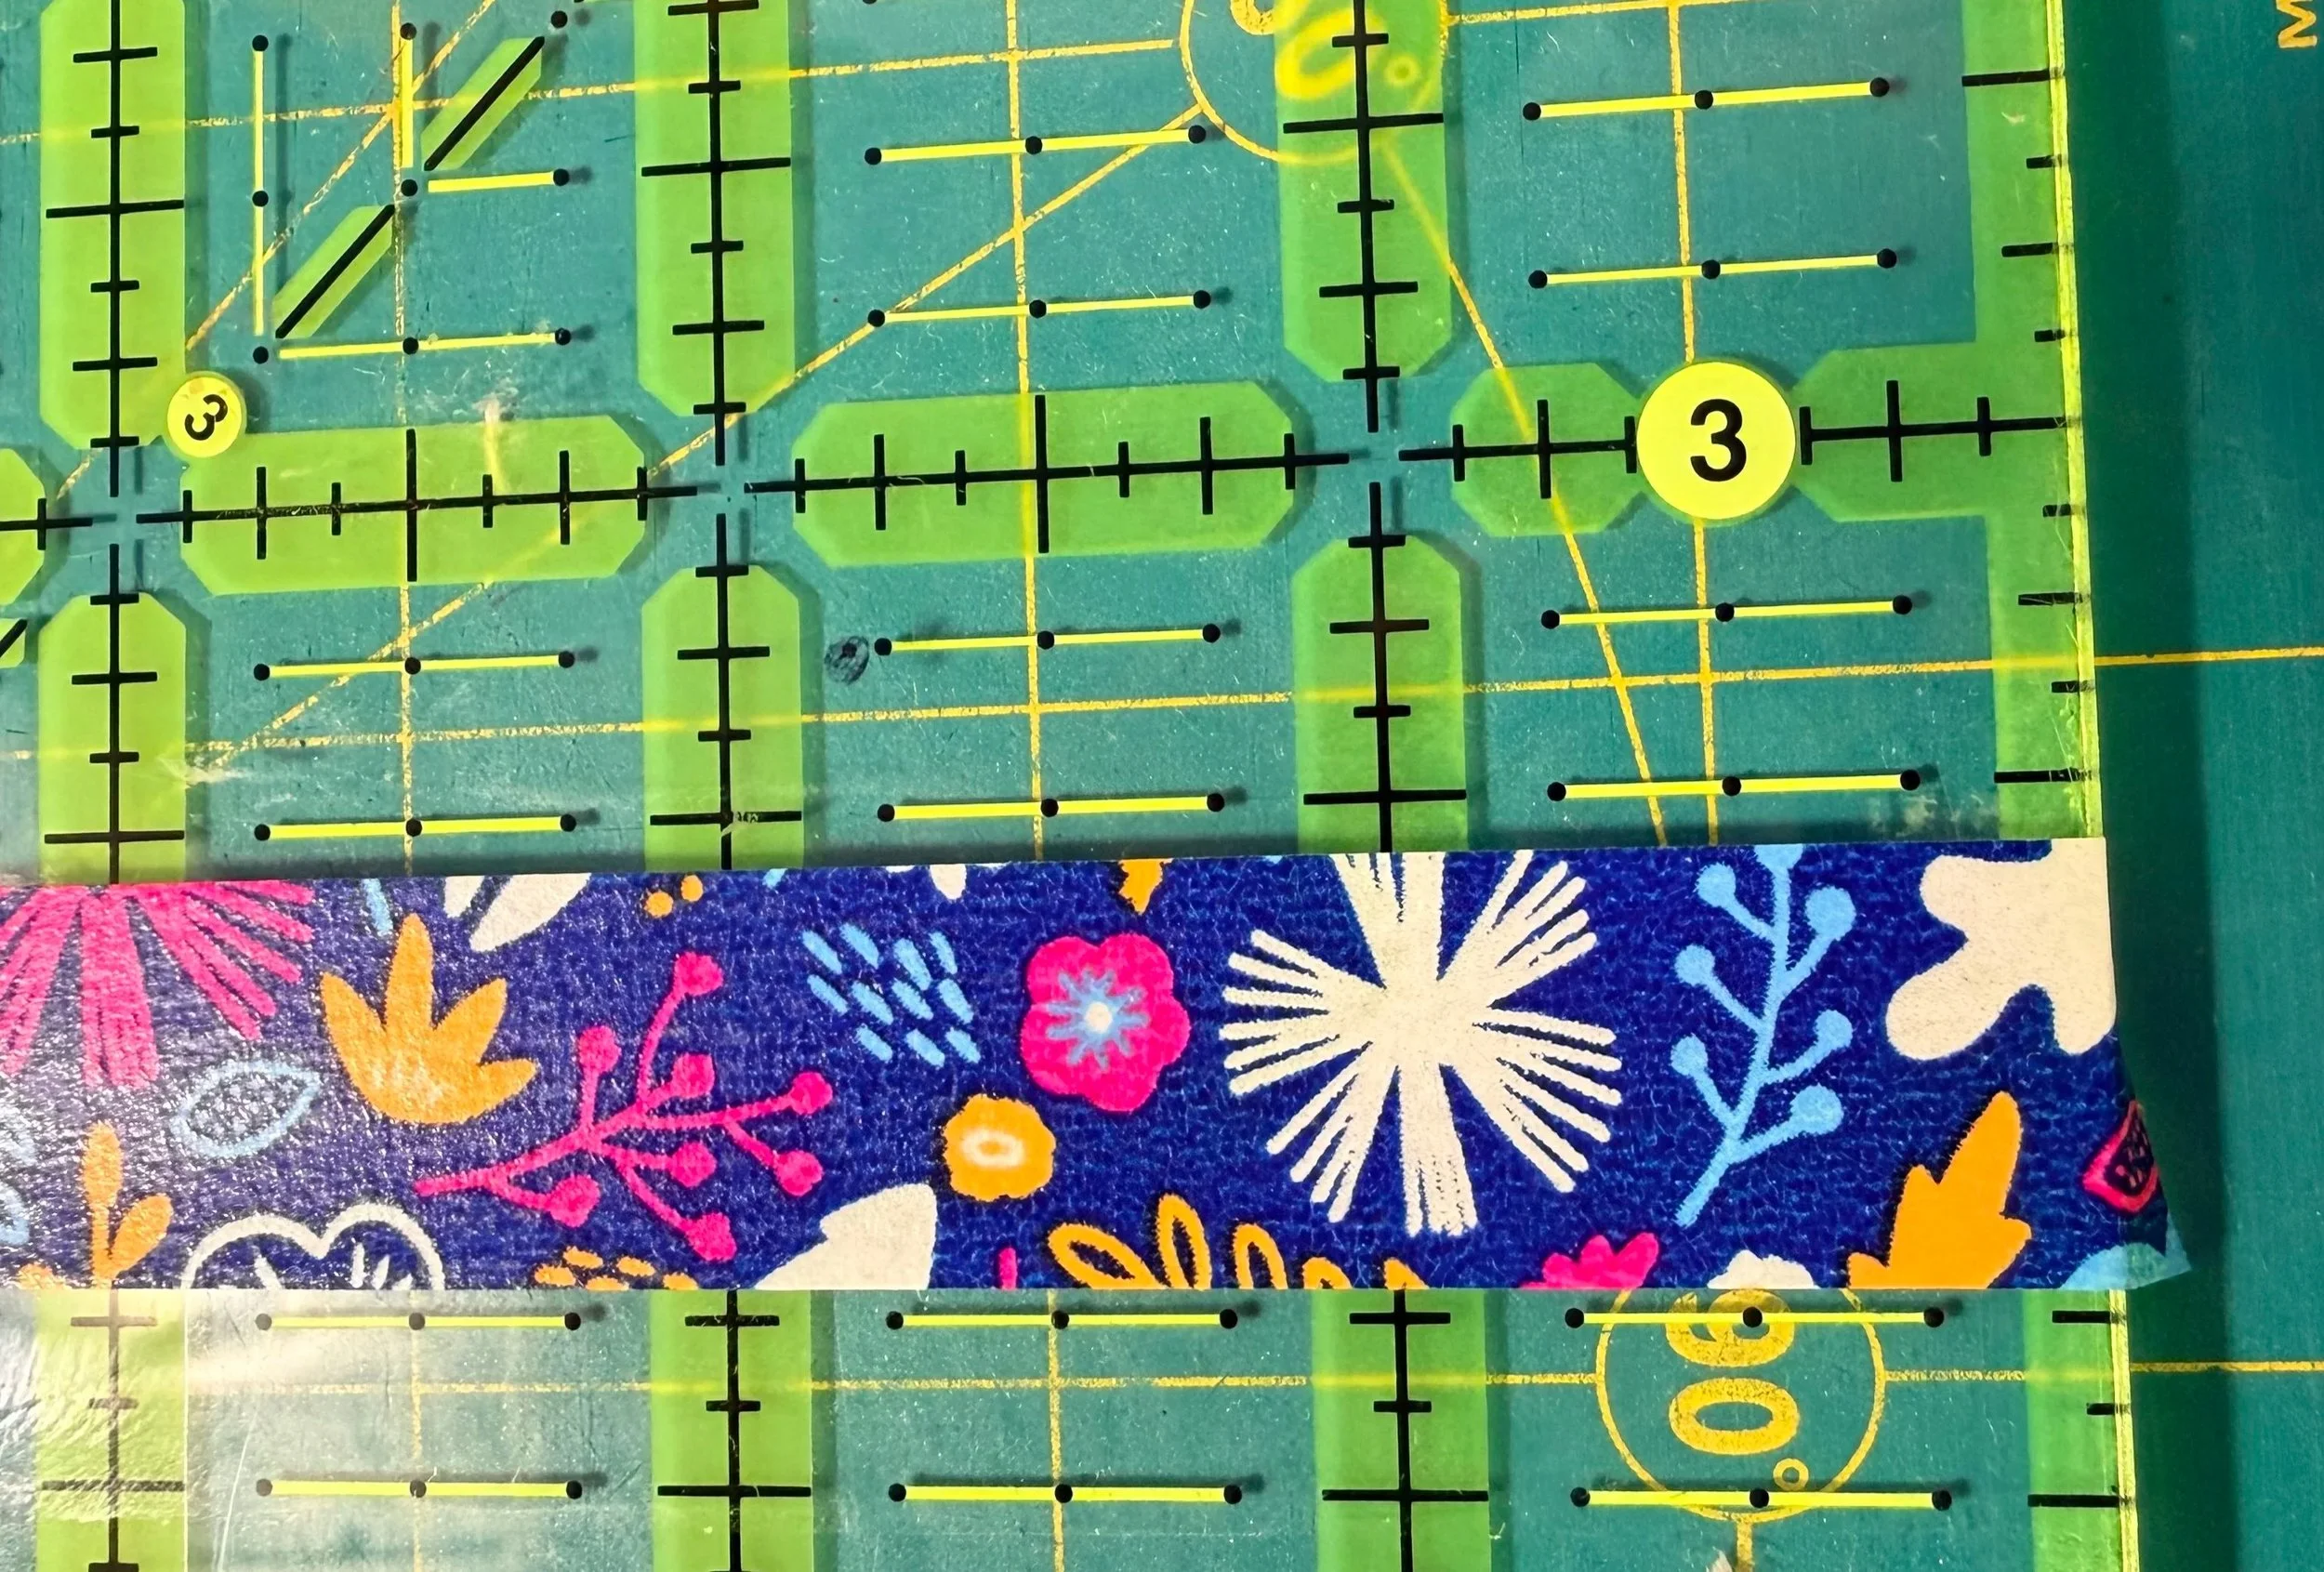
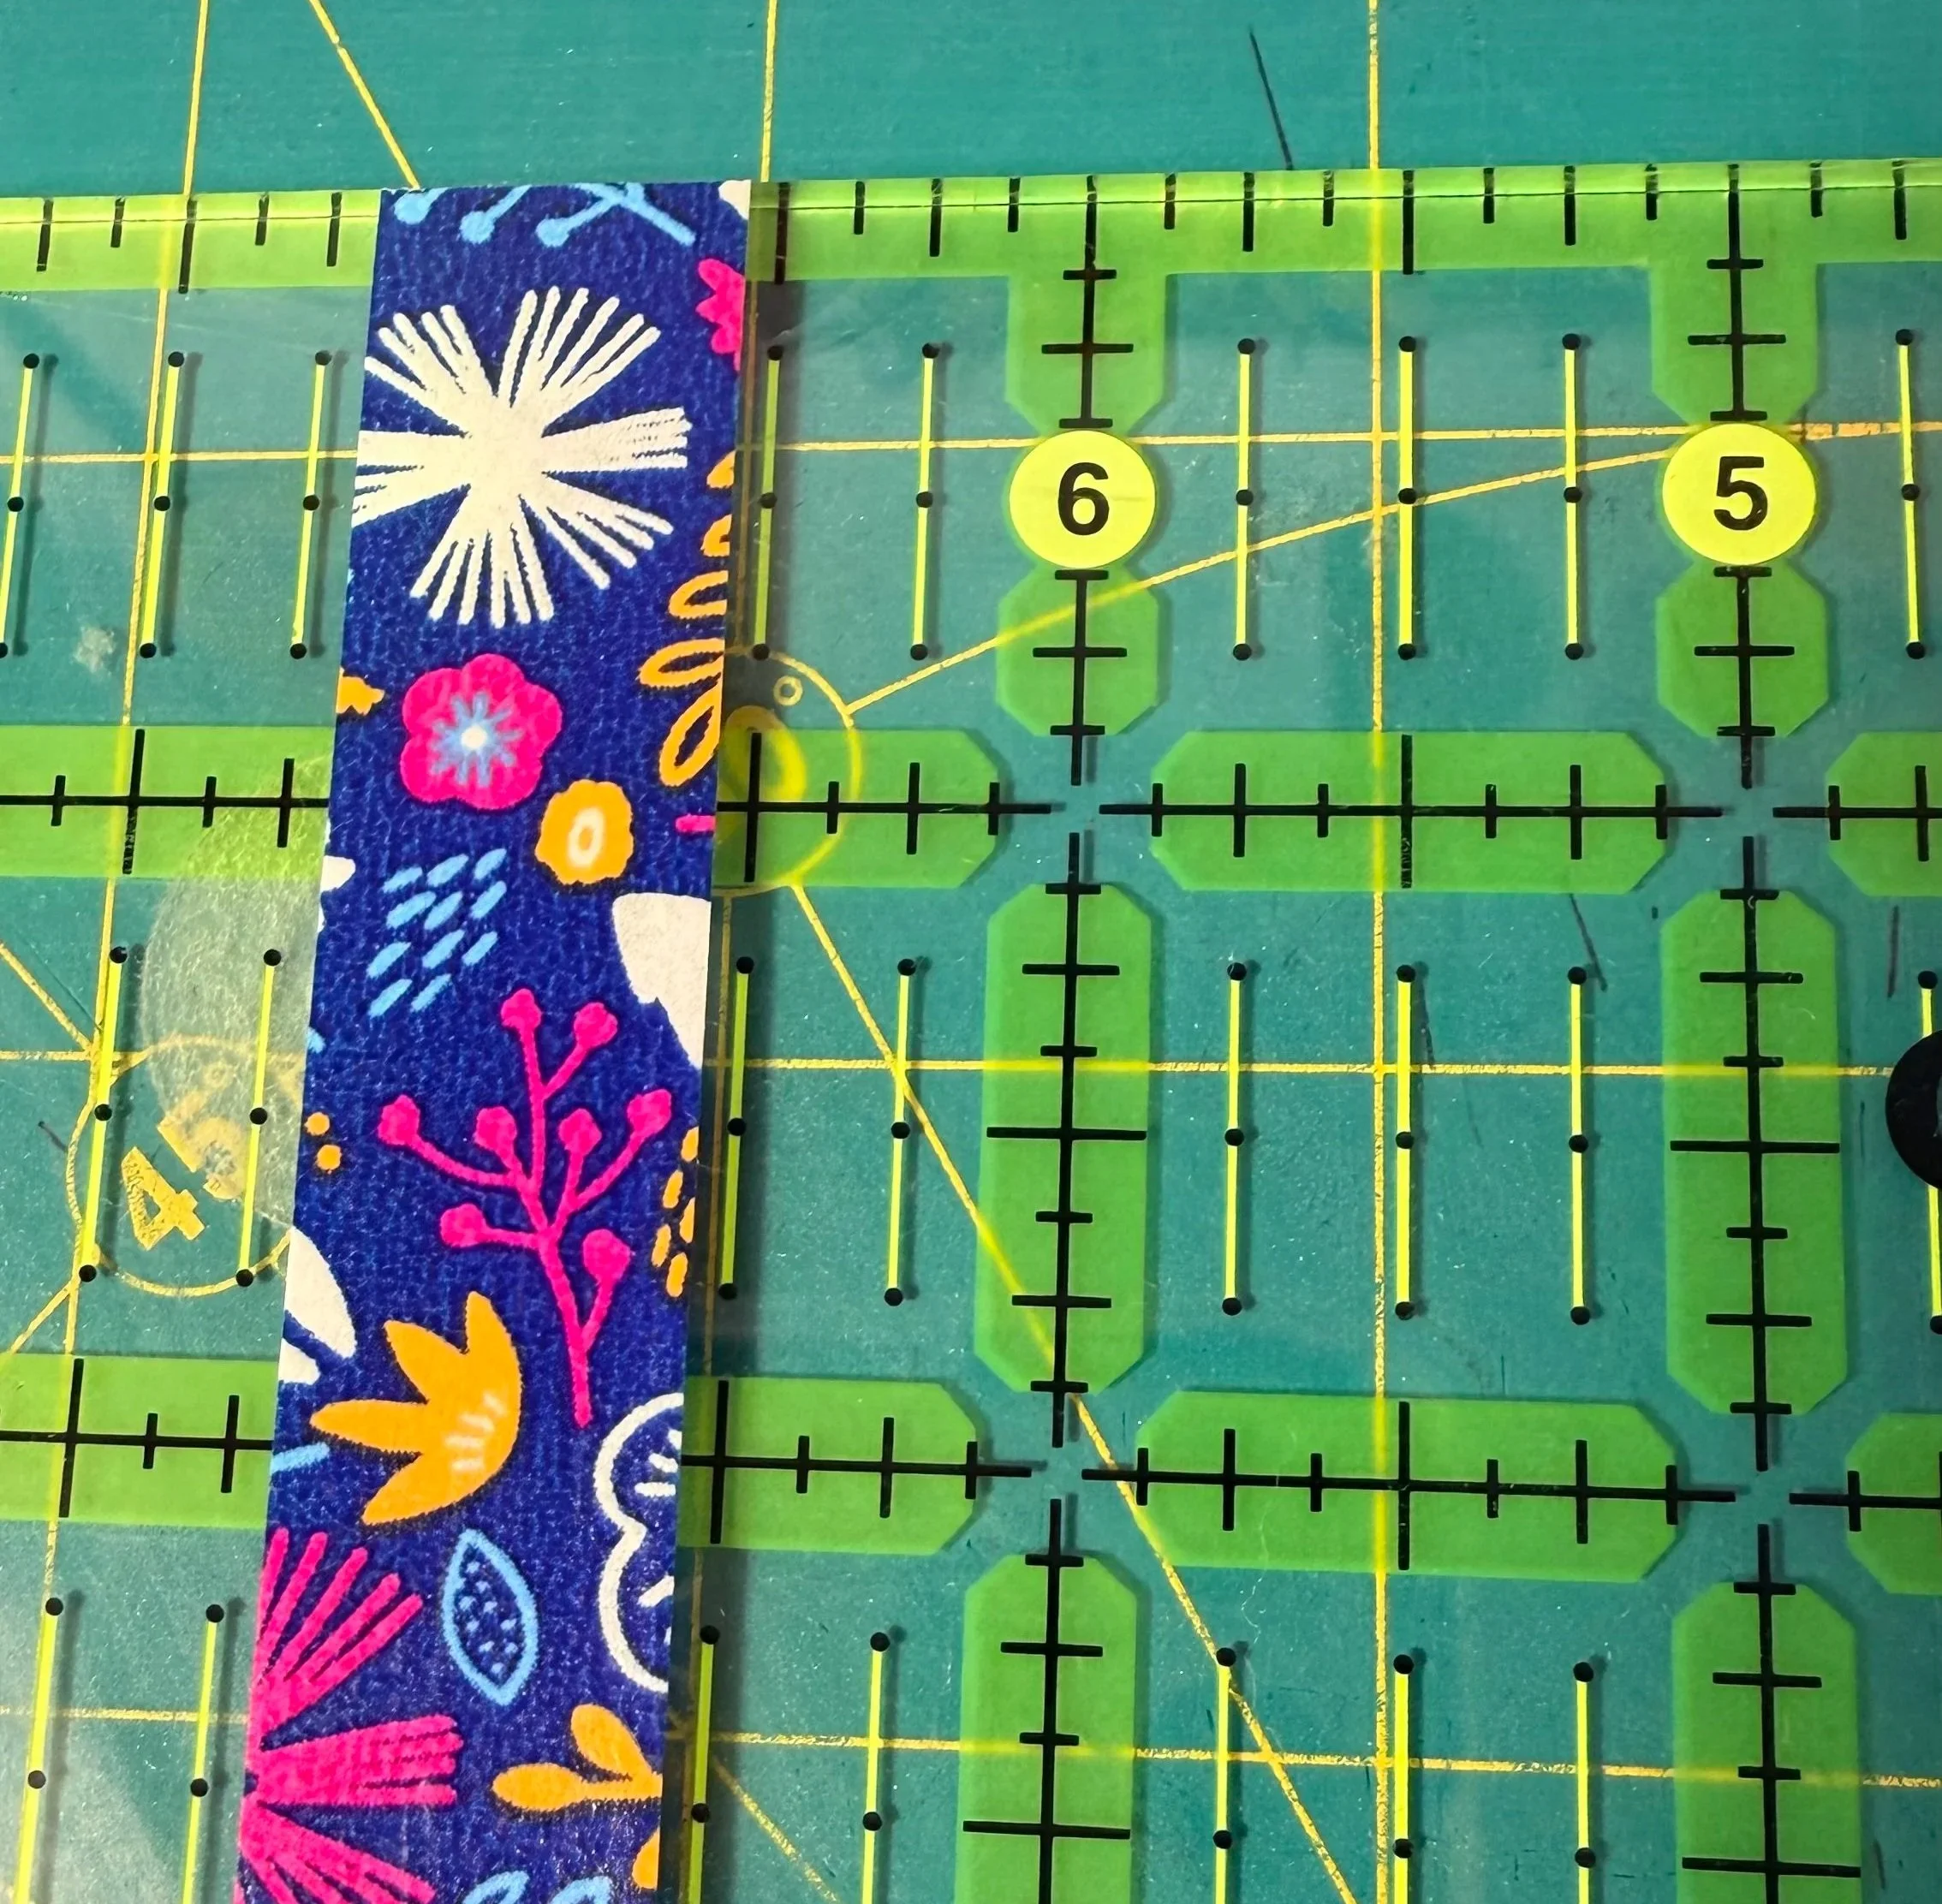
Tape off a trim area on your ruler that is the trim width by trim height, with the right/top of the ruler forming the right/top boundaries, and the inside edge of the tape forming the bottom/left boundaries.
Time to make a decision:
You may want to have the inside tape edge be just OUTSIDE the actual line on the ruler so you can better see the edge of your fabric lining up with the ruler lines perfectly. Then your tape just becomes a visual reminder for the general area to look; it is not your actual guide. (I learned this trick from my friend Ashley, aka @quilt.dork on IG and TiktTok!). See below for an example where the tape is just below the 3.5” line and just to the left of the 6.5” line. I can still see the actual line in full, so I’ll be able to see the edge of my fabric. I tried it this way recently and will stick with it!
You may choose to have your tape exactly on the line.
Using your preferred marker, mark 2 dots with your marker:
Lower dot: HALF the trim width from the right side of the ruler, intersecting with the 45-degree line that extneds to the top-right corner. (e.g., if trim width is 6.5”, half the trim width would be 3.25”)
Upper dot: HALF the trim width from the right side of the ruler, intersecting with the horizontal line that is 1/4” down from the top edge of the ruler.
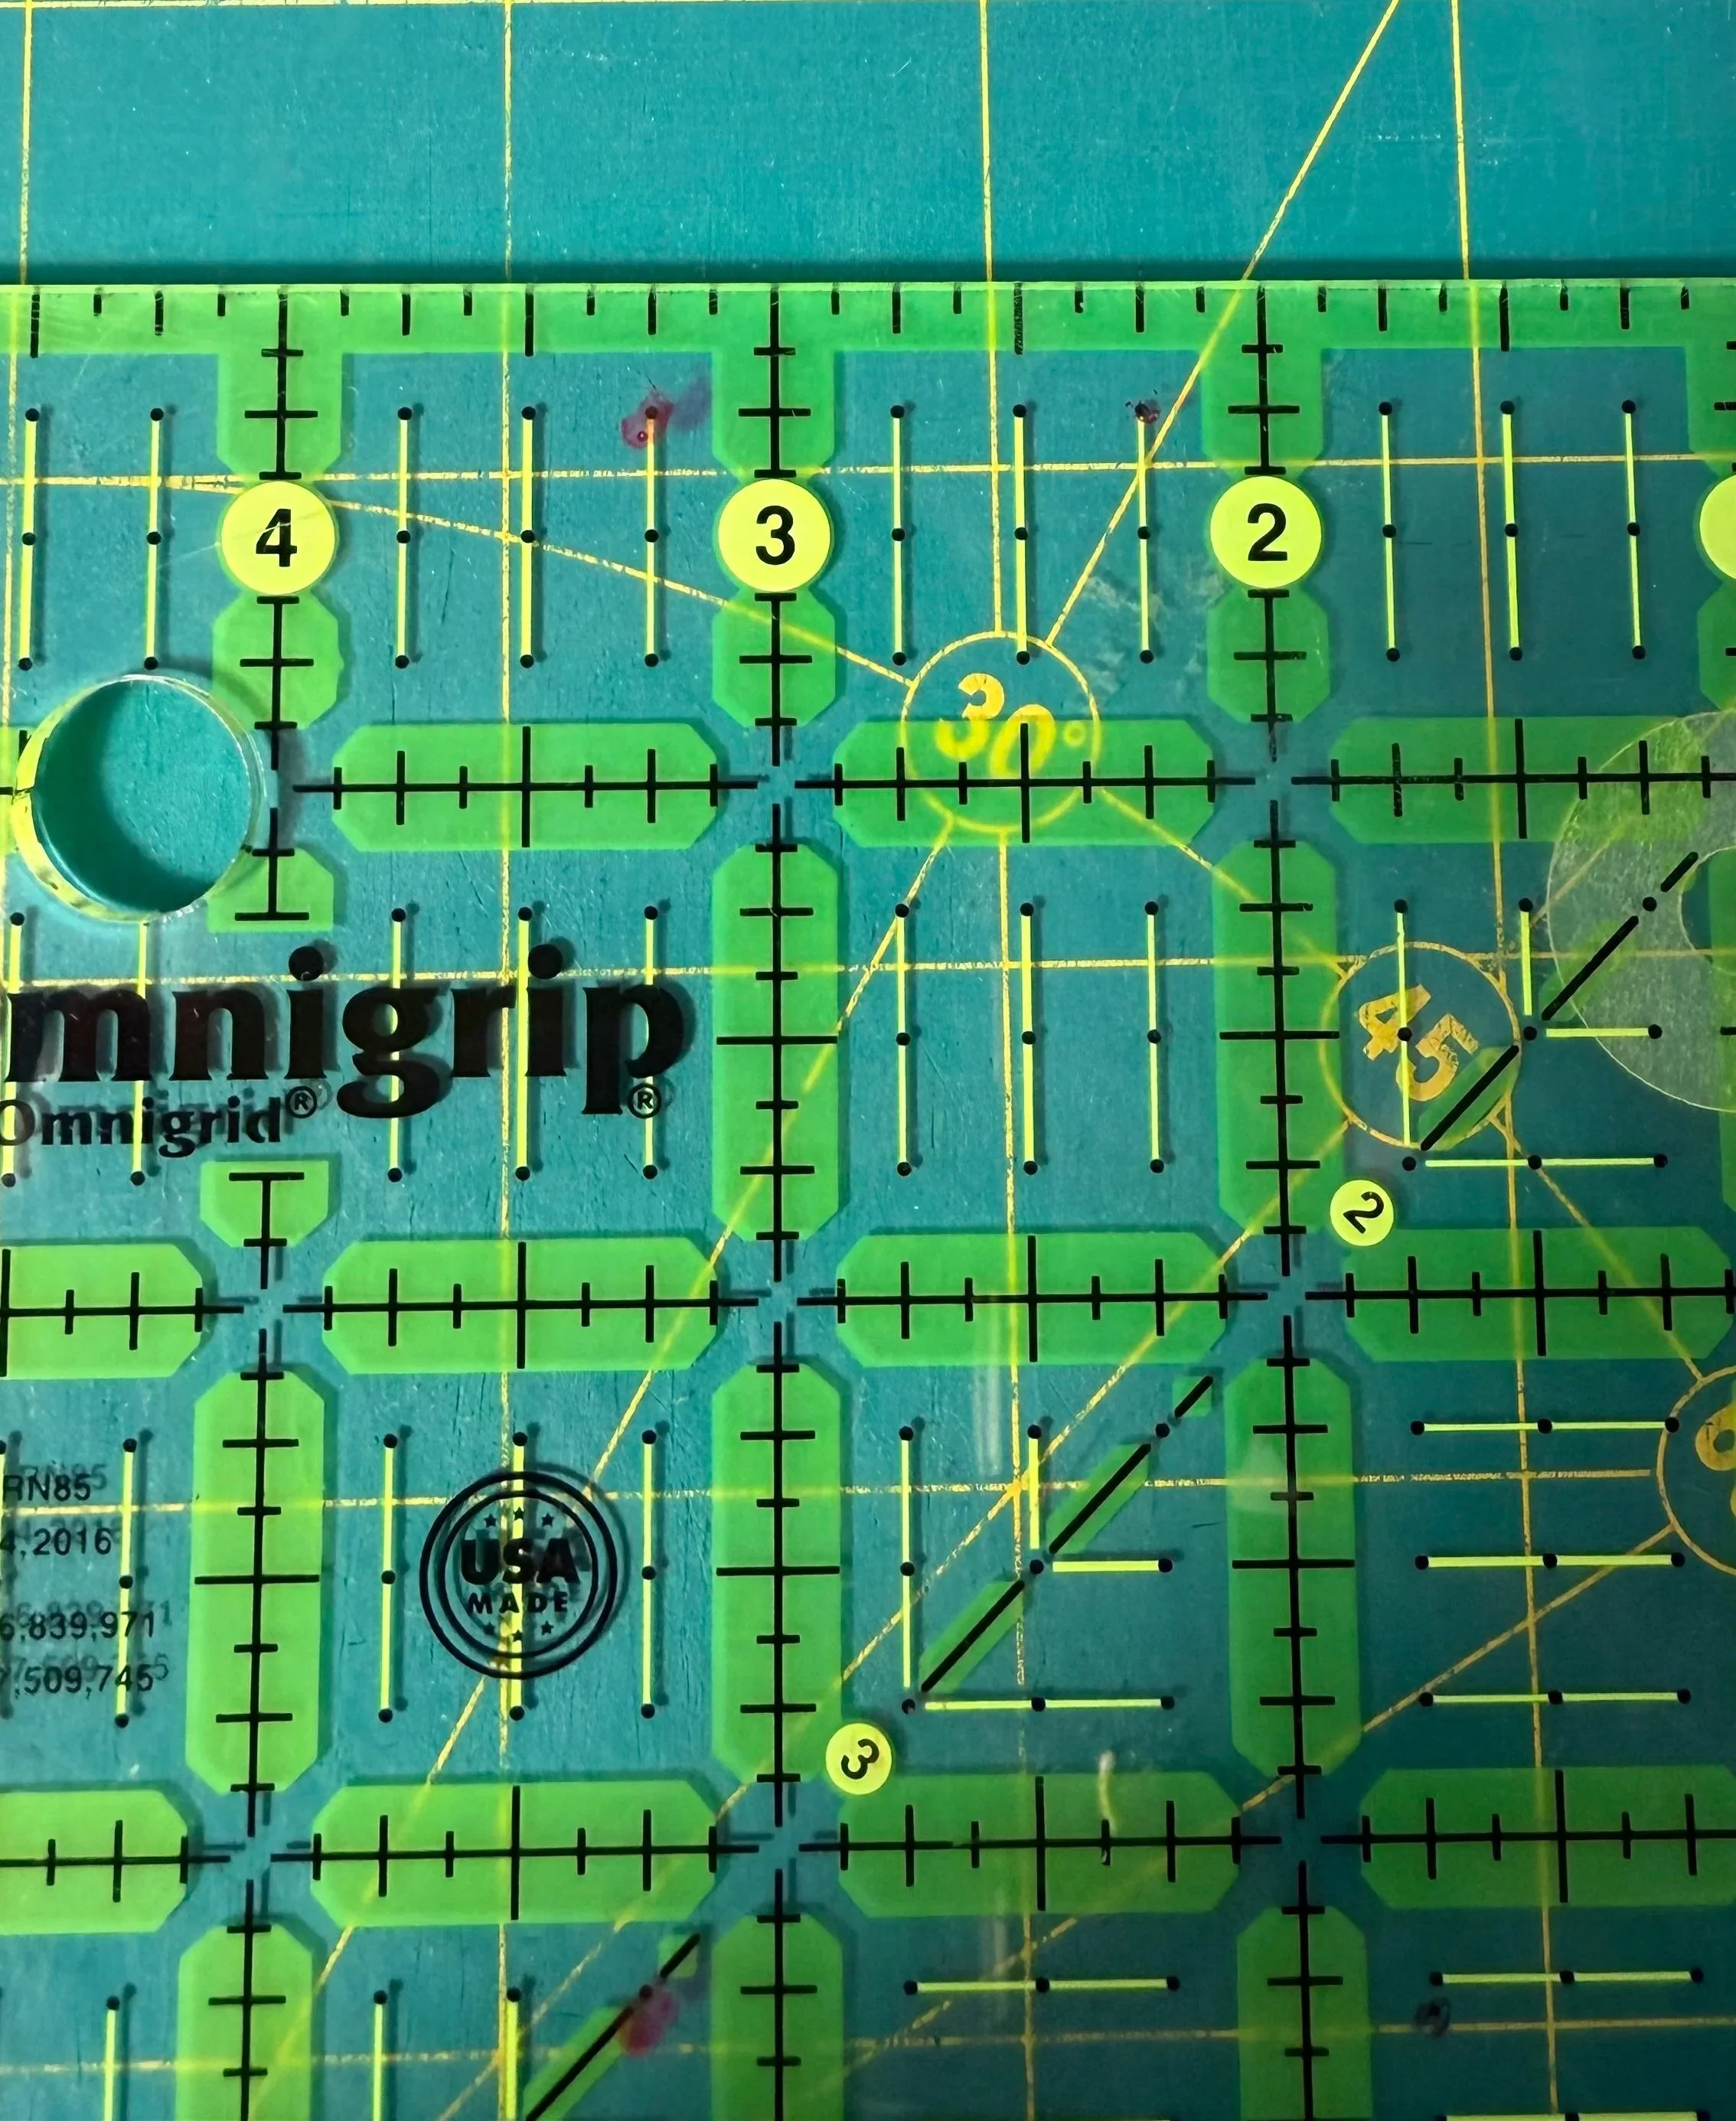
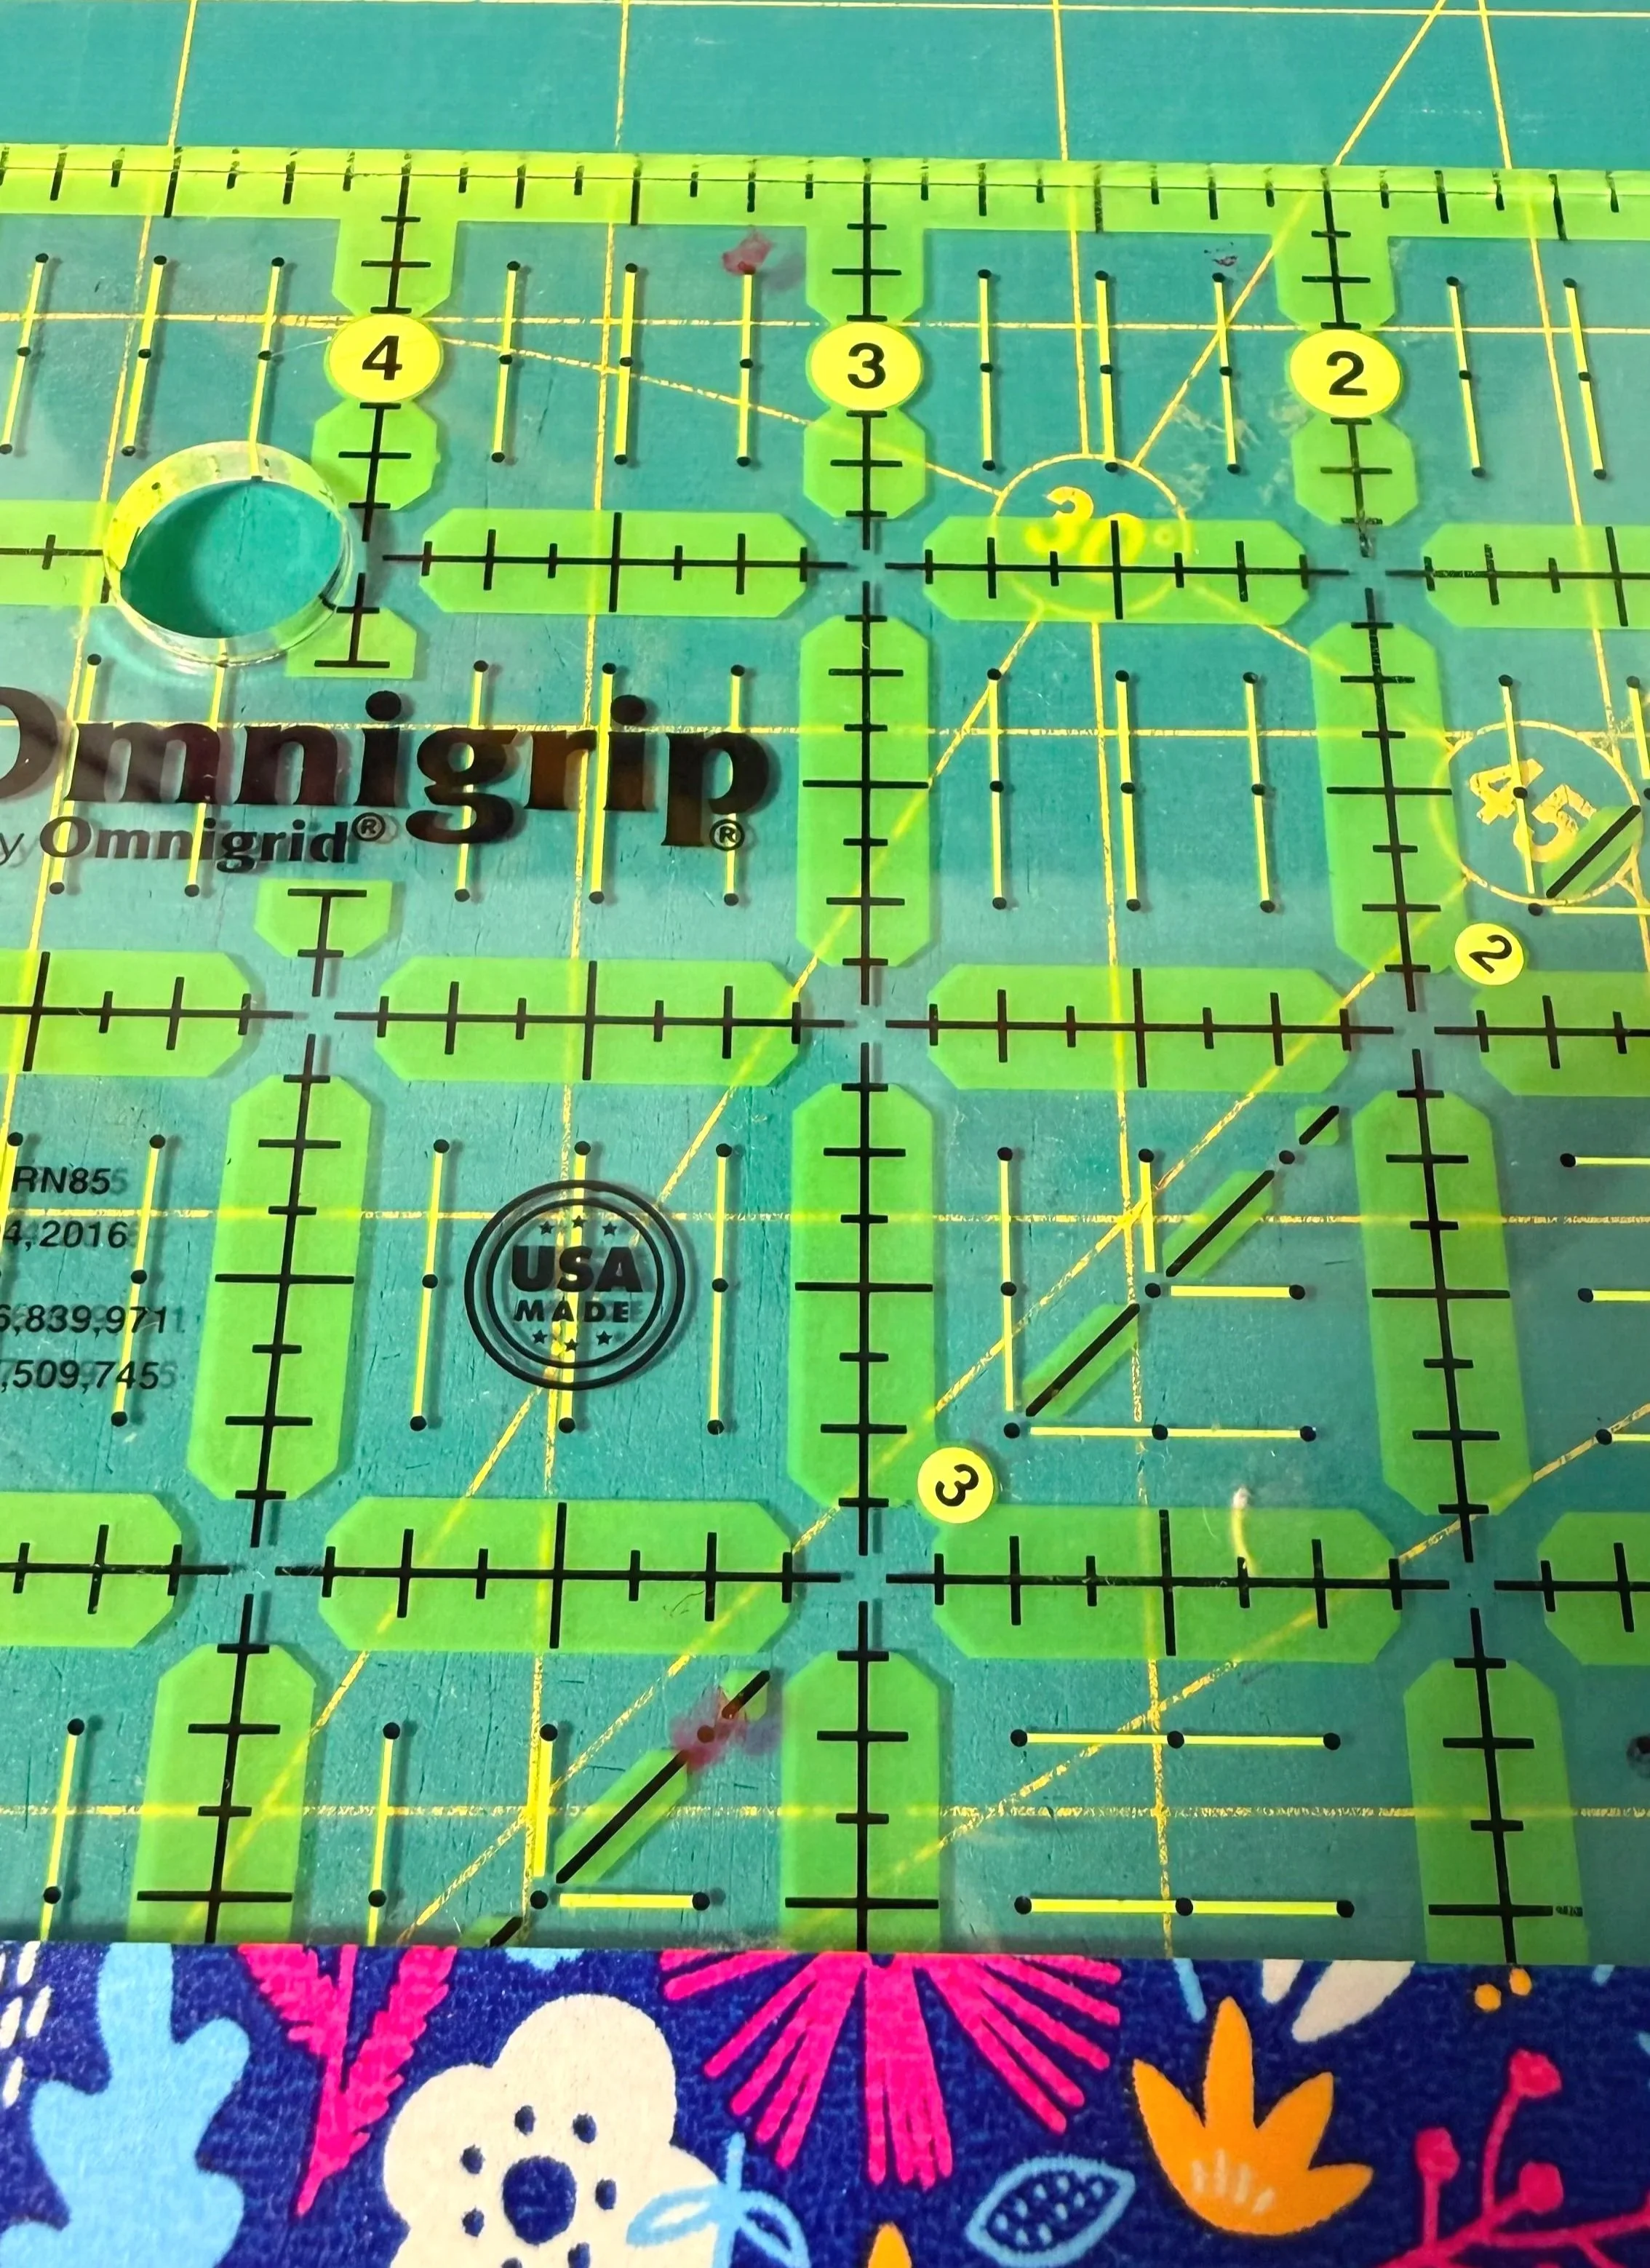
Trimming
Place your first block right side up on the cutting mat, with the point facing your body/pointing toward the bottom of the ruler. It should look like a “V.”
Place your ruler right on top of the block, such that:
the lower dot sits right on the very point of the “V”. If the dot sits a hair below the point, that is OK too. If the dot sits above the point, though, your seam allowance will be too narrow and the point will be blunted later!
there is a little extra fabric beyond all 4 edges of your trim area.
the right diagonal seam lines up with the 45-degree marking and extends all the way to the top-right corner of the ruler
the left diagonal seam extends all the way to the top-left corner of your trim area
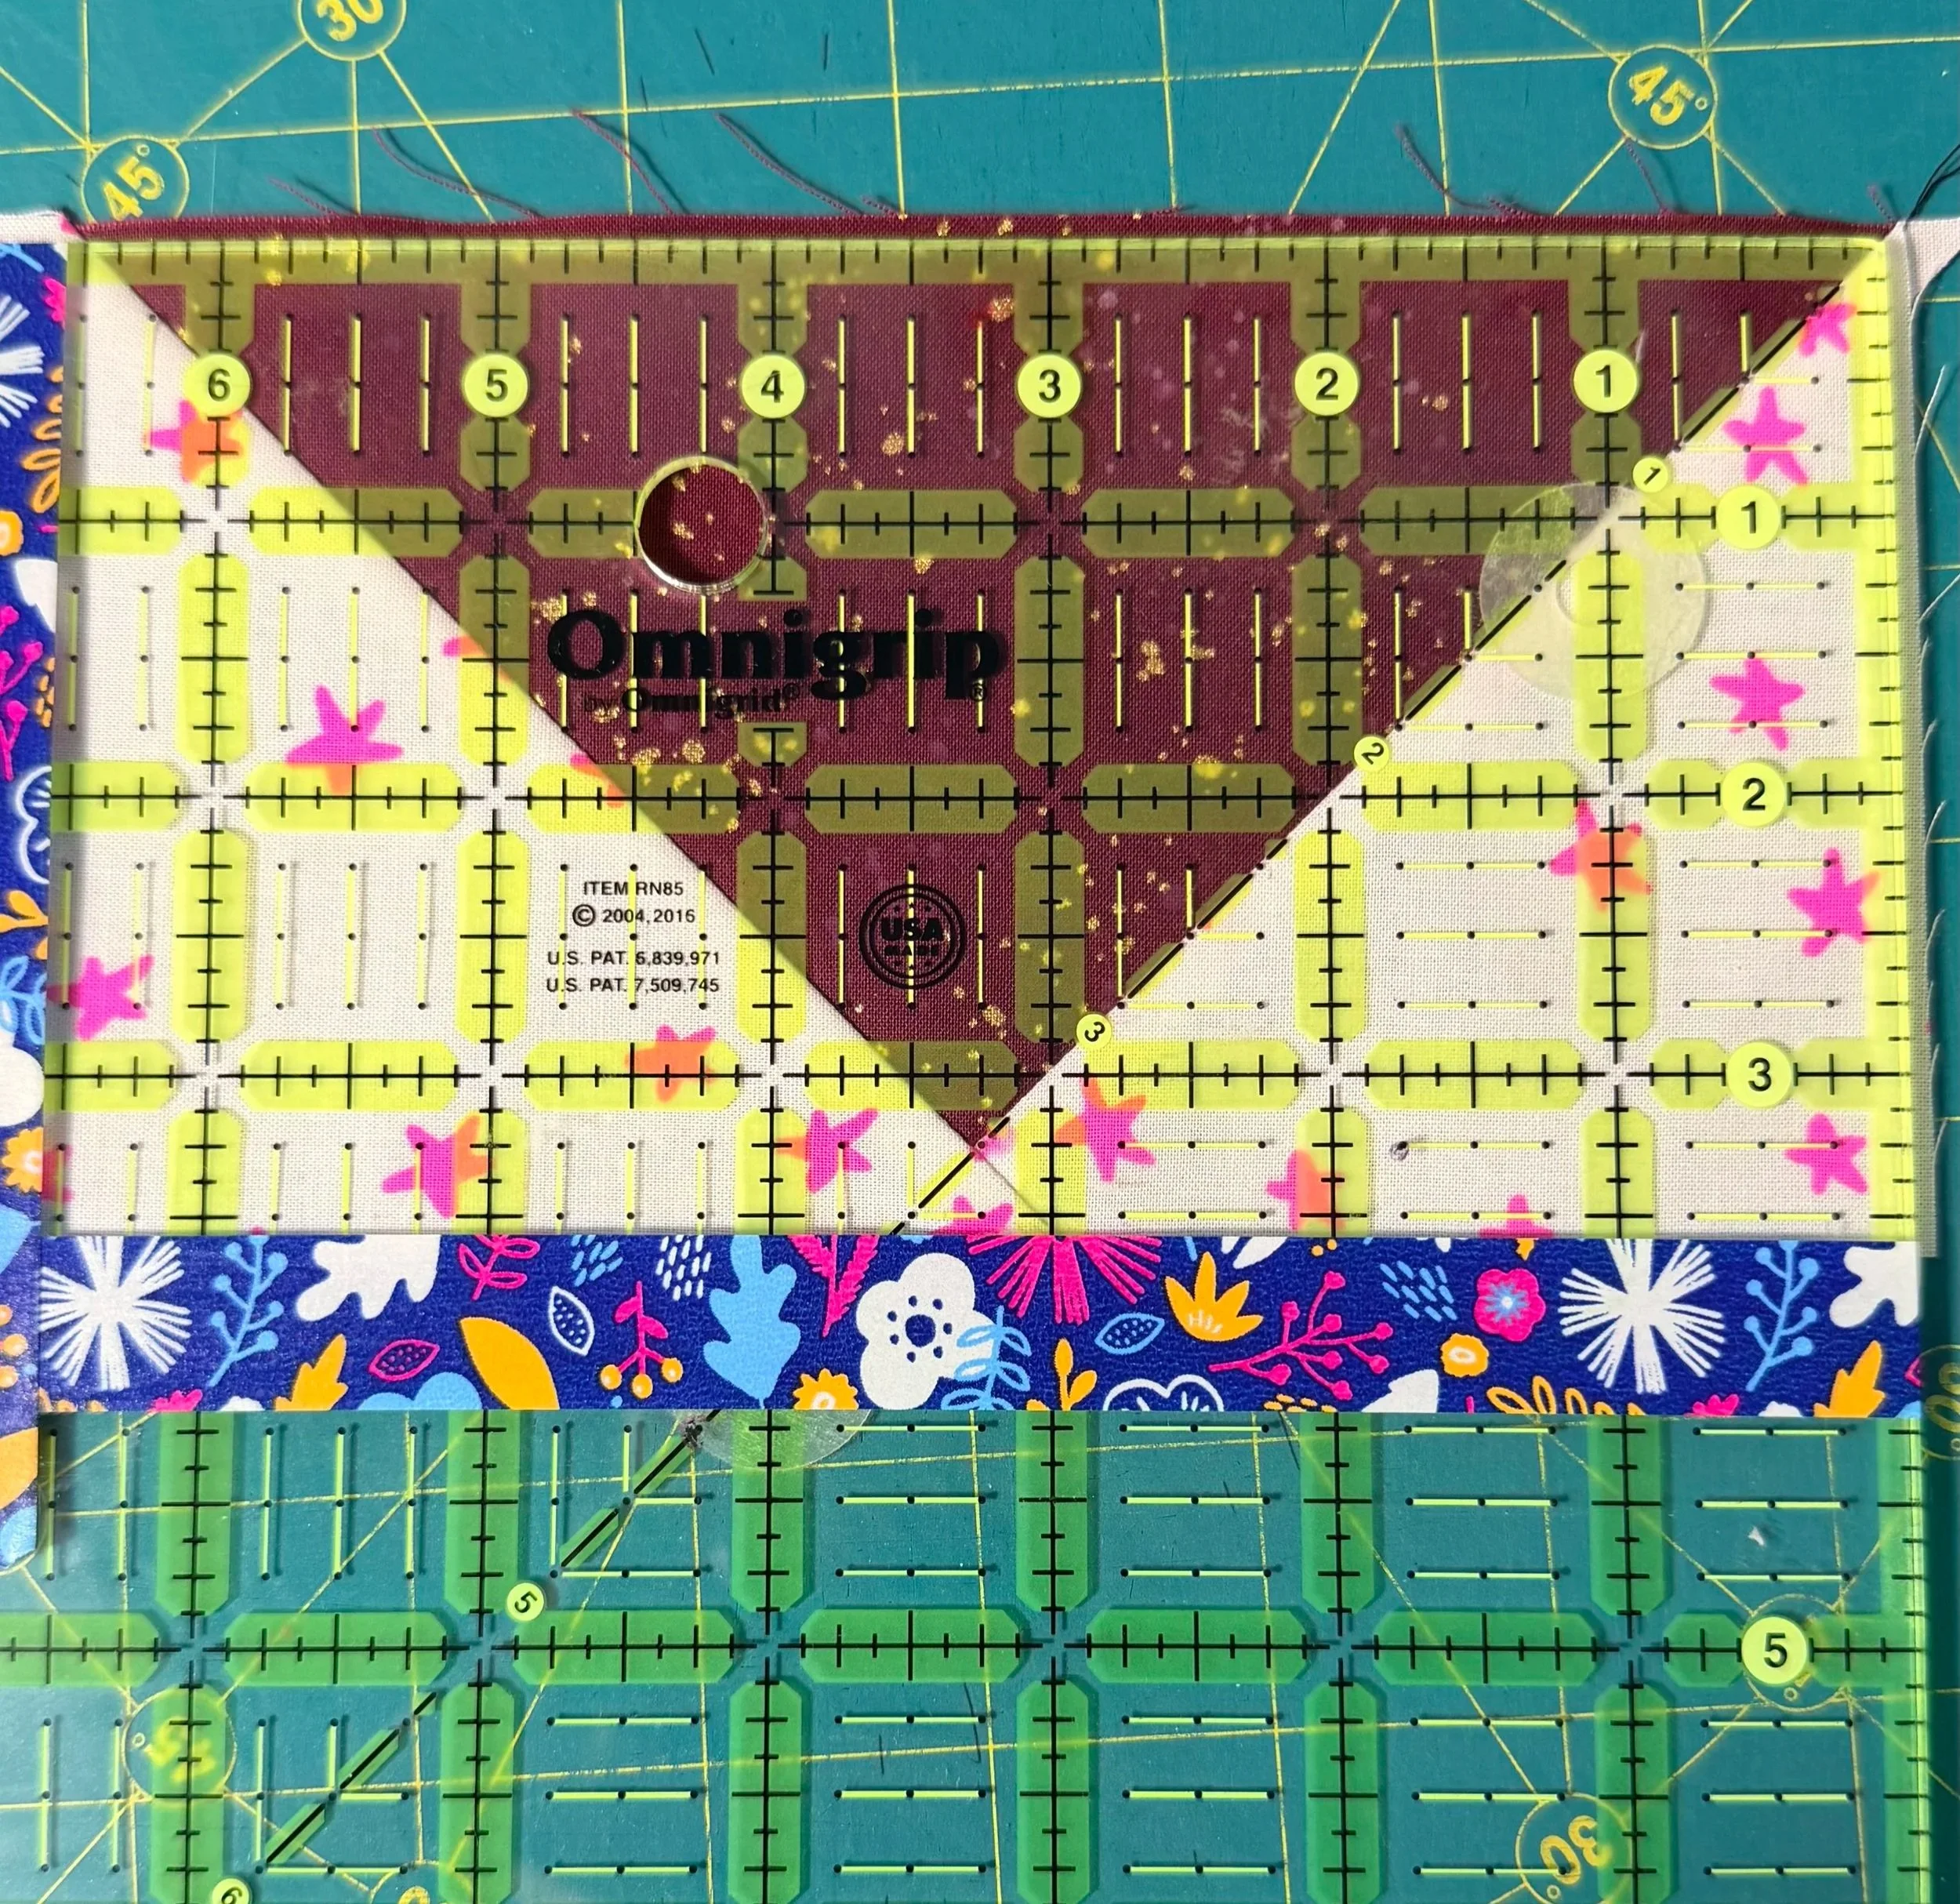
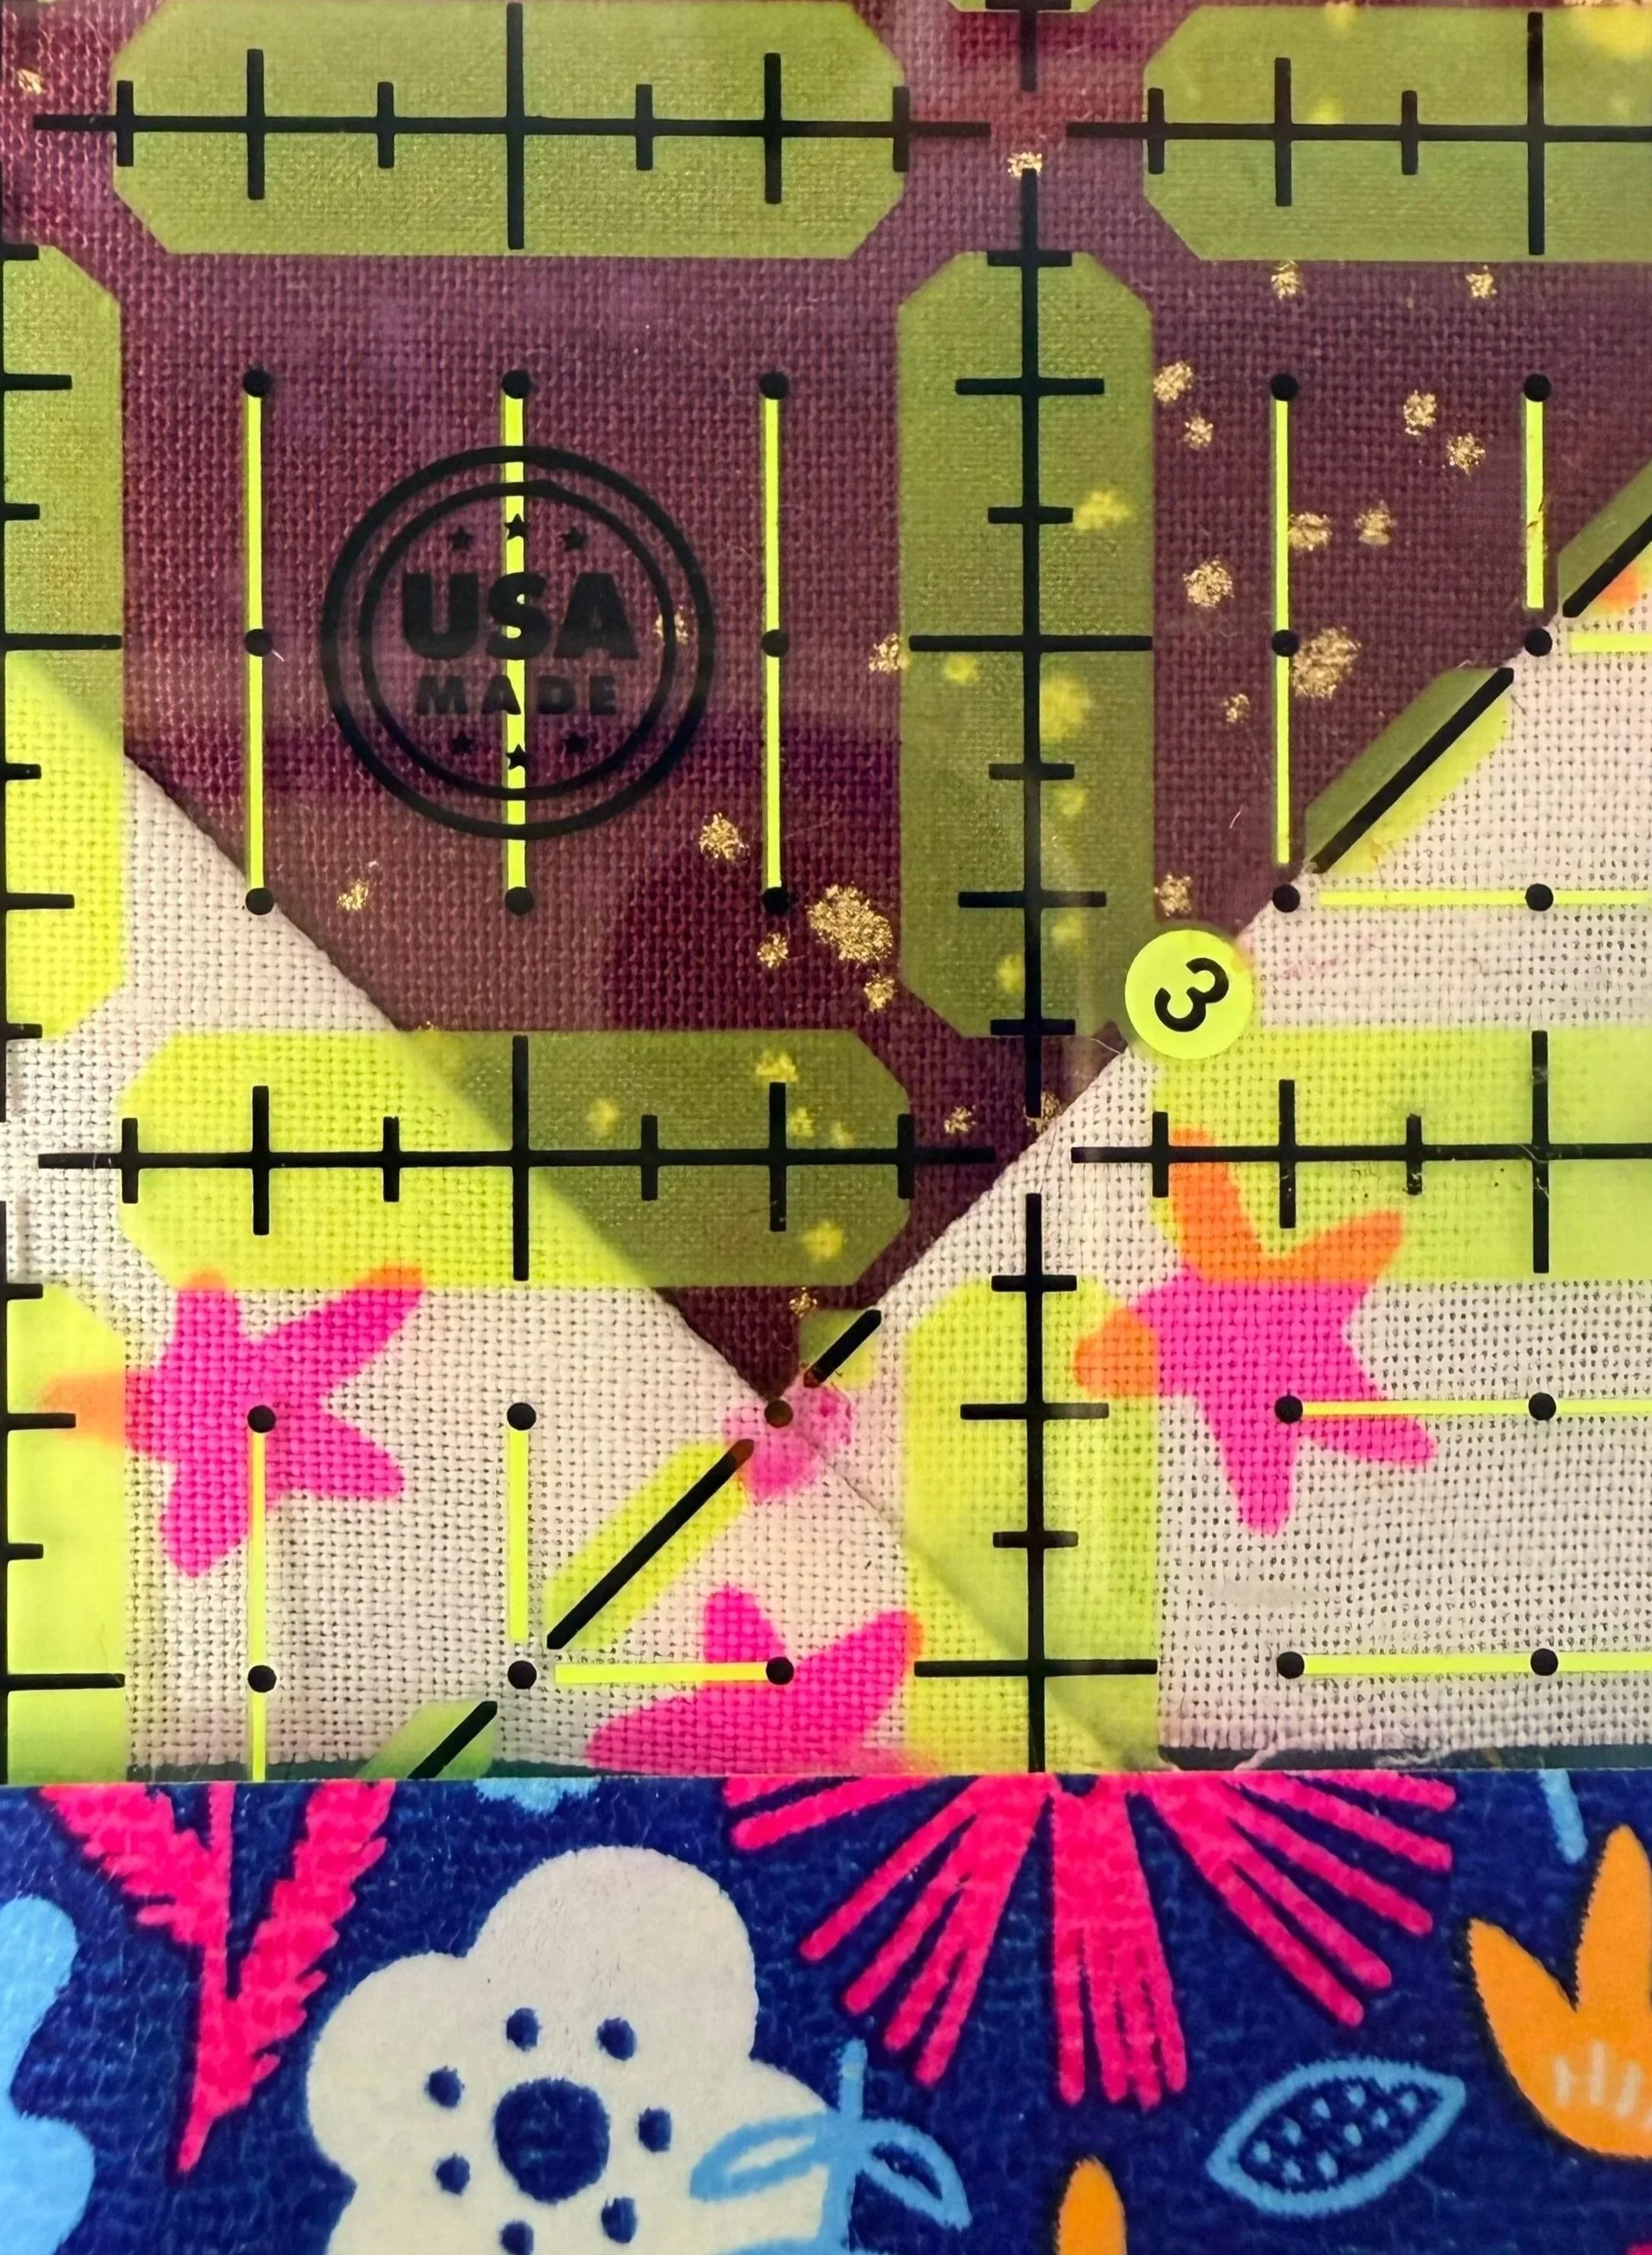
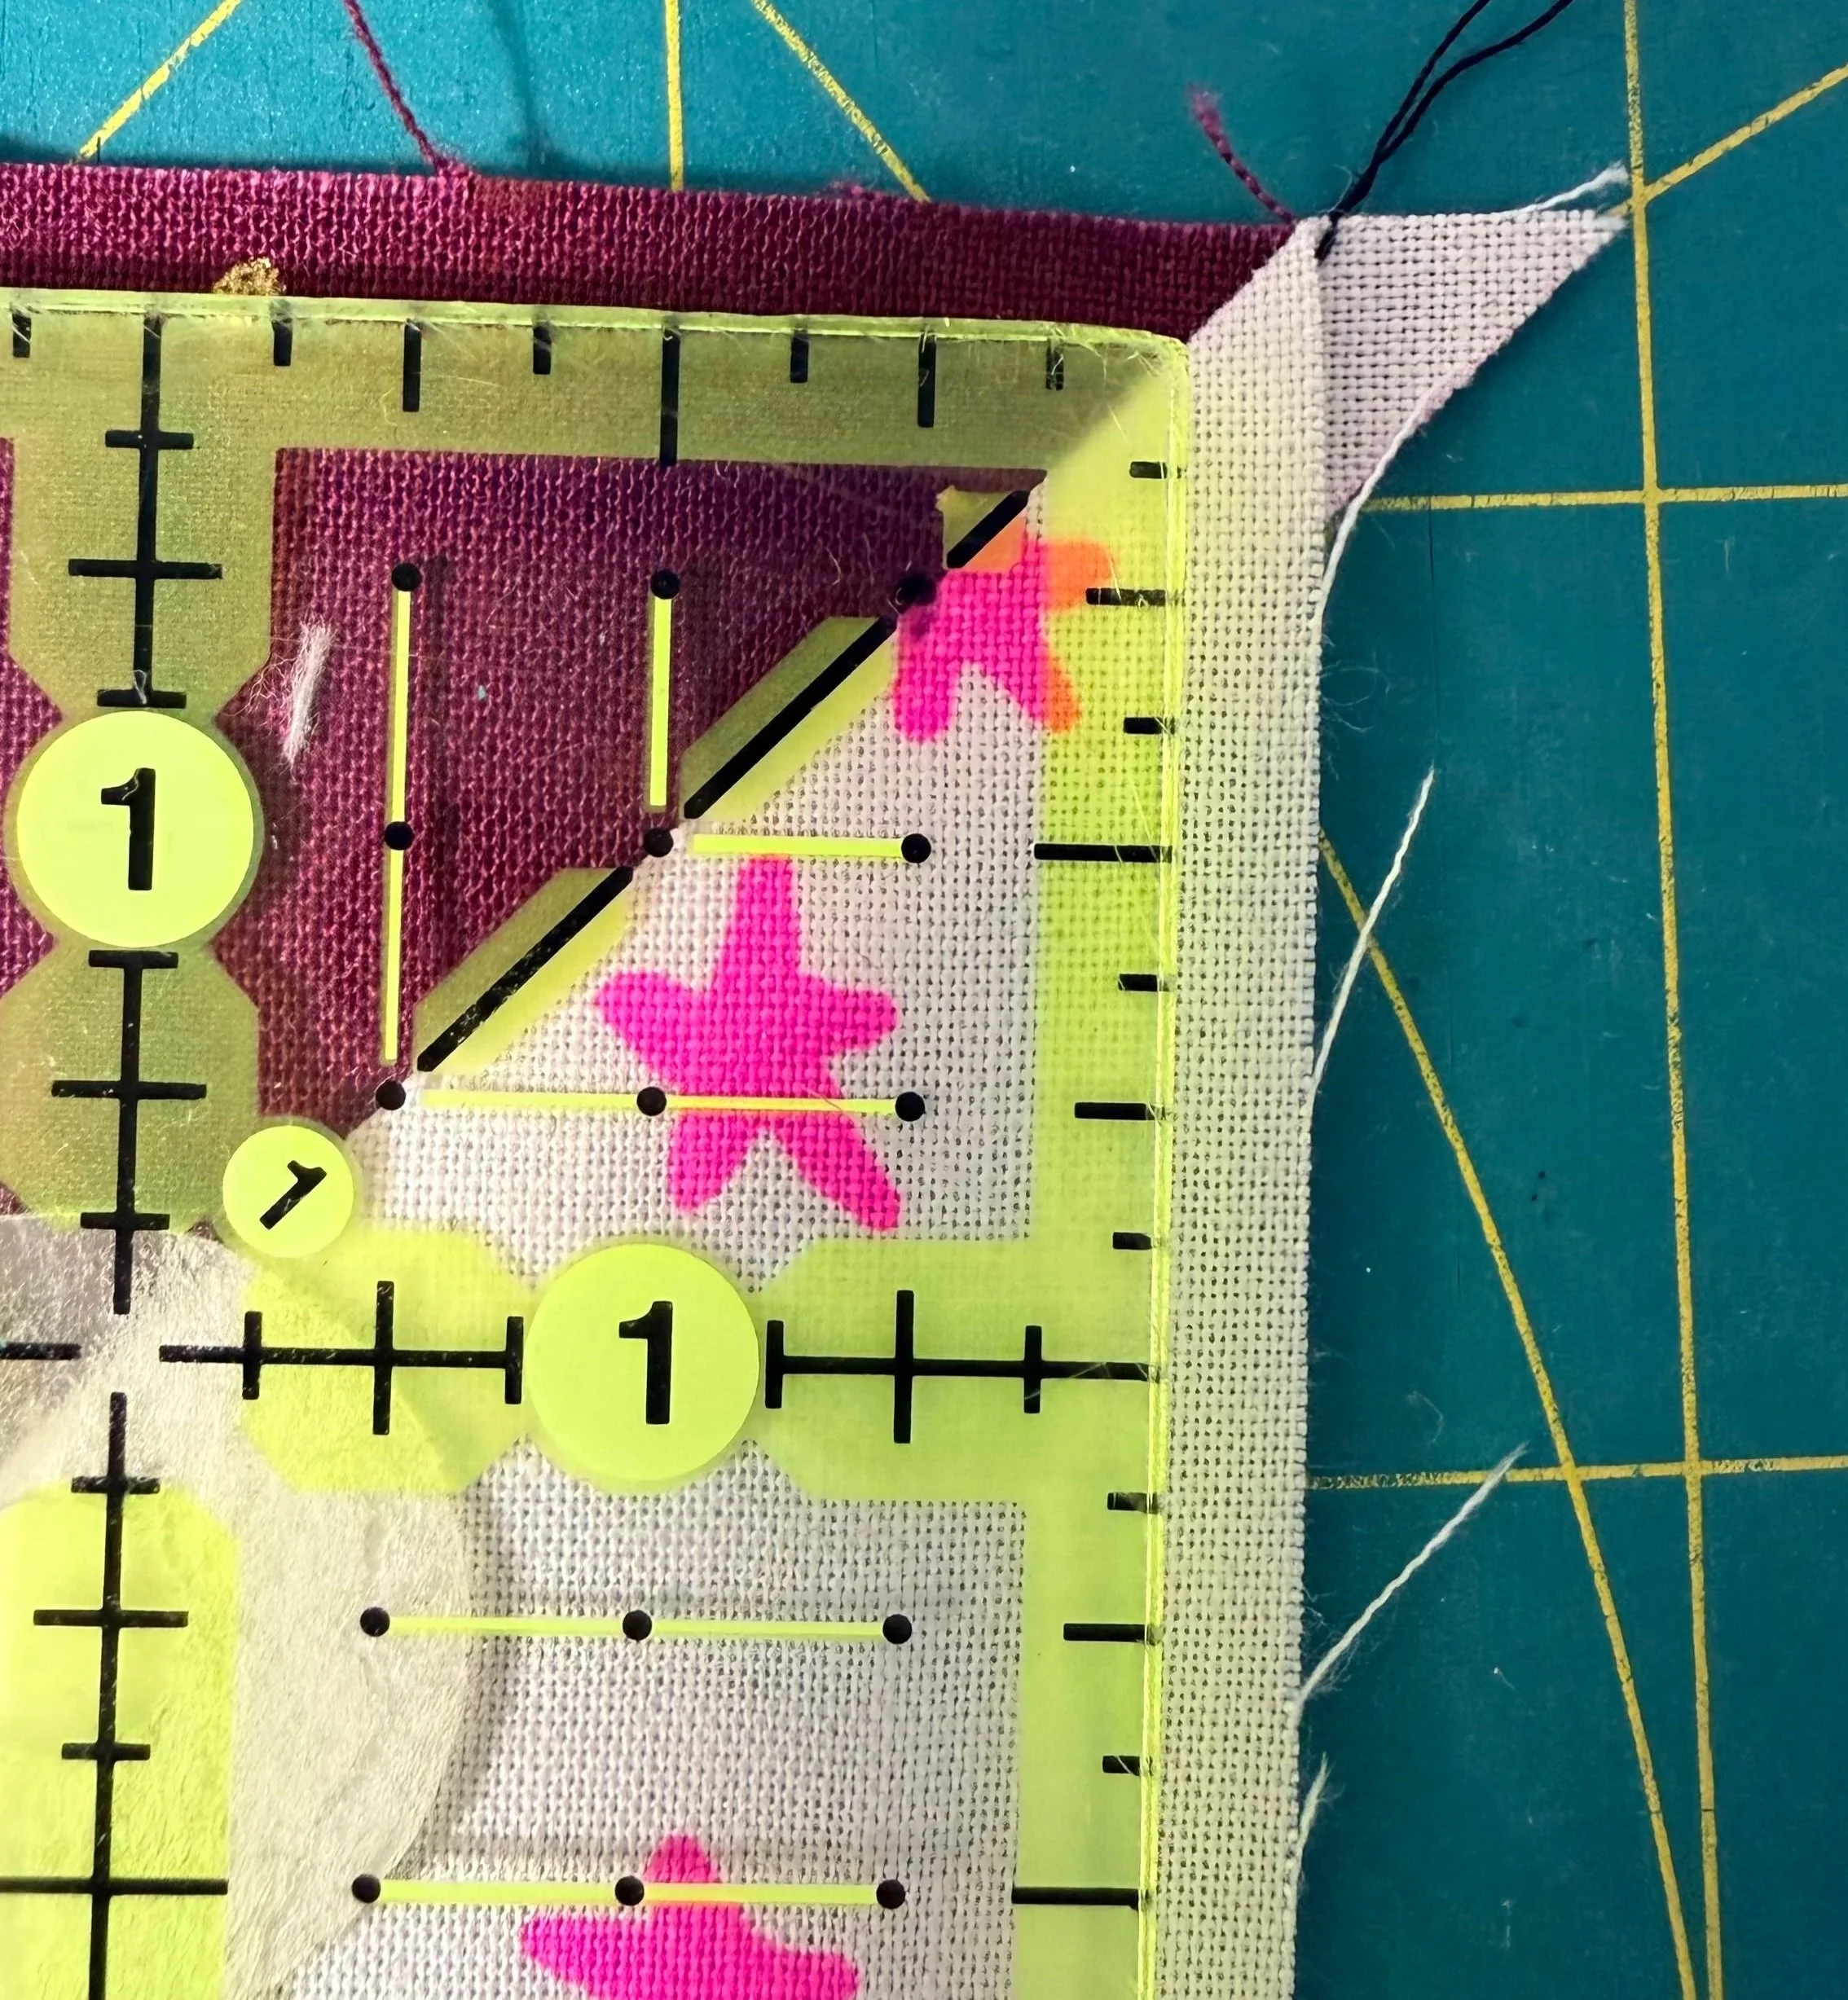
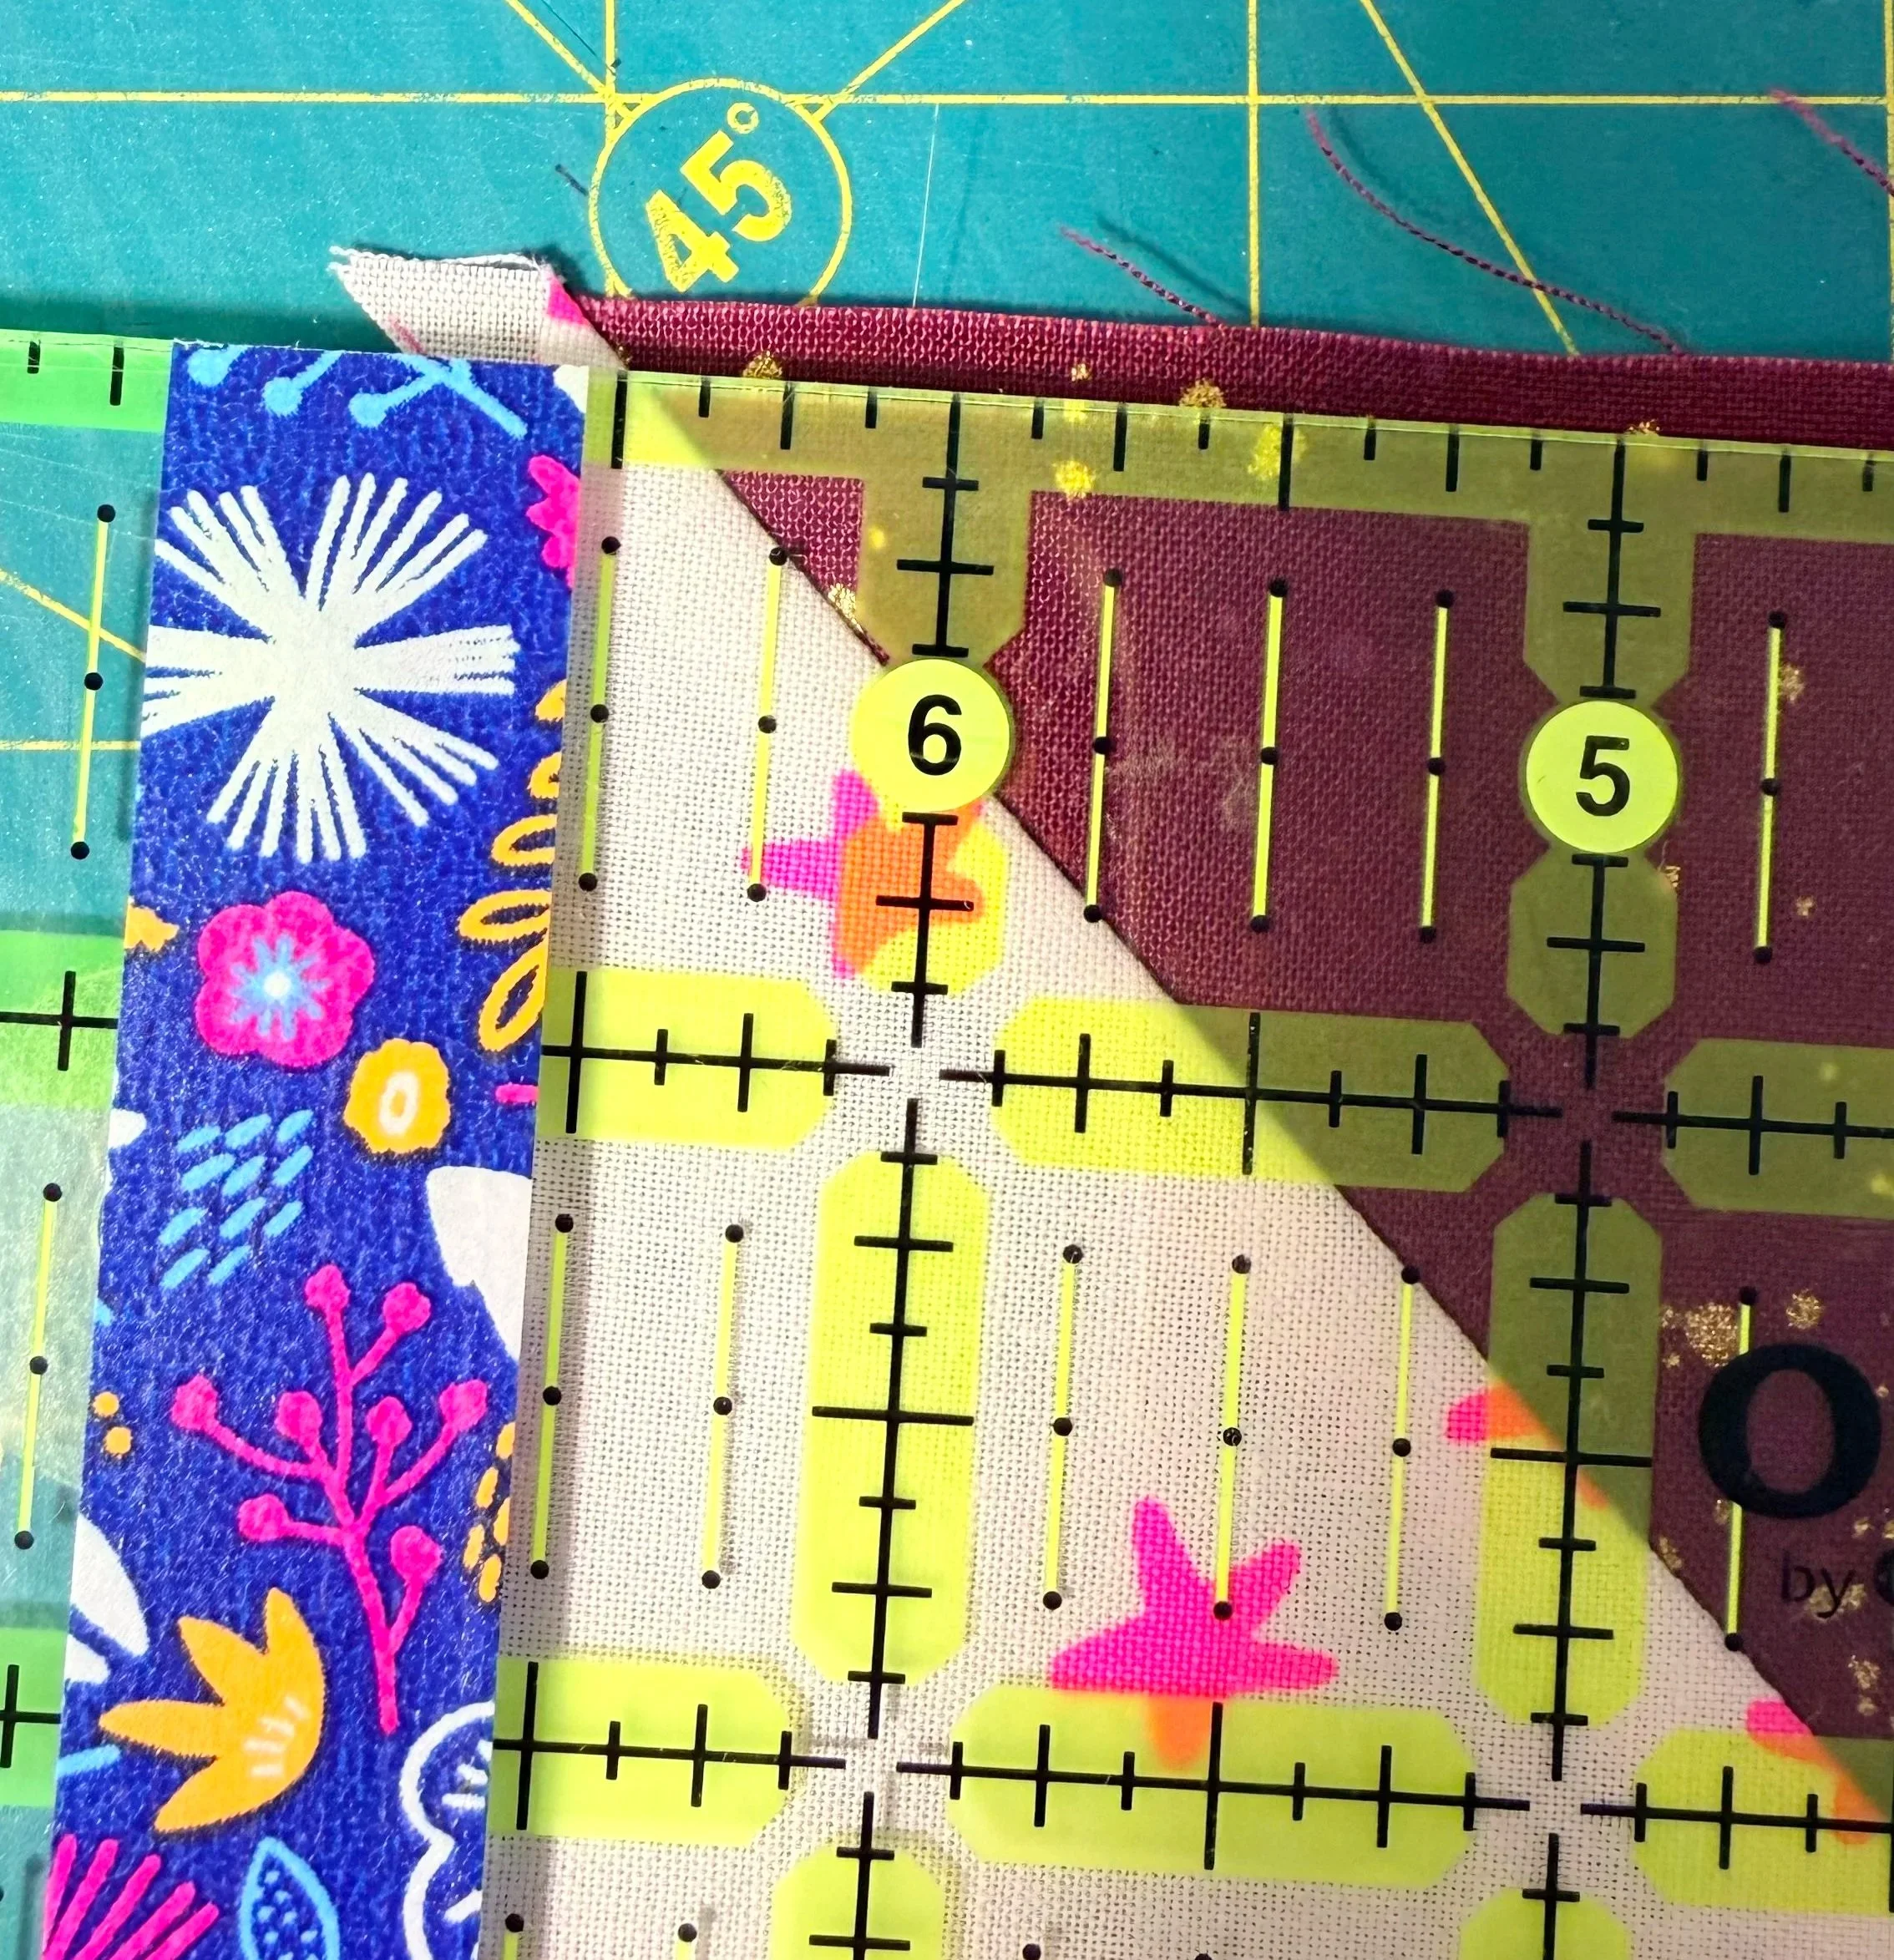
If you cannot meet all these criteria, congratulations, you’re one of us! It’s fine. Start at the first bullet point and work your way down in priority order. You can also shift your ruler ever so slightly before trimming, to get closer to meeting all of these criteria even if they are not perfect. Most importantly, make sure you meet the first bullet point! Otherwise your point will be blunted later.
Place your left hand down firmly on the ruler to prevent sliding. Trim along the right and top edges of the ruler.
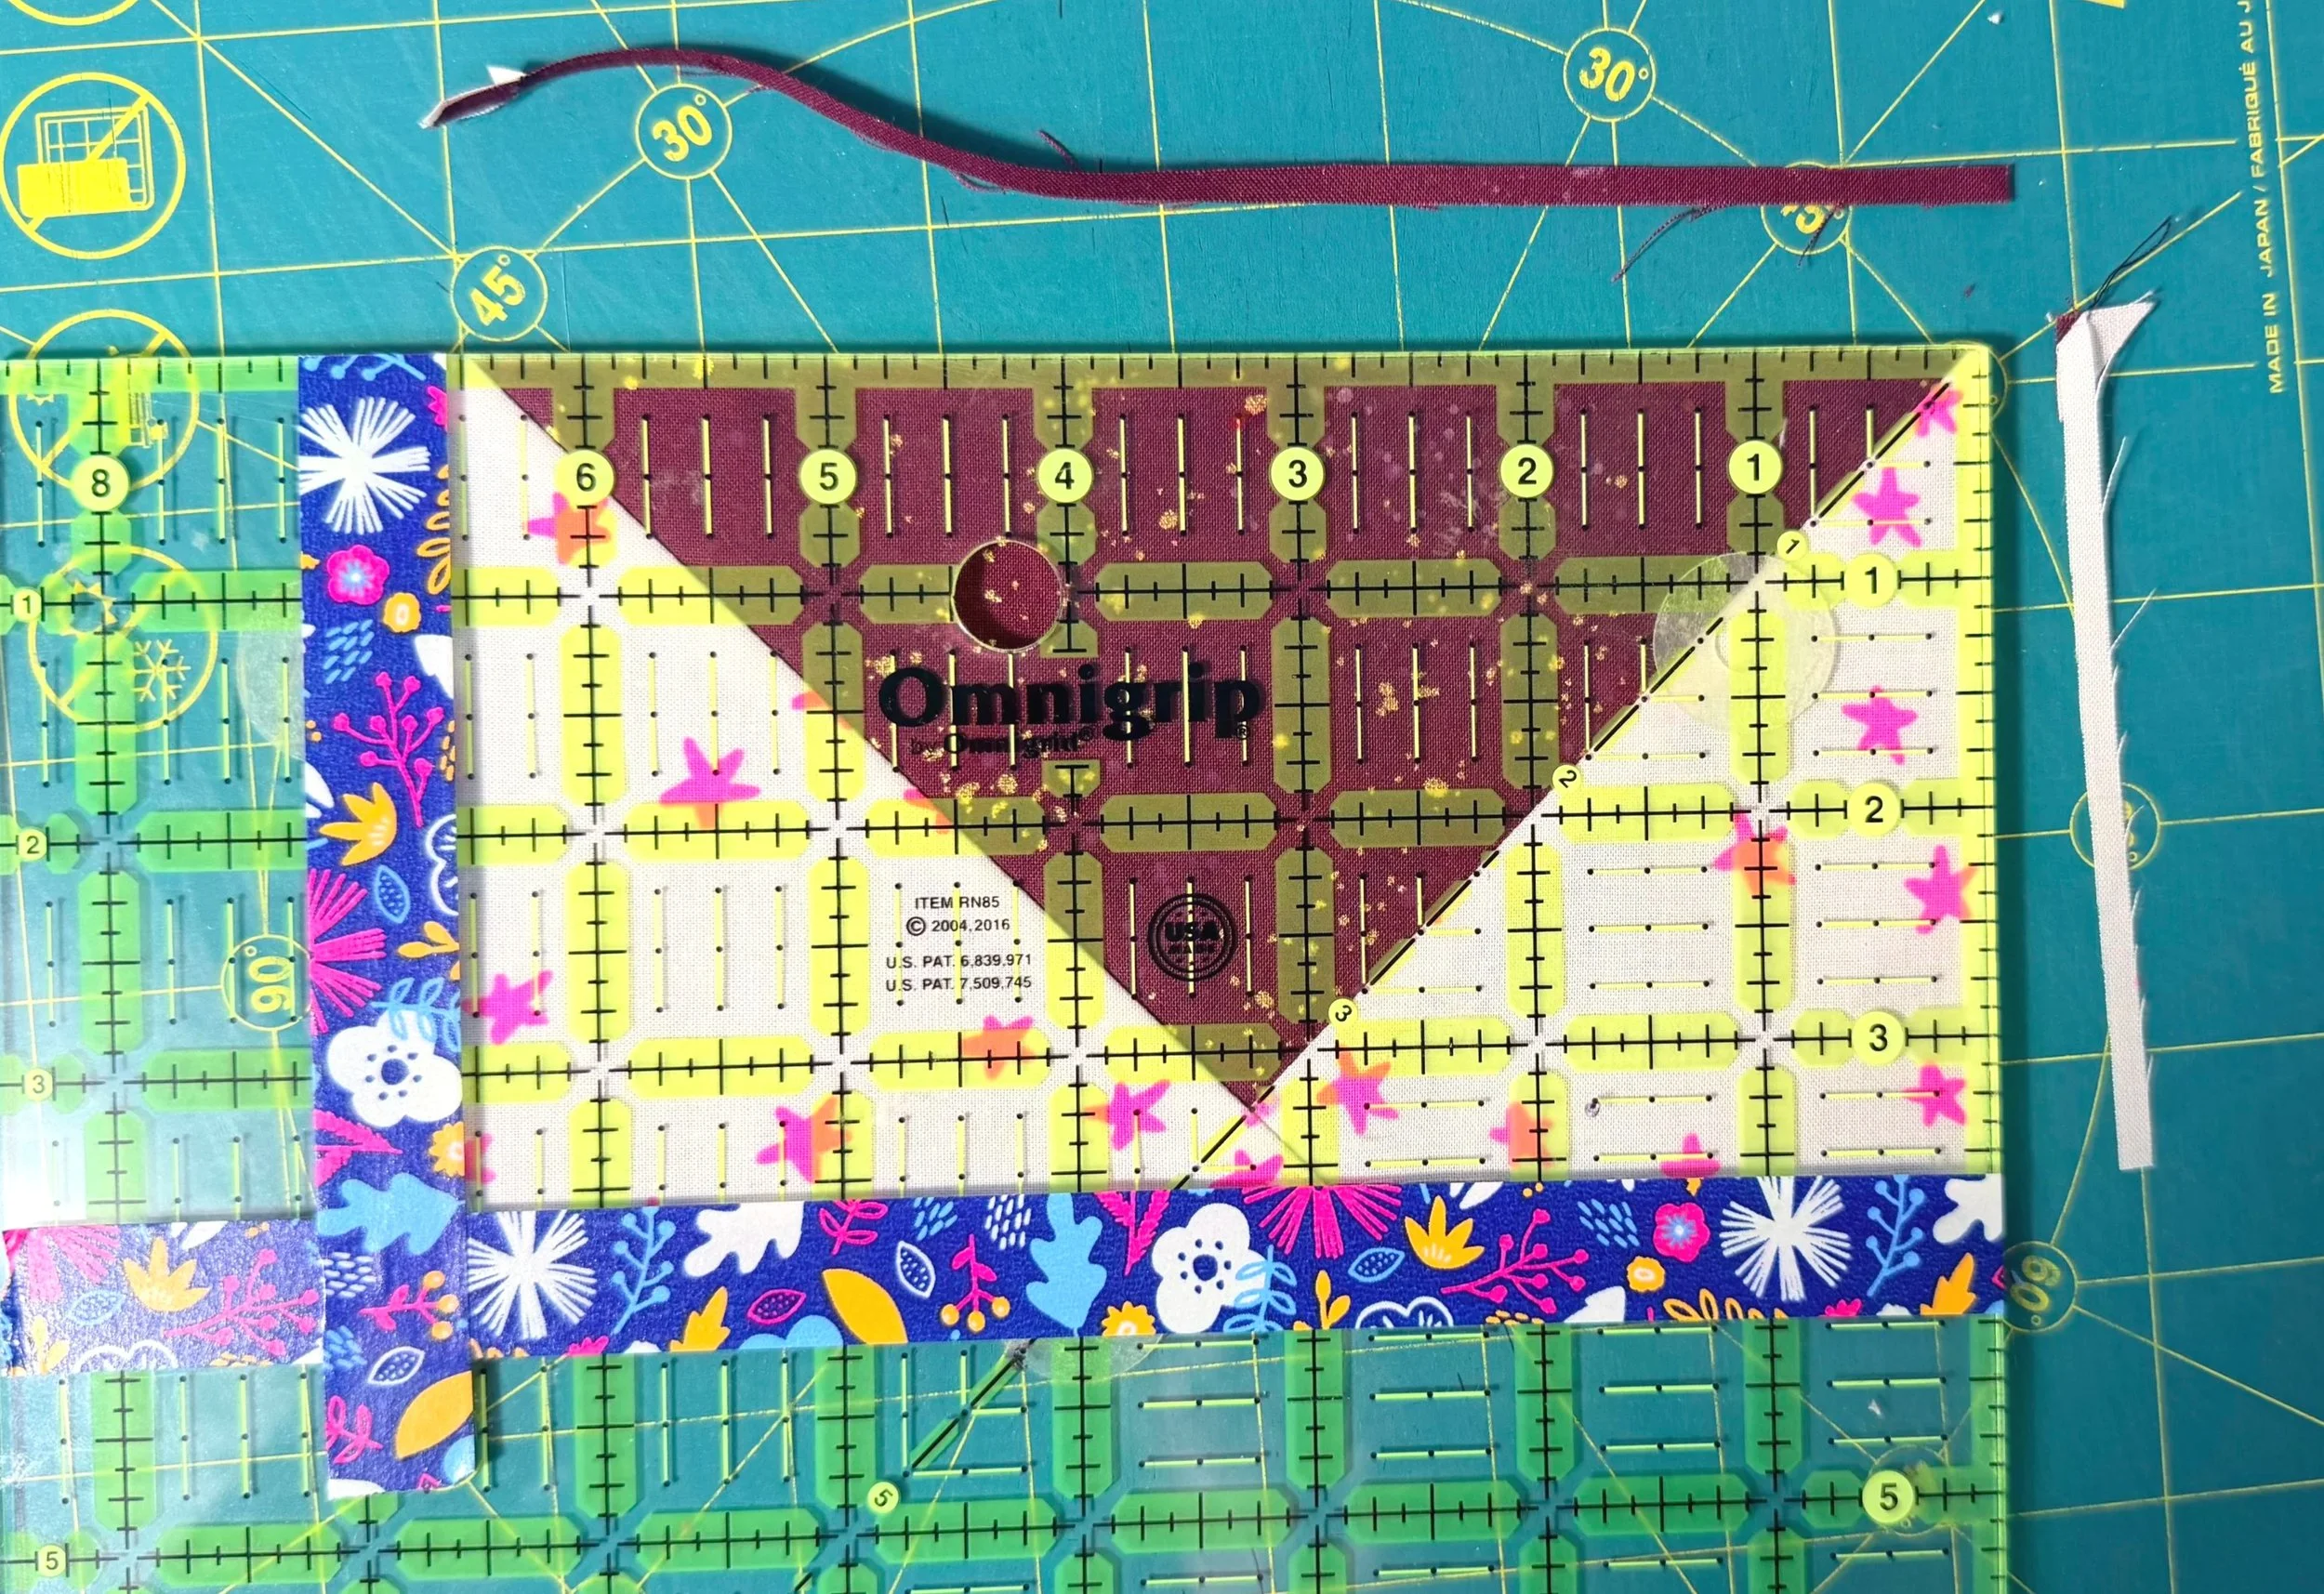
Rotate the block 180 degrees so the “V” point is near the top edge of the ruler. Do not rotate the ruler.
Place your ruler on top of the block, such that:
the upper dot sits on the very point of the “V”. (NOTE: if the upper dot sits below the “V”, you will be trimming off too much, and your point will be blunted when attaching the goose block to any adjacent blocks. If the upper dot sits above the “V”, you will have a little extra seam allowance and the point of the block won’t be perfectly against whatever block it gets attached to later—I do not mind when this happens)
the diagonal seam currently on the right extends down to the bottom-right corner of your trim area.
the left and bottom edge (which were trimmed in the last step) now line up with the left and bottom boundaries of your trim area.
the diagonal seam currently on the left extends all the way to the bottom-left corner of the trim area.
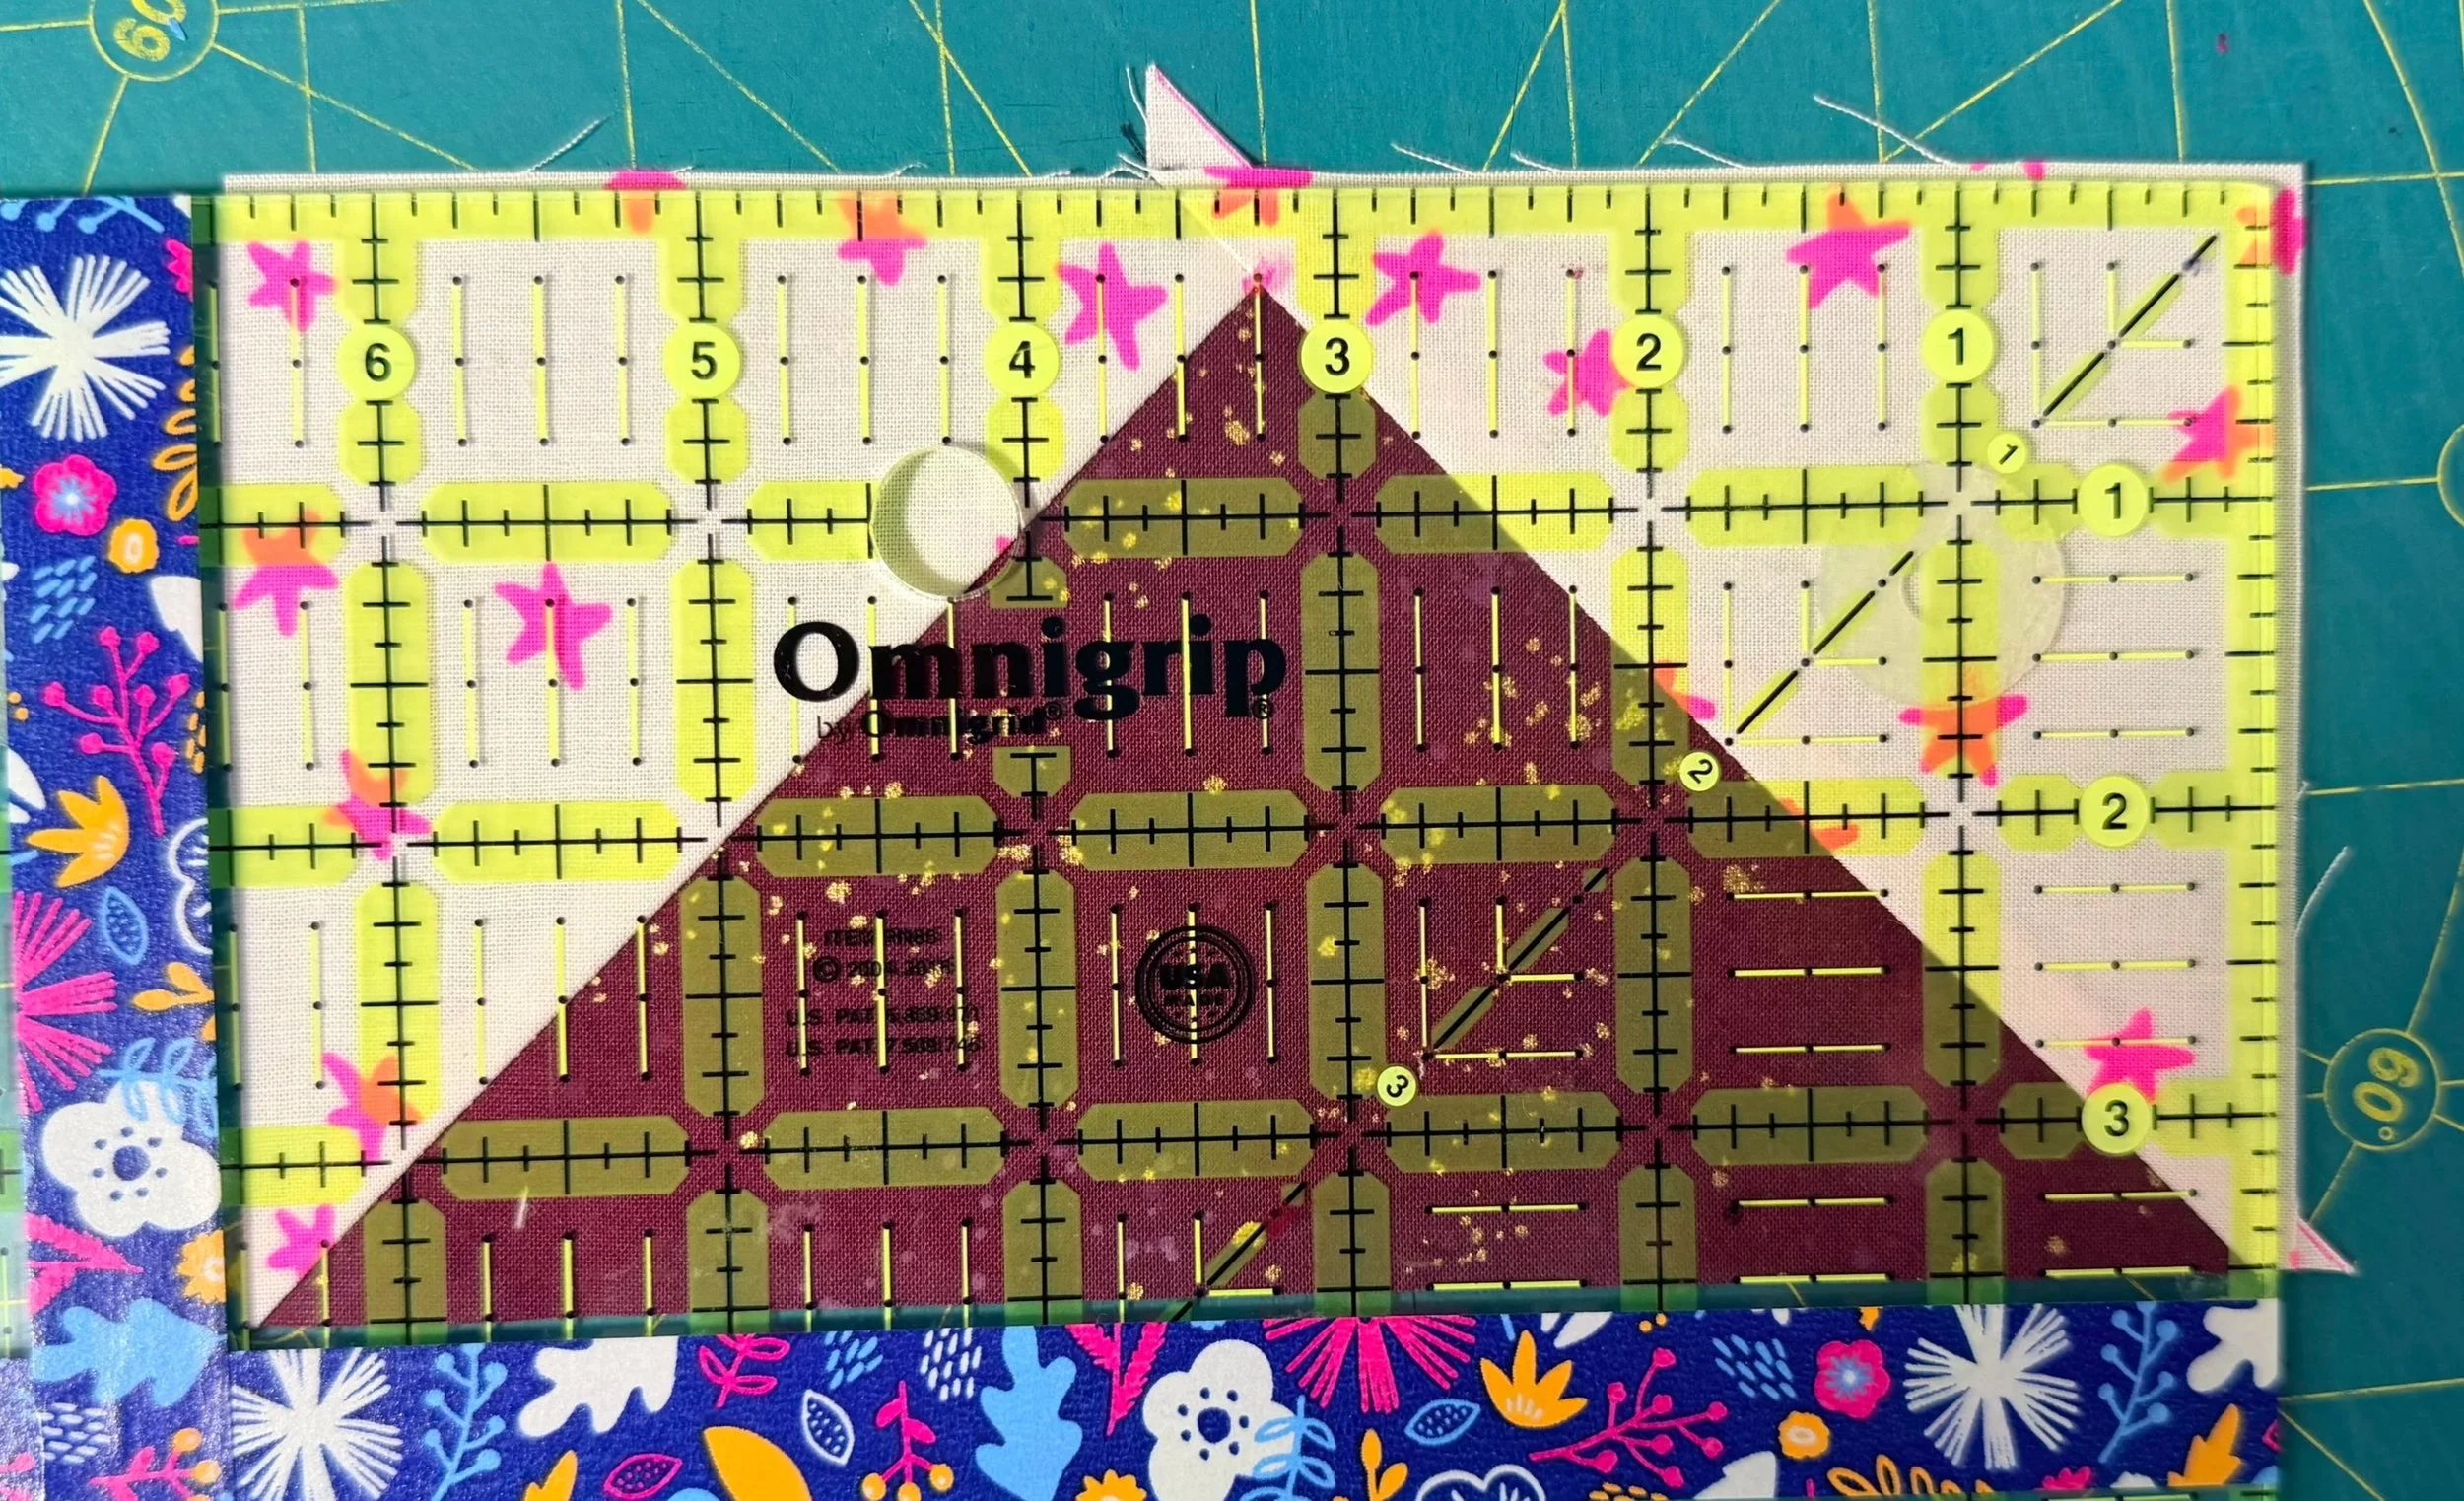
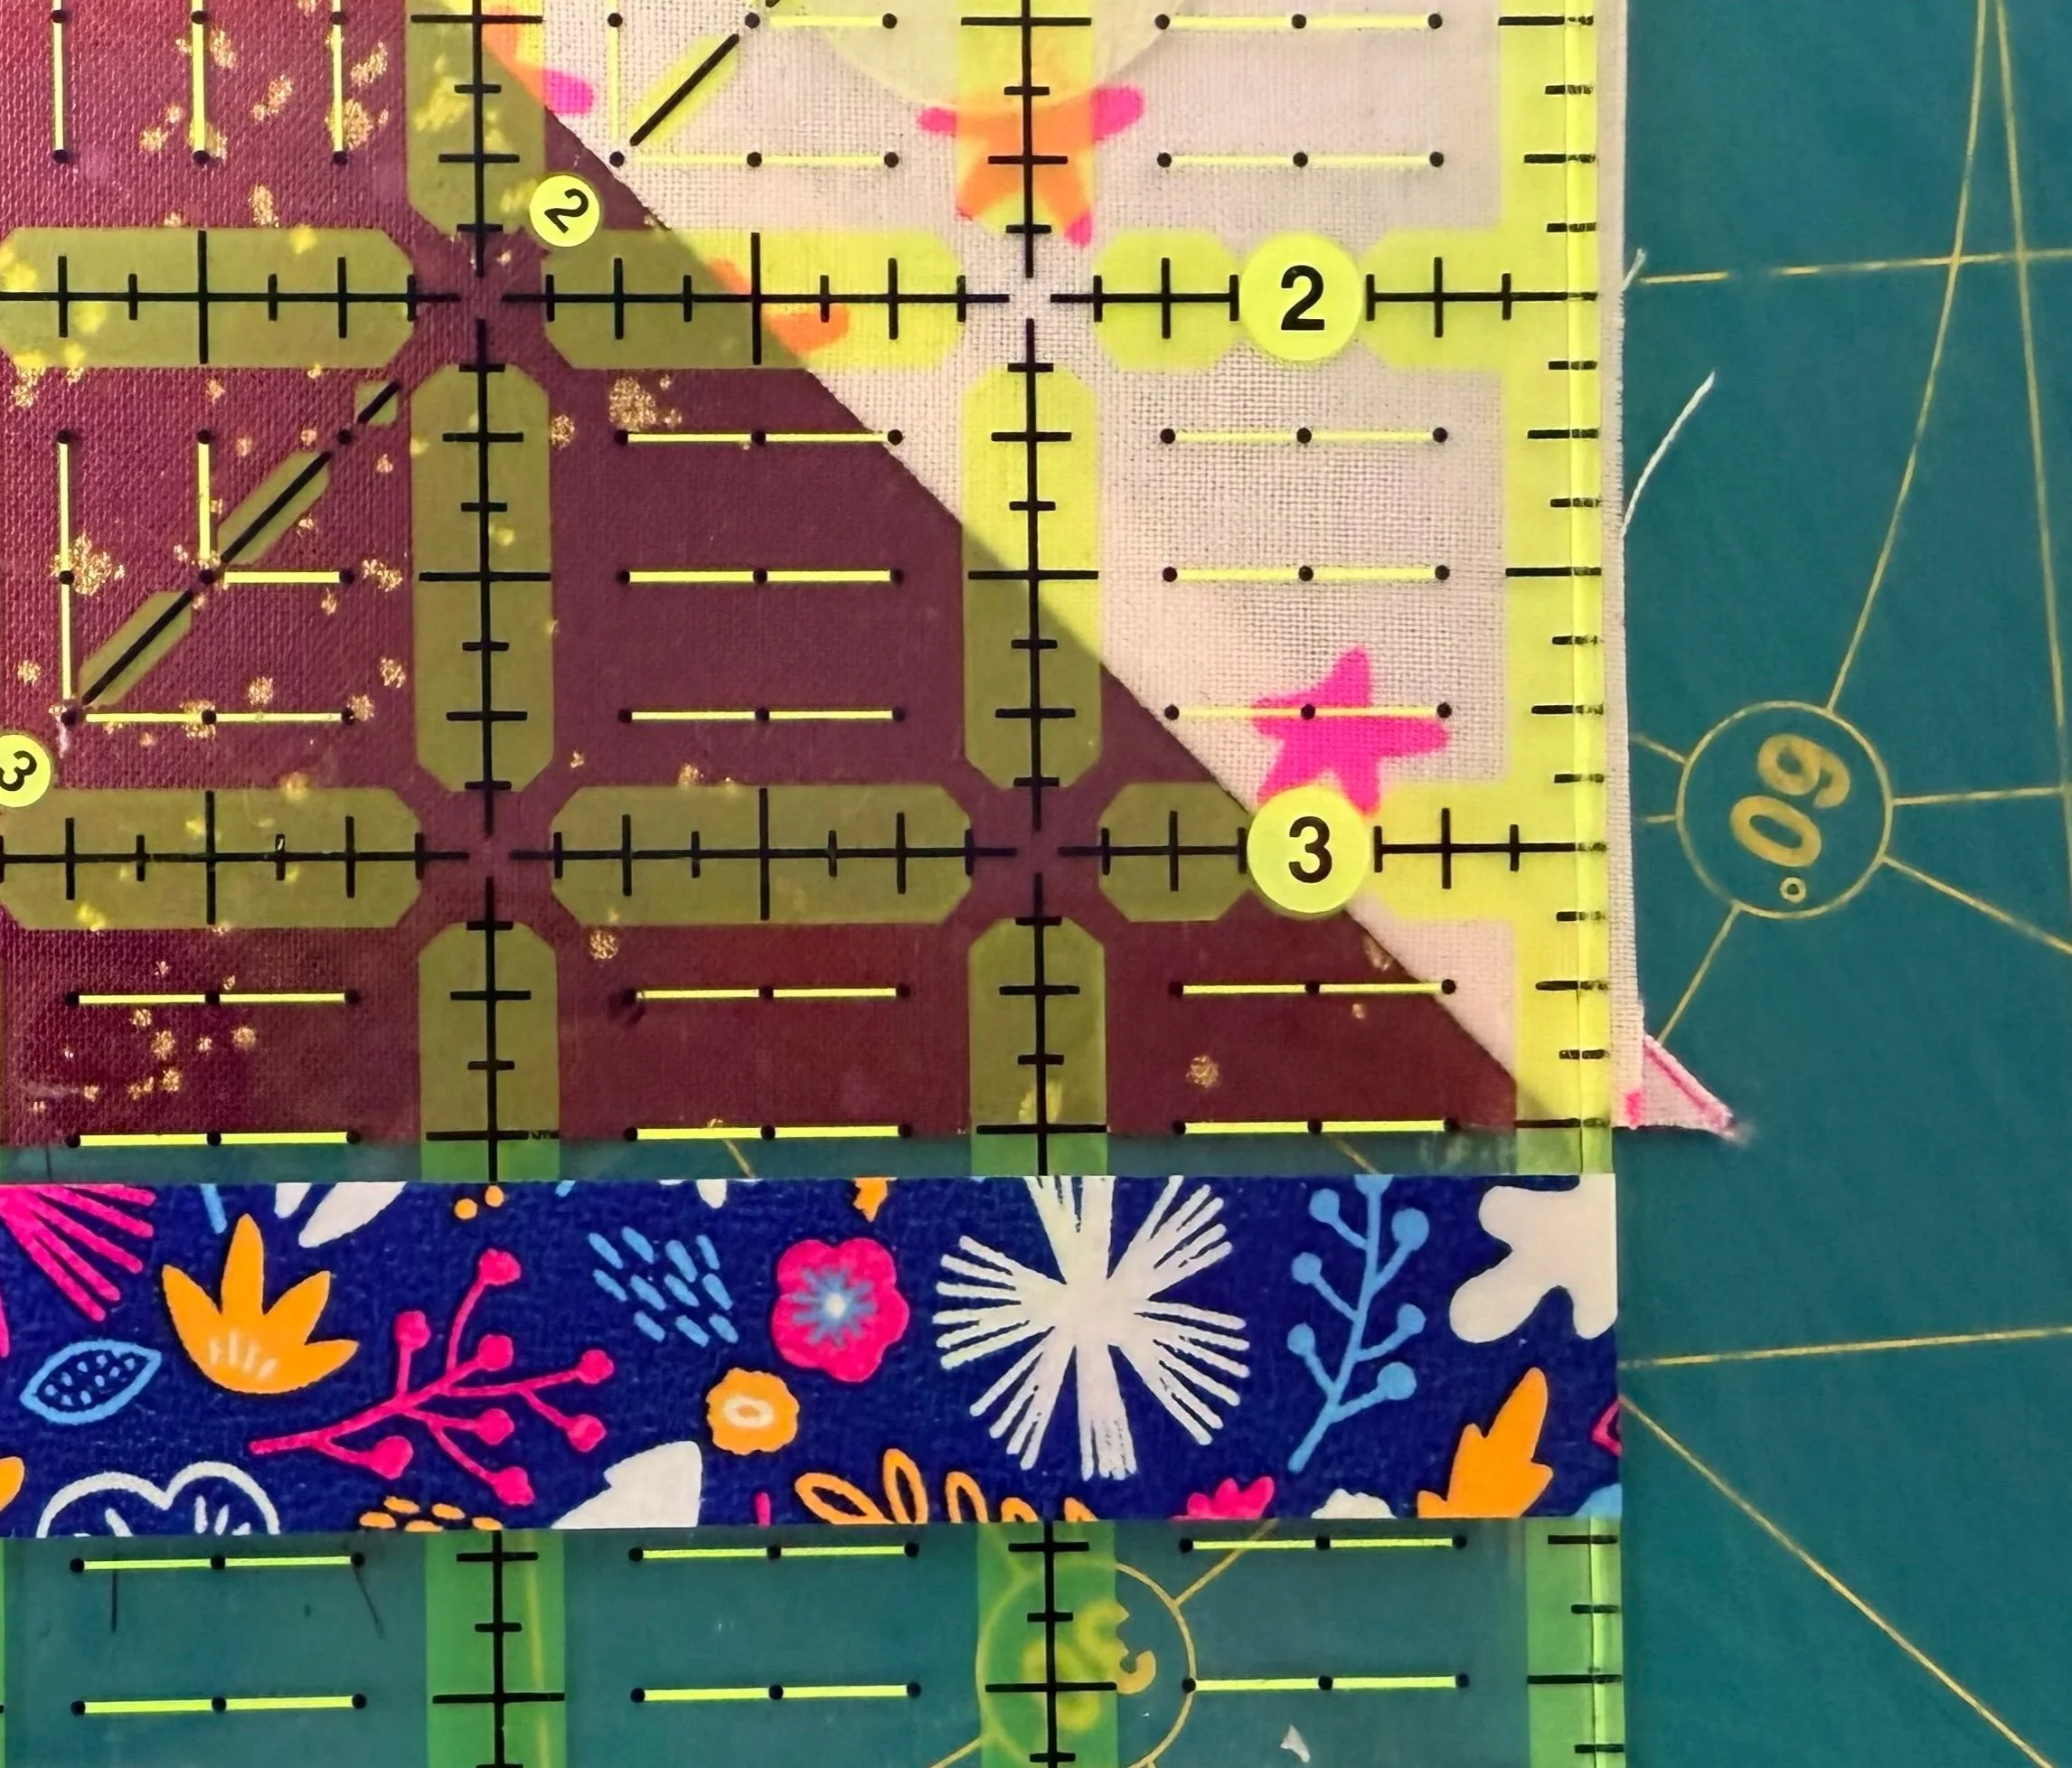
Place your left hand down firmly on the ruler to prevent sliding. Trim along the right and top edges of the ruler.
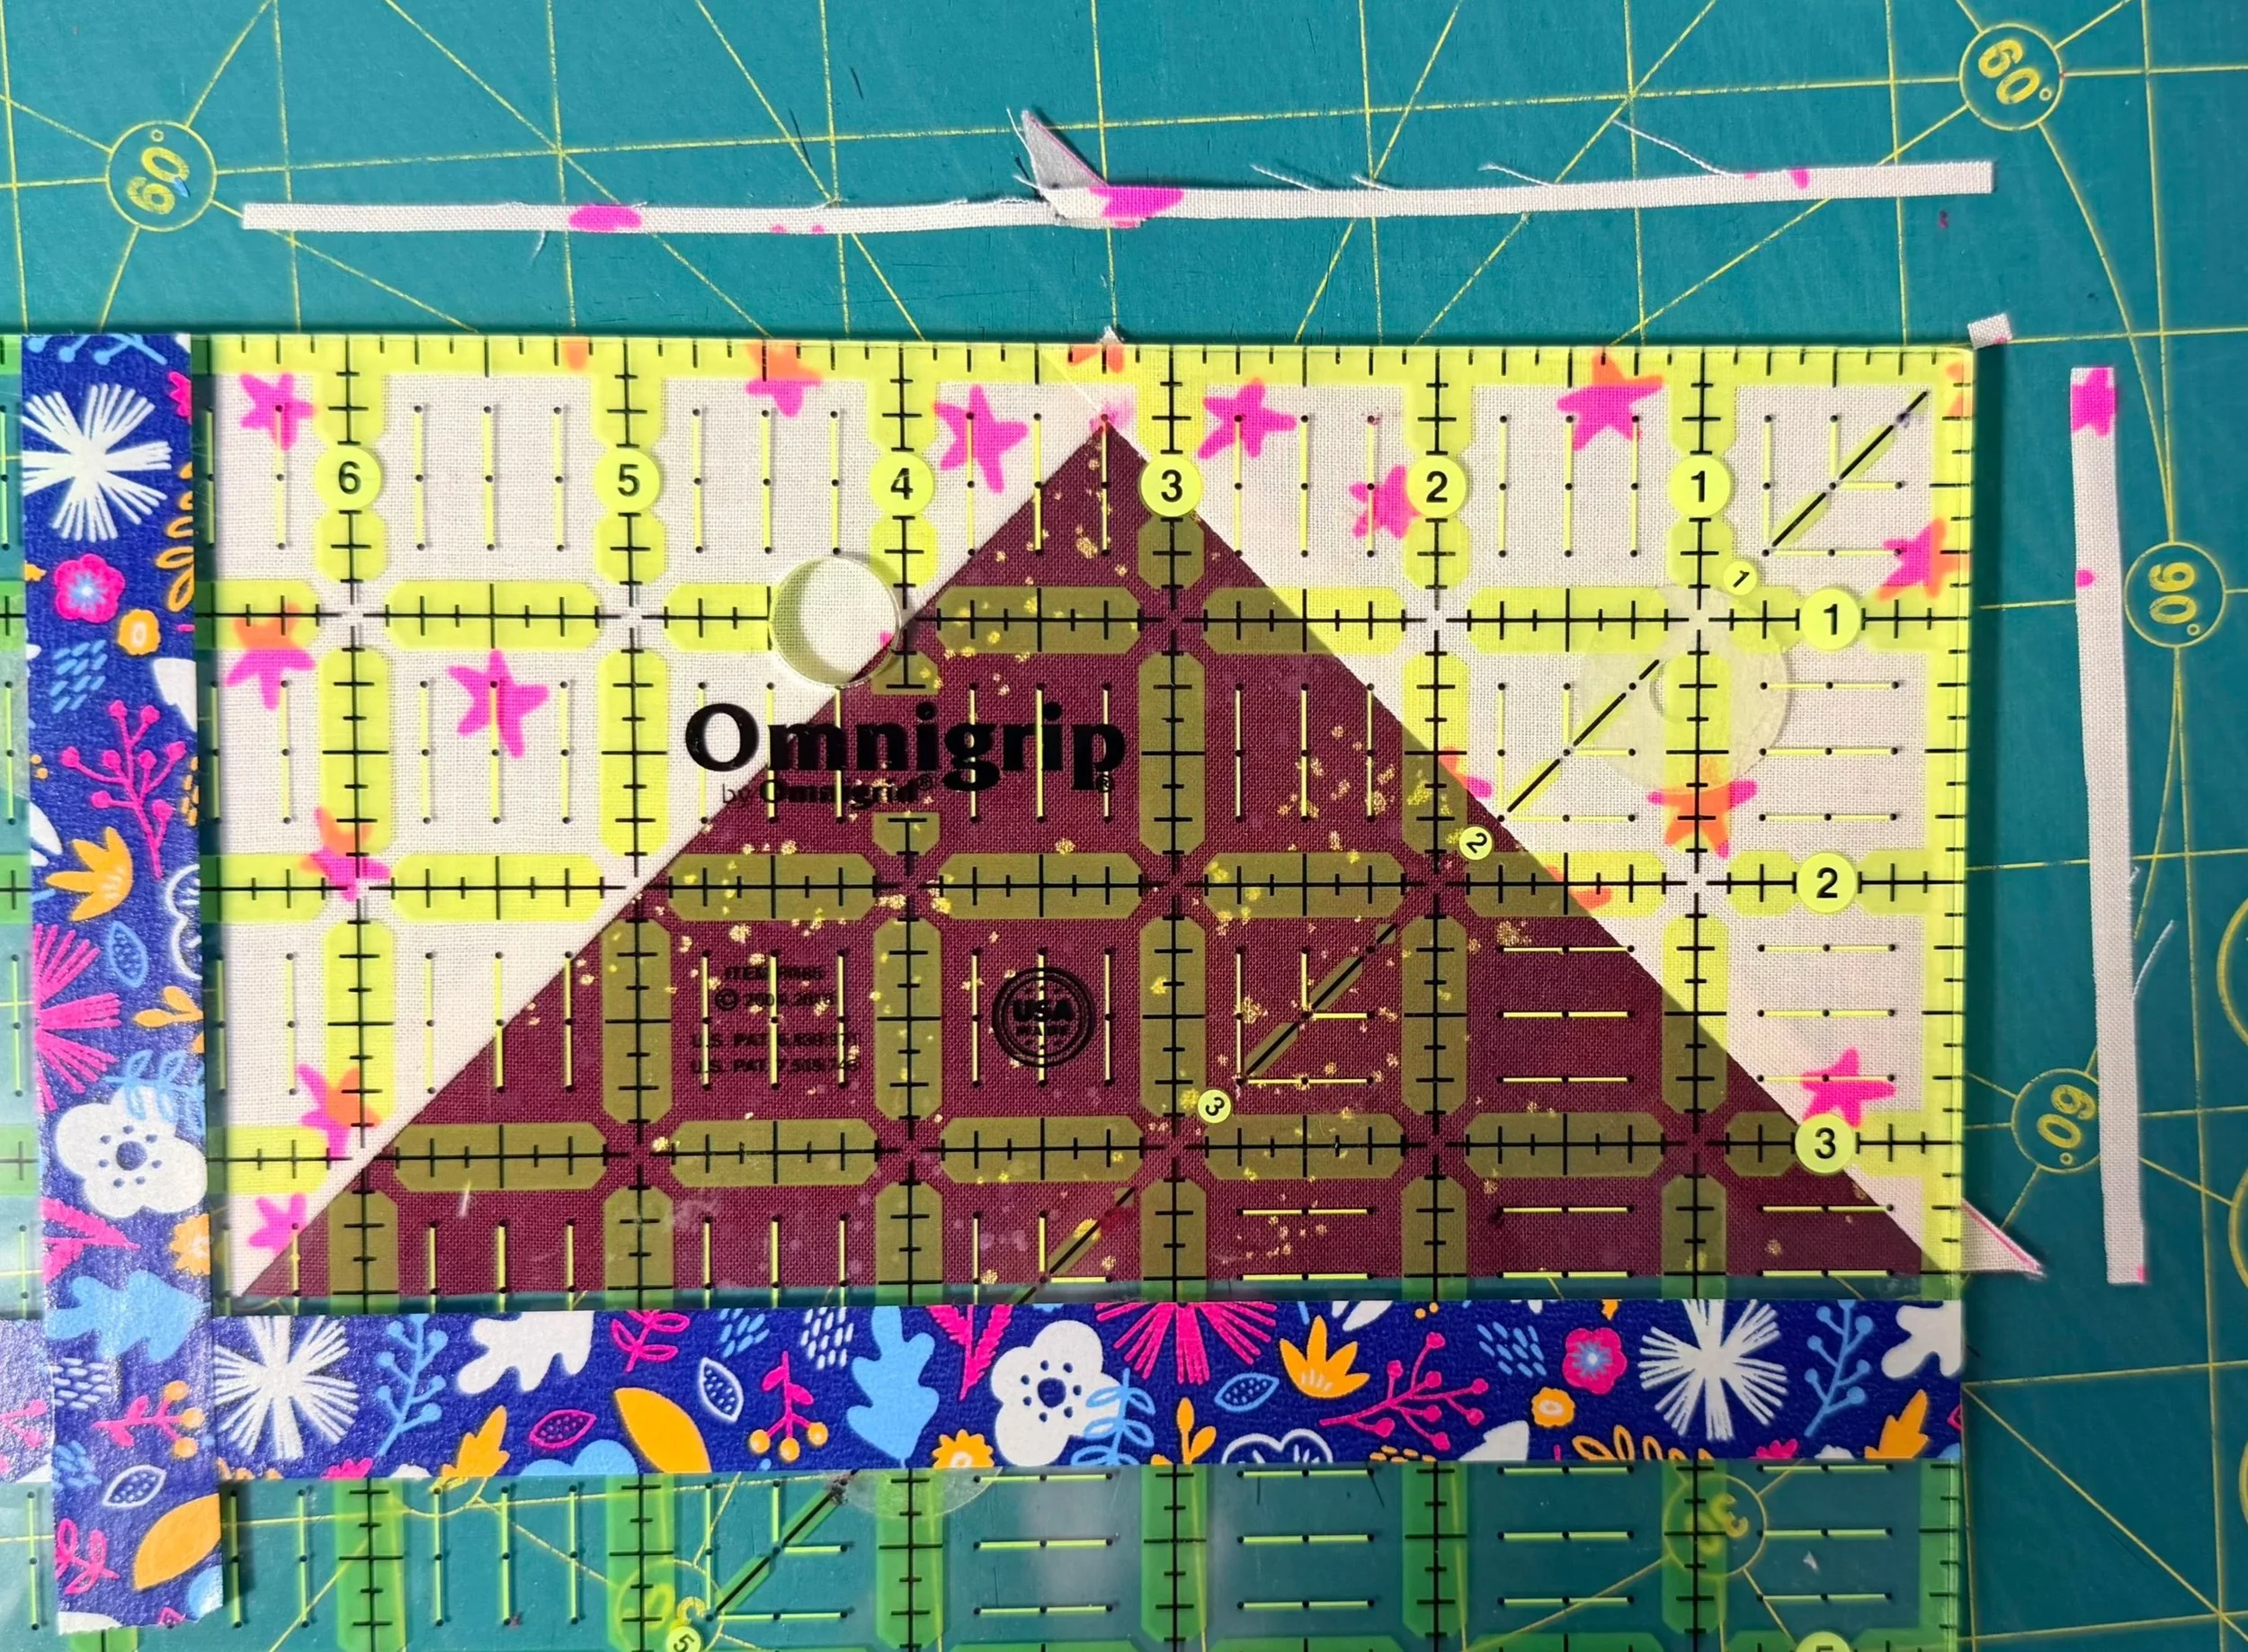
Your block is now trimmed! It should have a 1/4” between the point and the edge of the block (a little bit more is fine in my opinion—better than too little), and nice points where the diagonal seams extend to the corners. With the 4-at-a-time method of piecing, your geese probably won’t all be 100% perfect but they will piece nicely into the next step of your quilt!
You likely have several geese to trim, so get to work! Make sure you use a fresh rotary blade. Your hands and your cutting mat will thank you! Okay, they might not, but you can imagine they are writing you the most beautiful thank you note with a wax seal on the envelope!