
Piecing 4-at-a-Time Flying Geese
Why 4-at-a-time flying geese?
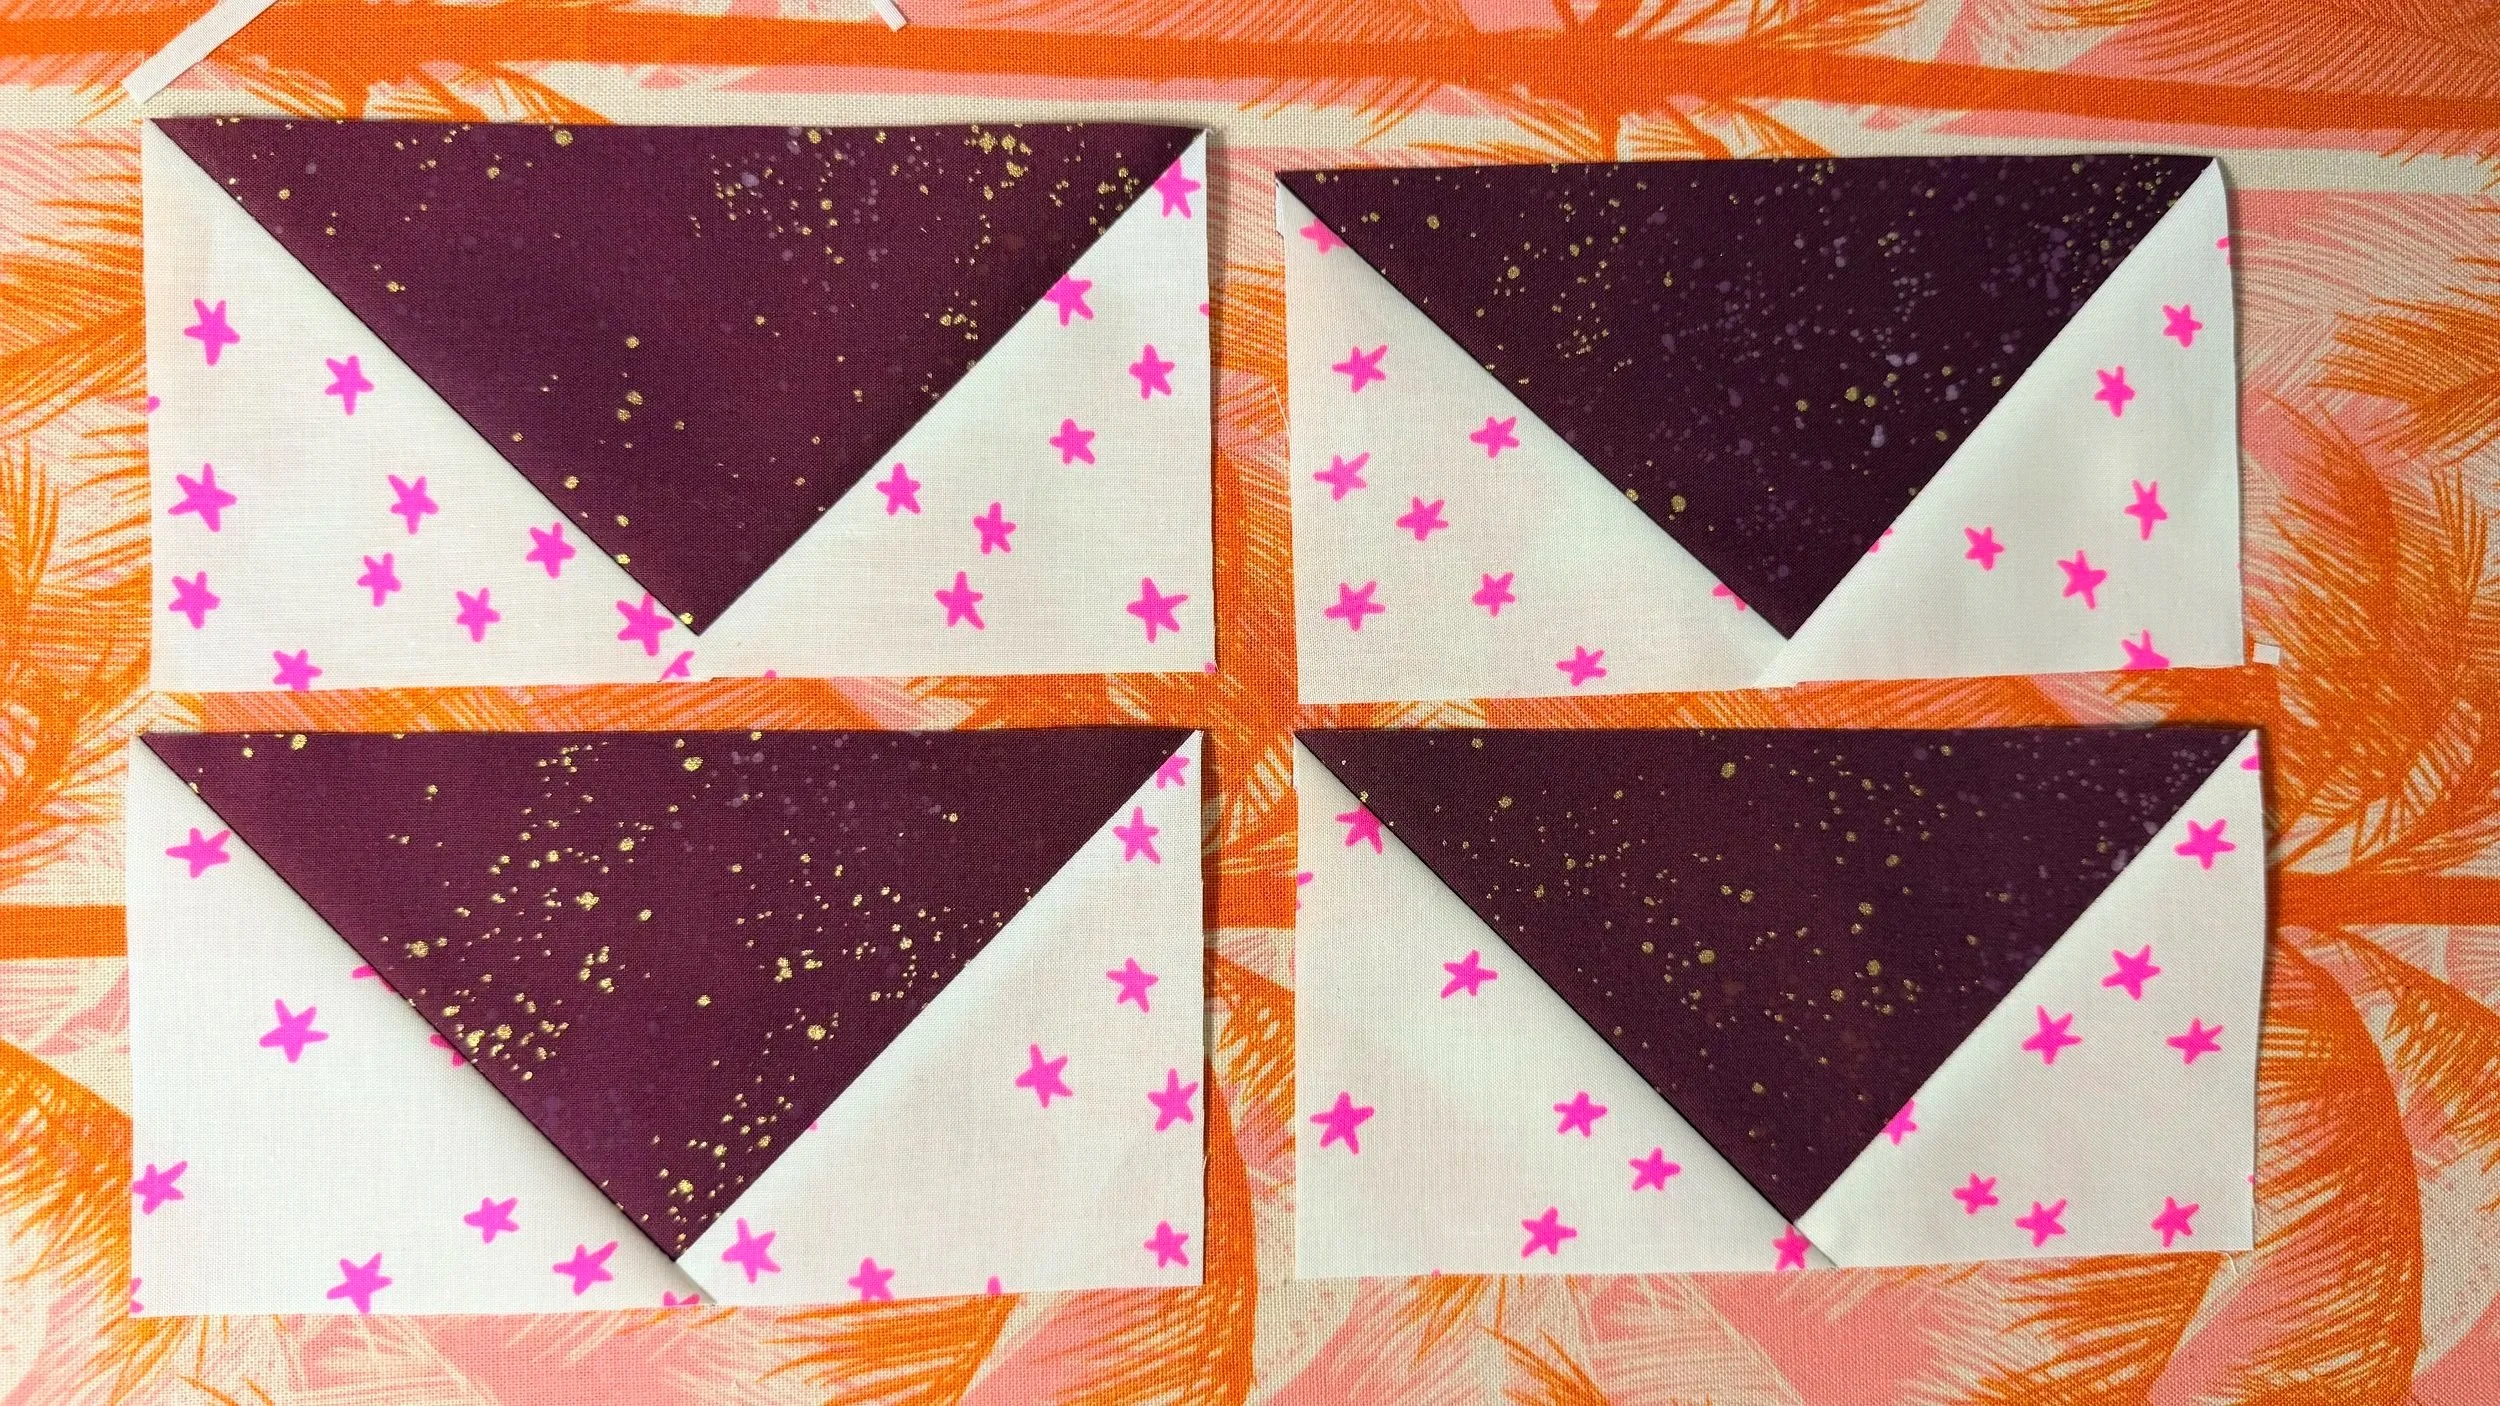
4-at-a-time flying geese are a such a quilting cheat code! You could make your geese the traditional way if you only need 1 or 2, and if you’re a perfect sewist then they will turn out fine. But if you need more and/or if you’re NOT a perfect sewist (*raises hand*), then oversized blocks meant for trimming can be really helpful!
I always prefer 4-at-a-time flying geese for the ability to, well, make 4 of them at a time. But also, when writing my own first pattern chock-full of geese—just like your local strip mall parking lot (okay, maybe that is an American thing)—I chose starting block sizes that would result in geese that are a little oversized and meant to be trimmed down to perfection. Beware that some quilt patterns use the 4-at-a-time method (aka the “no waste method”) but do NOT result in oversized blocks meant for trimming. A good indicator is if the pattern does not instruct you to trim the blocks. That caught me by surprise one time so now I always check.
Before cutting fabric for any new-to-you quilt pattern that uses the 4-at-a-time flying geese method, especially if there is no note to trim the blocks, you may want to do some Googling around for a cheat sheet to see which size squares to start with to make oversized geese instead. Often the difference is very small—maybe 1/4” larger squares than the pattern calls for, so it should not significantly impact your fabric requirements to increase the block size a smidge (note: it may be more significant if you are using precuts for your quilt and you already do not have much extra fabric left—make sure you have enough fabric before you slice and dice).
Once you find a combination of starting squares that are intended for making trimmable geese, I highly recommend you do a test set with some scraps to make sure they turn out trimmable.
Piecing
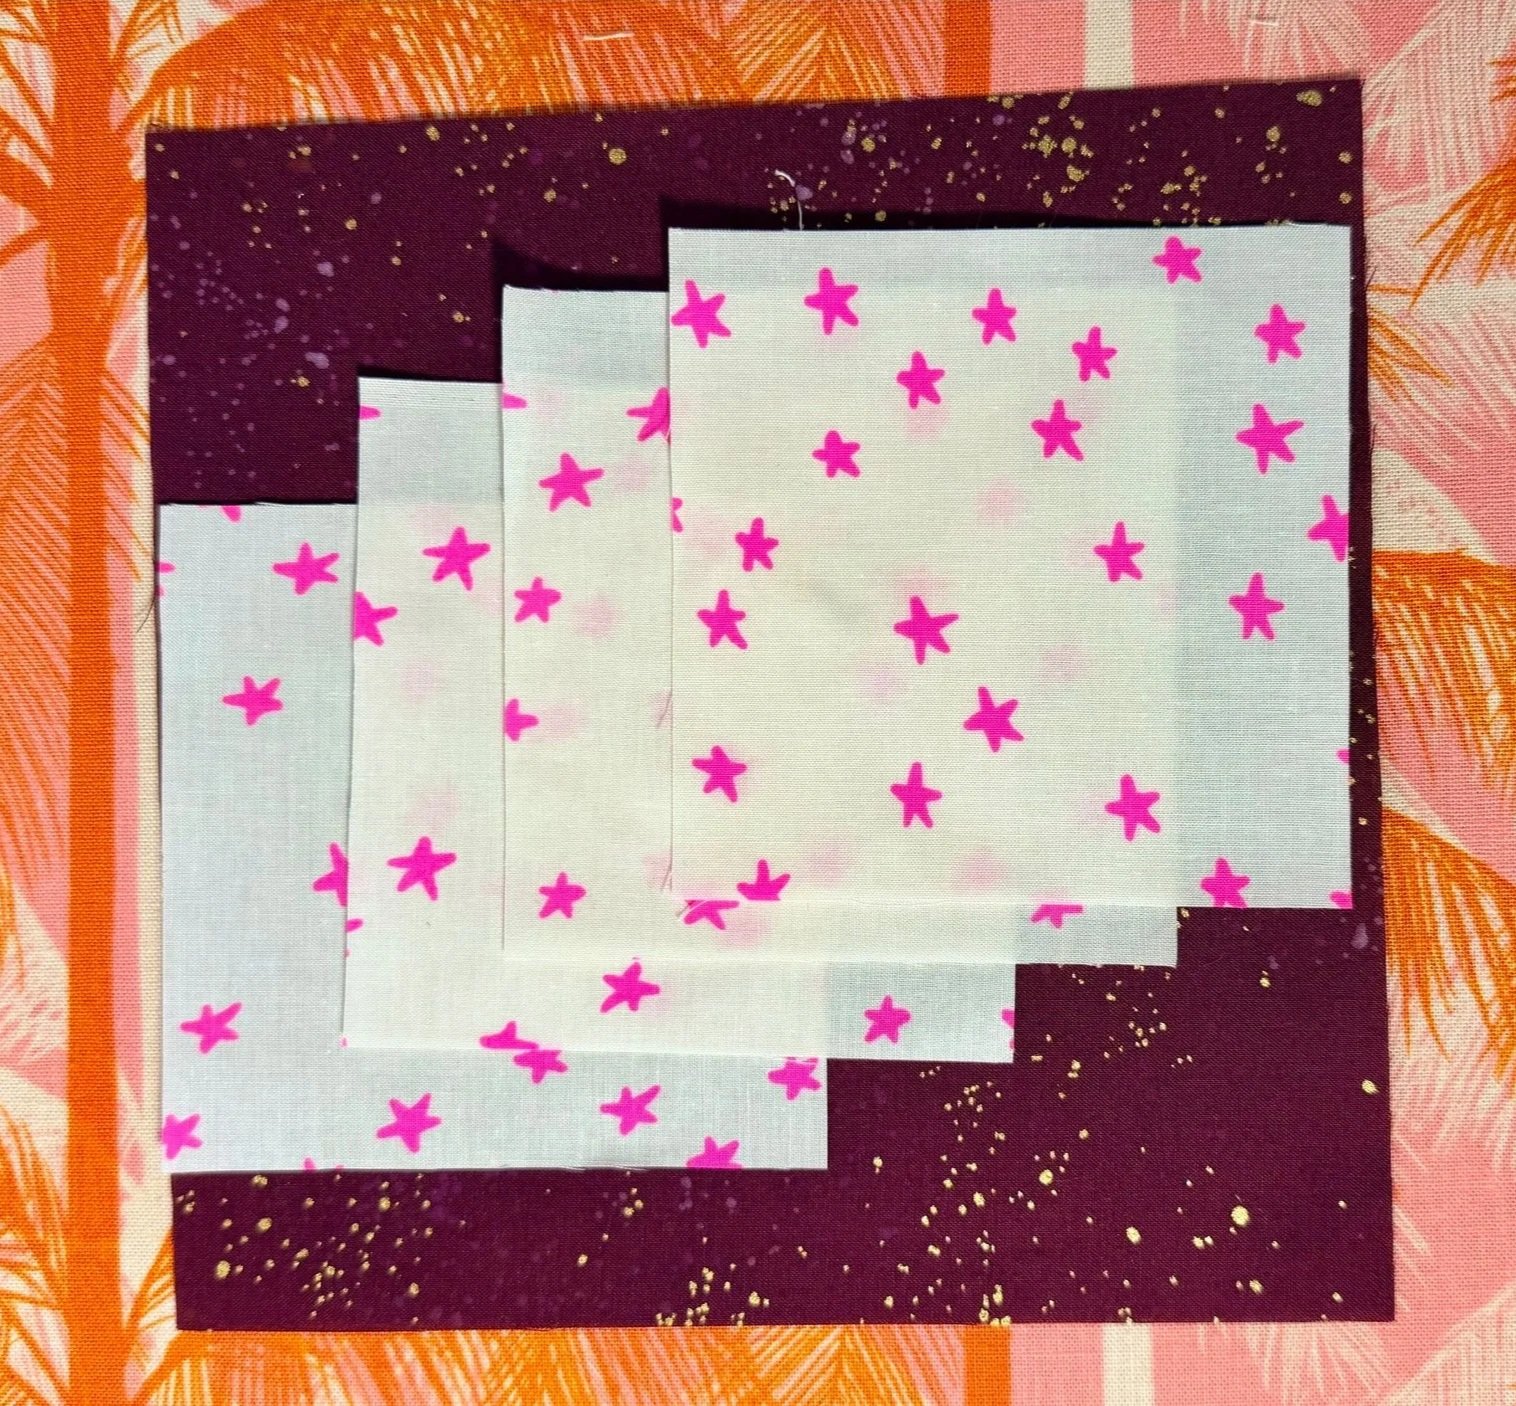
Cut your starting squares according to the pattern or according to whatever cheat sheet you found. (If you want to make a 3”x6” goose, for example, you will find that many different sources will have different size square recommendations! This is where scraps become handy!). You will have 1 large square and 4 small squares.
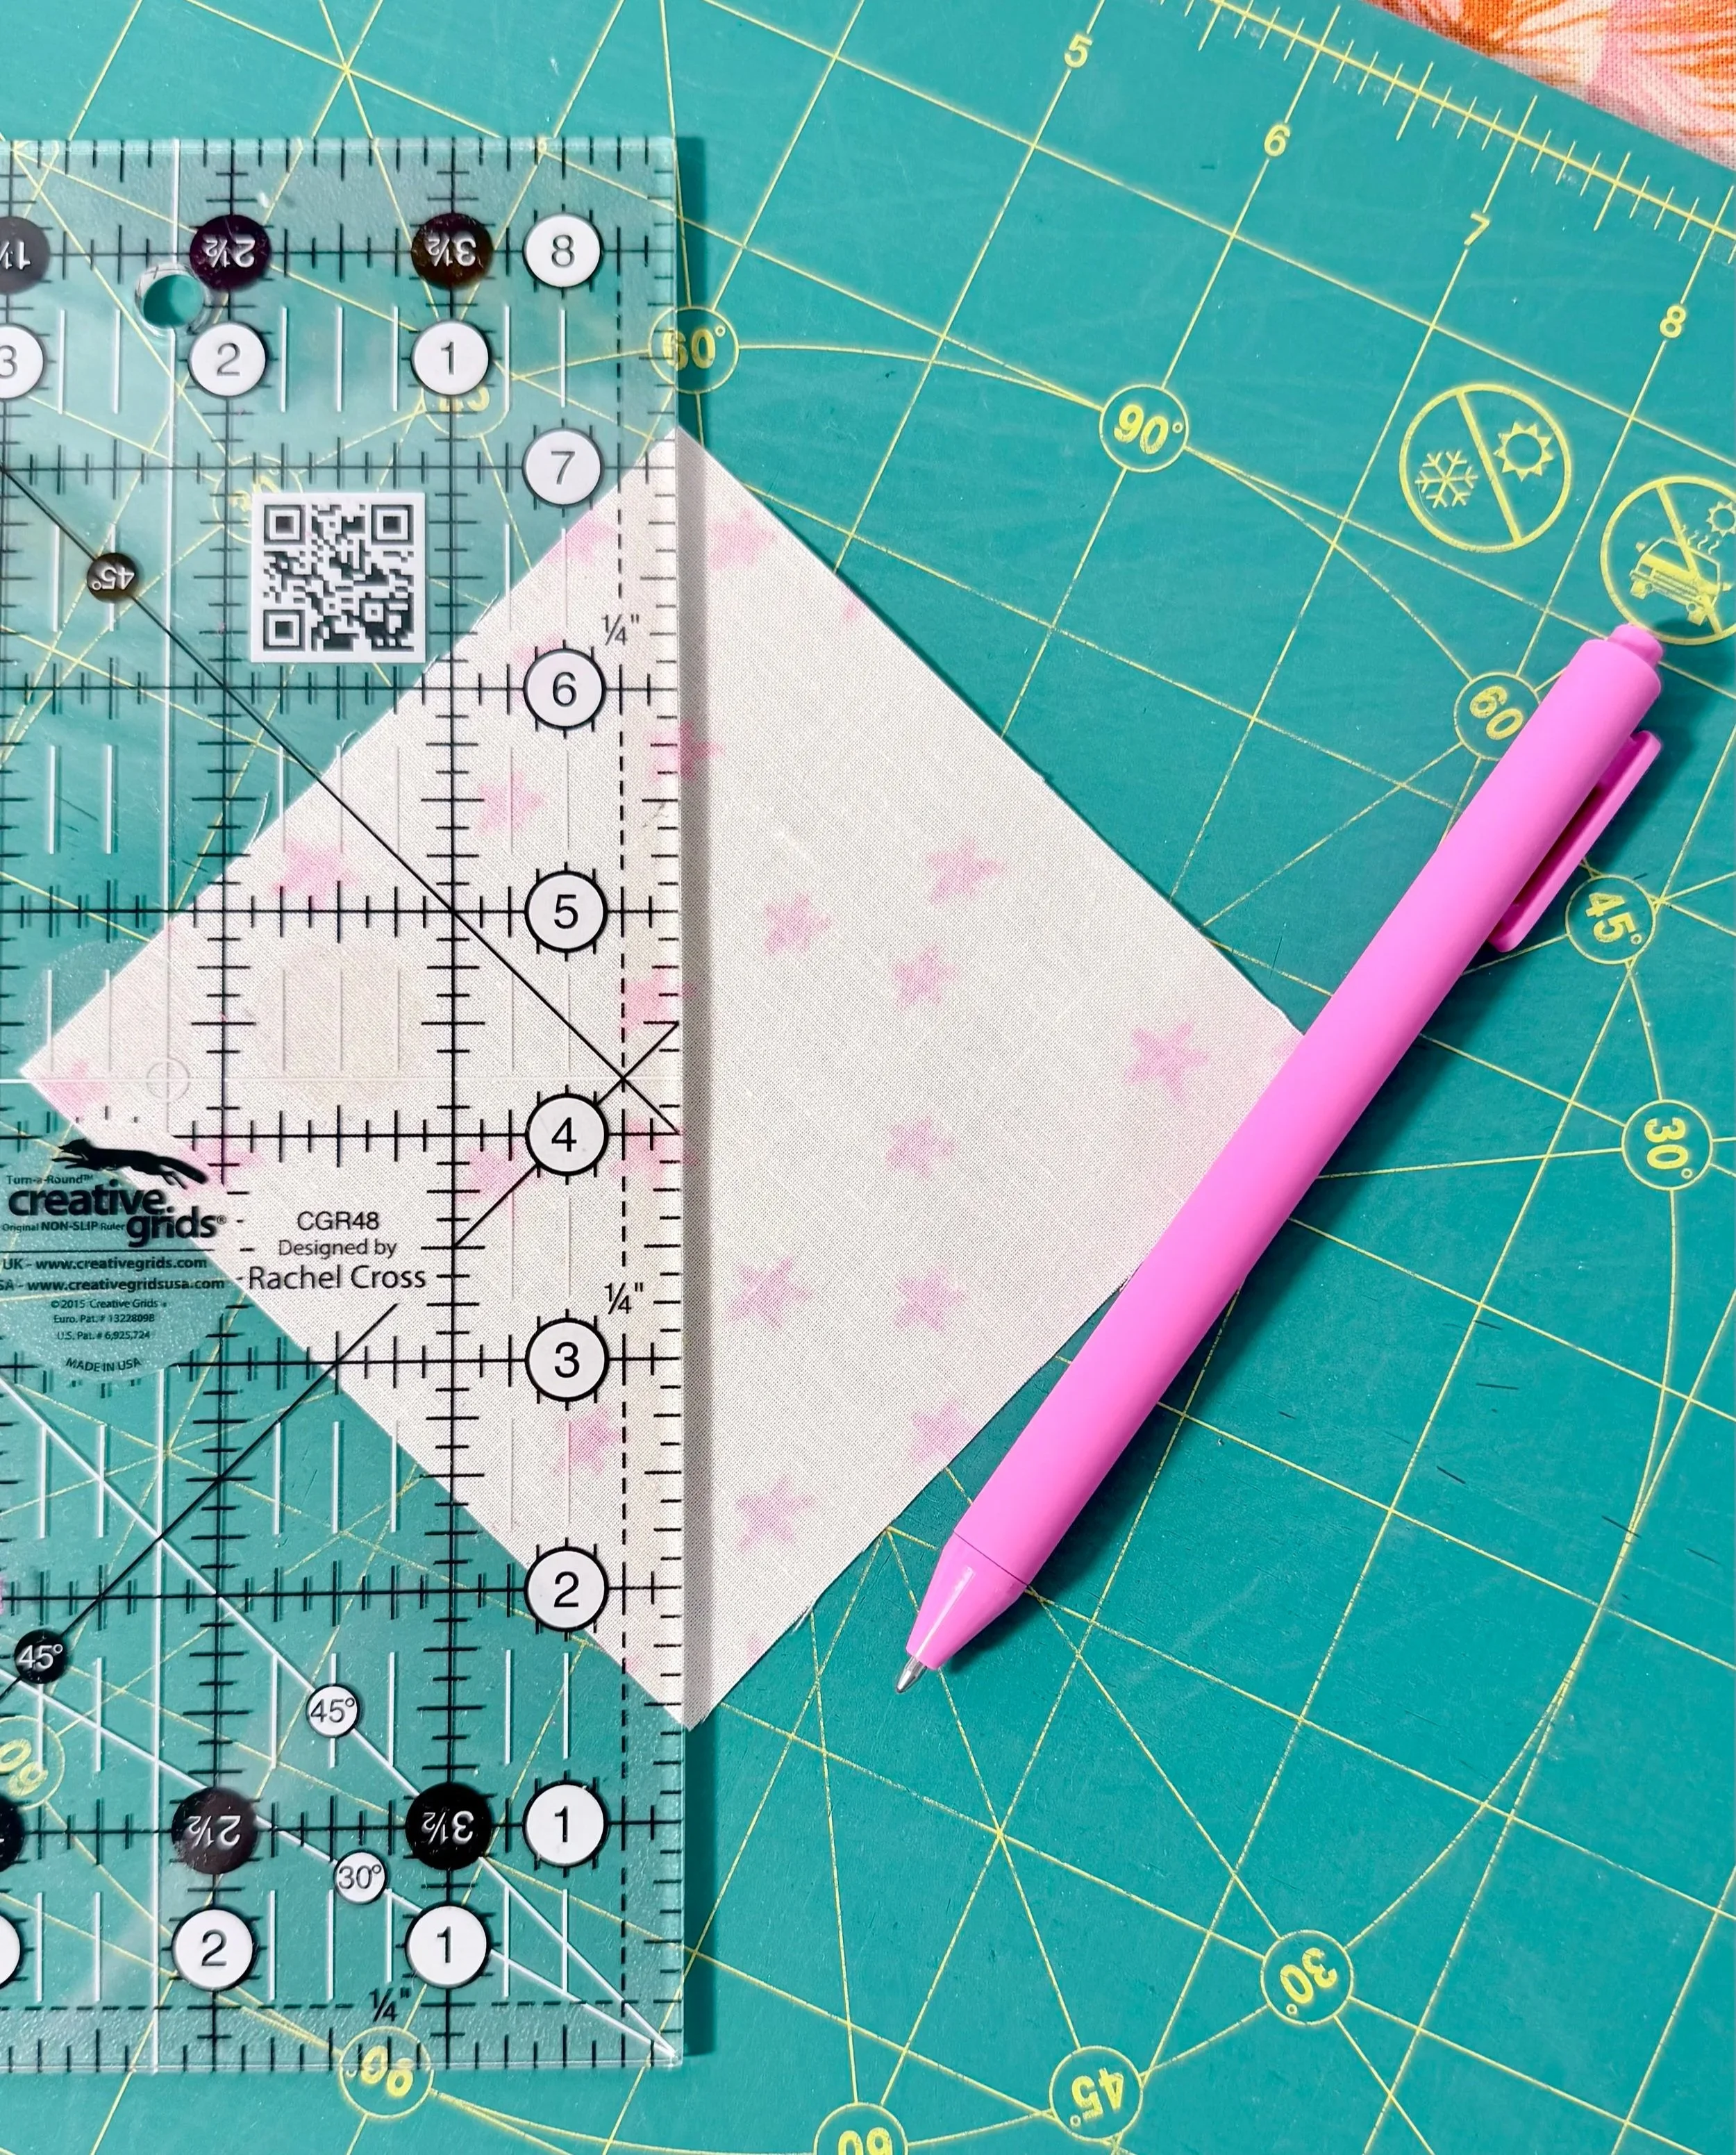
(Optional) Draw a diagonal line from one corner to another on the wrong side of all of your small squares.
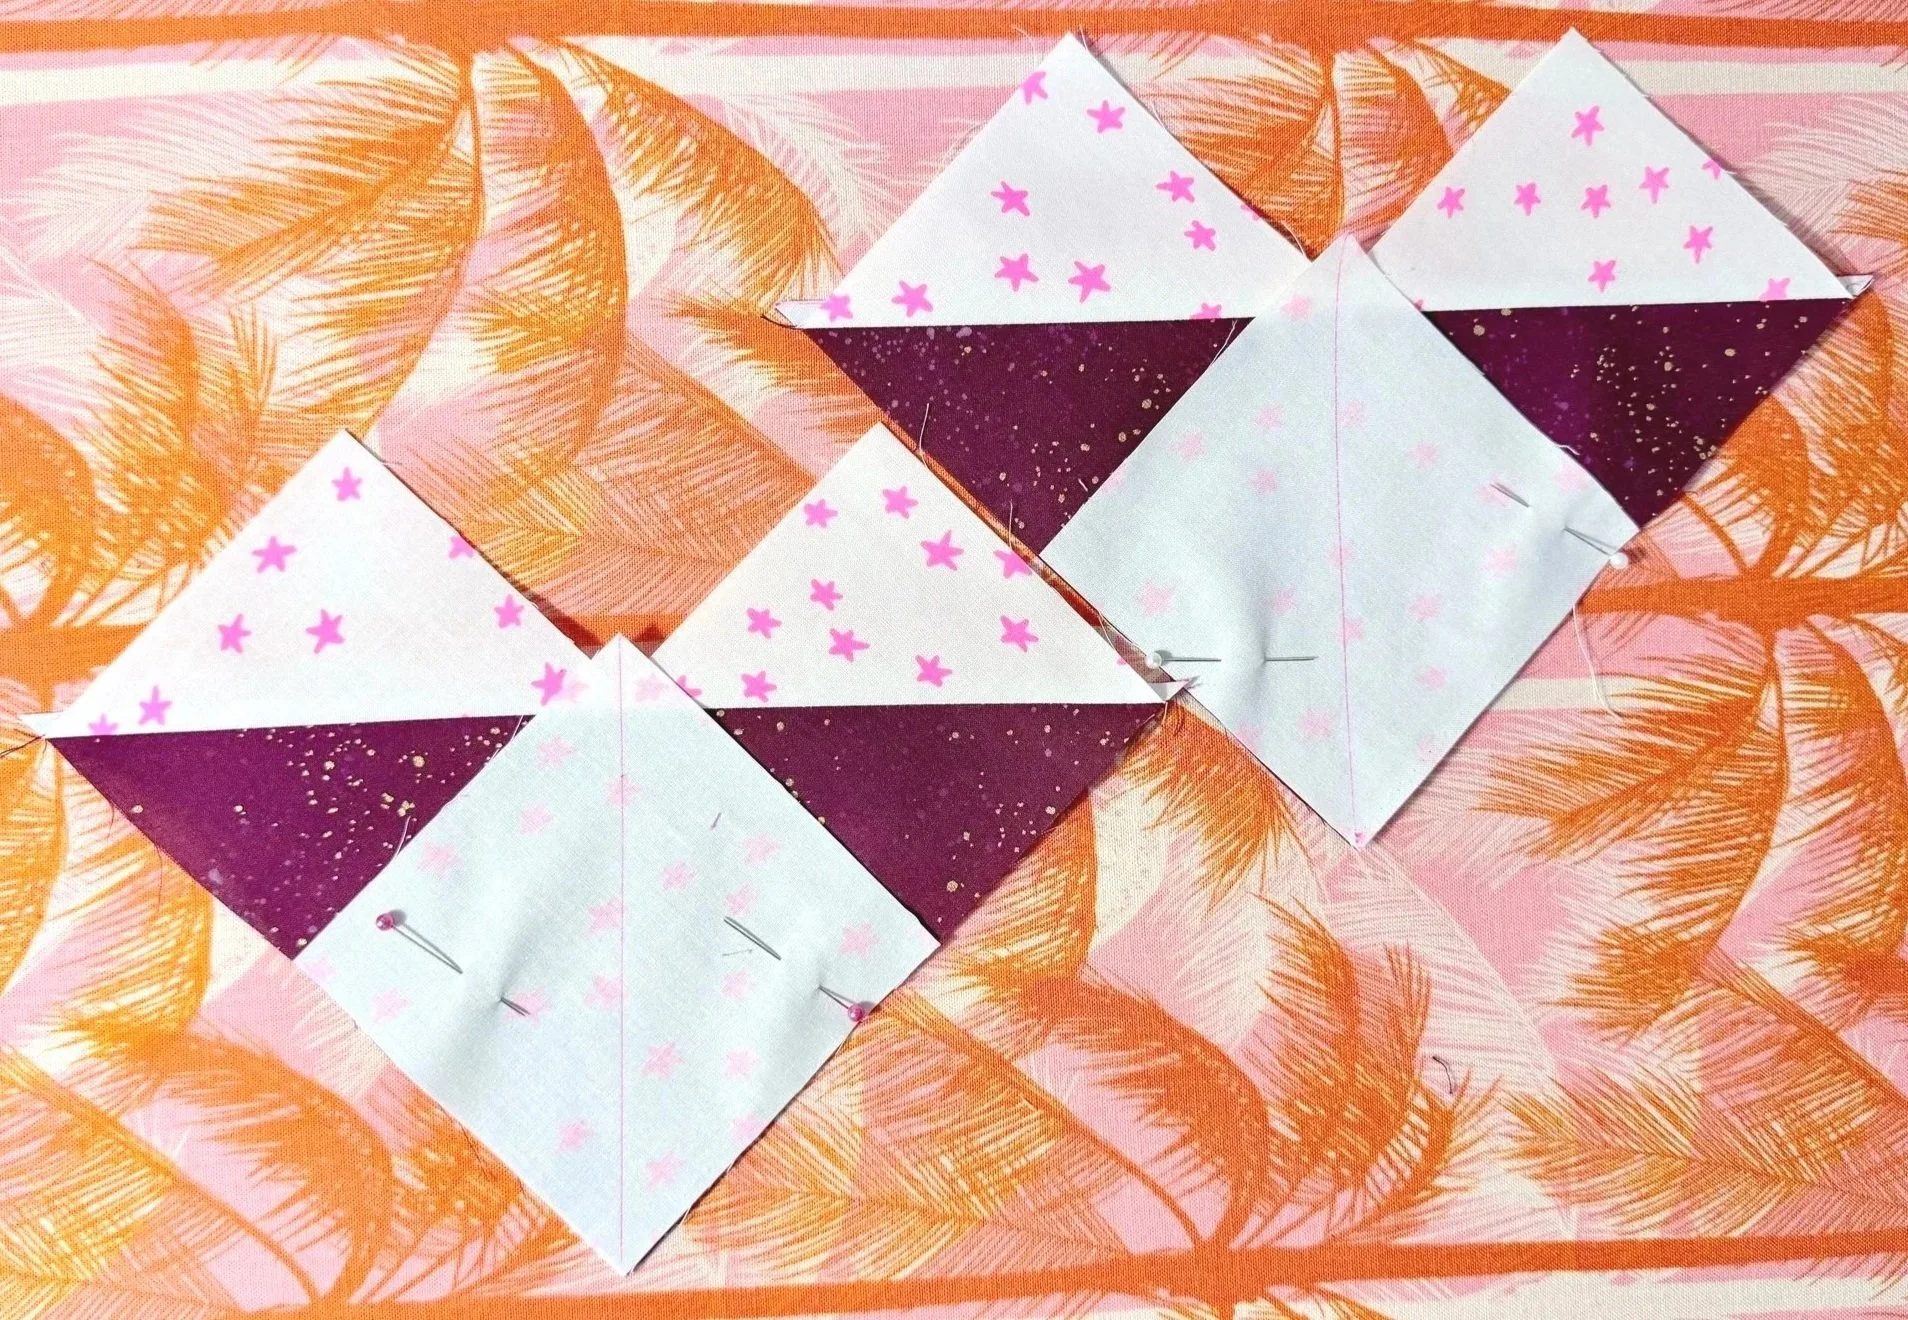
Place the large square right side up, then place 2 small squares right sides down (so your squares are Right Sides Together, or RST).
The small squares will overlap in the middle. Line the corners of the small squares nicely with the corners of the large square.
Sew a scant 1/4” to the right of the drawn (or imaginary) line.
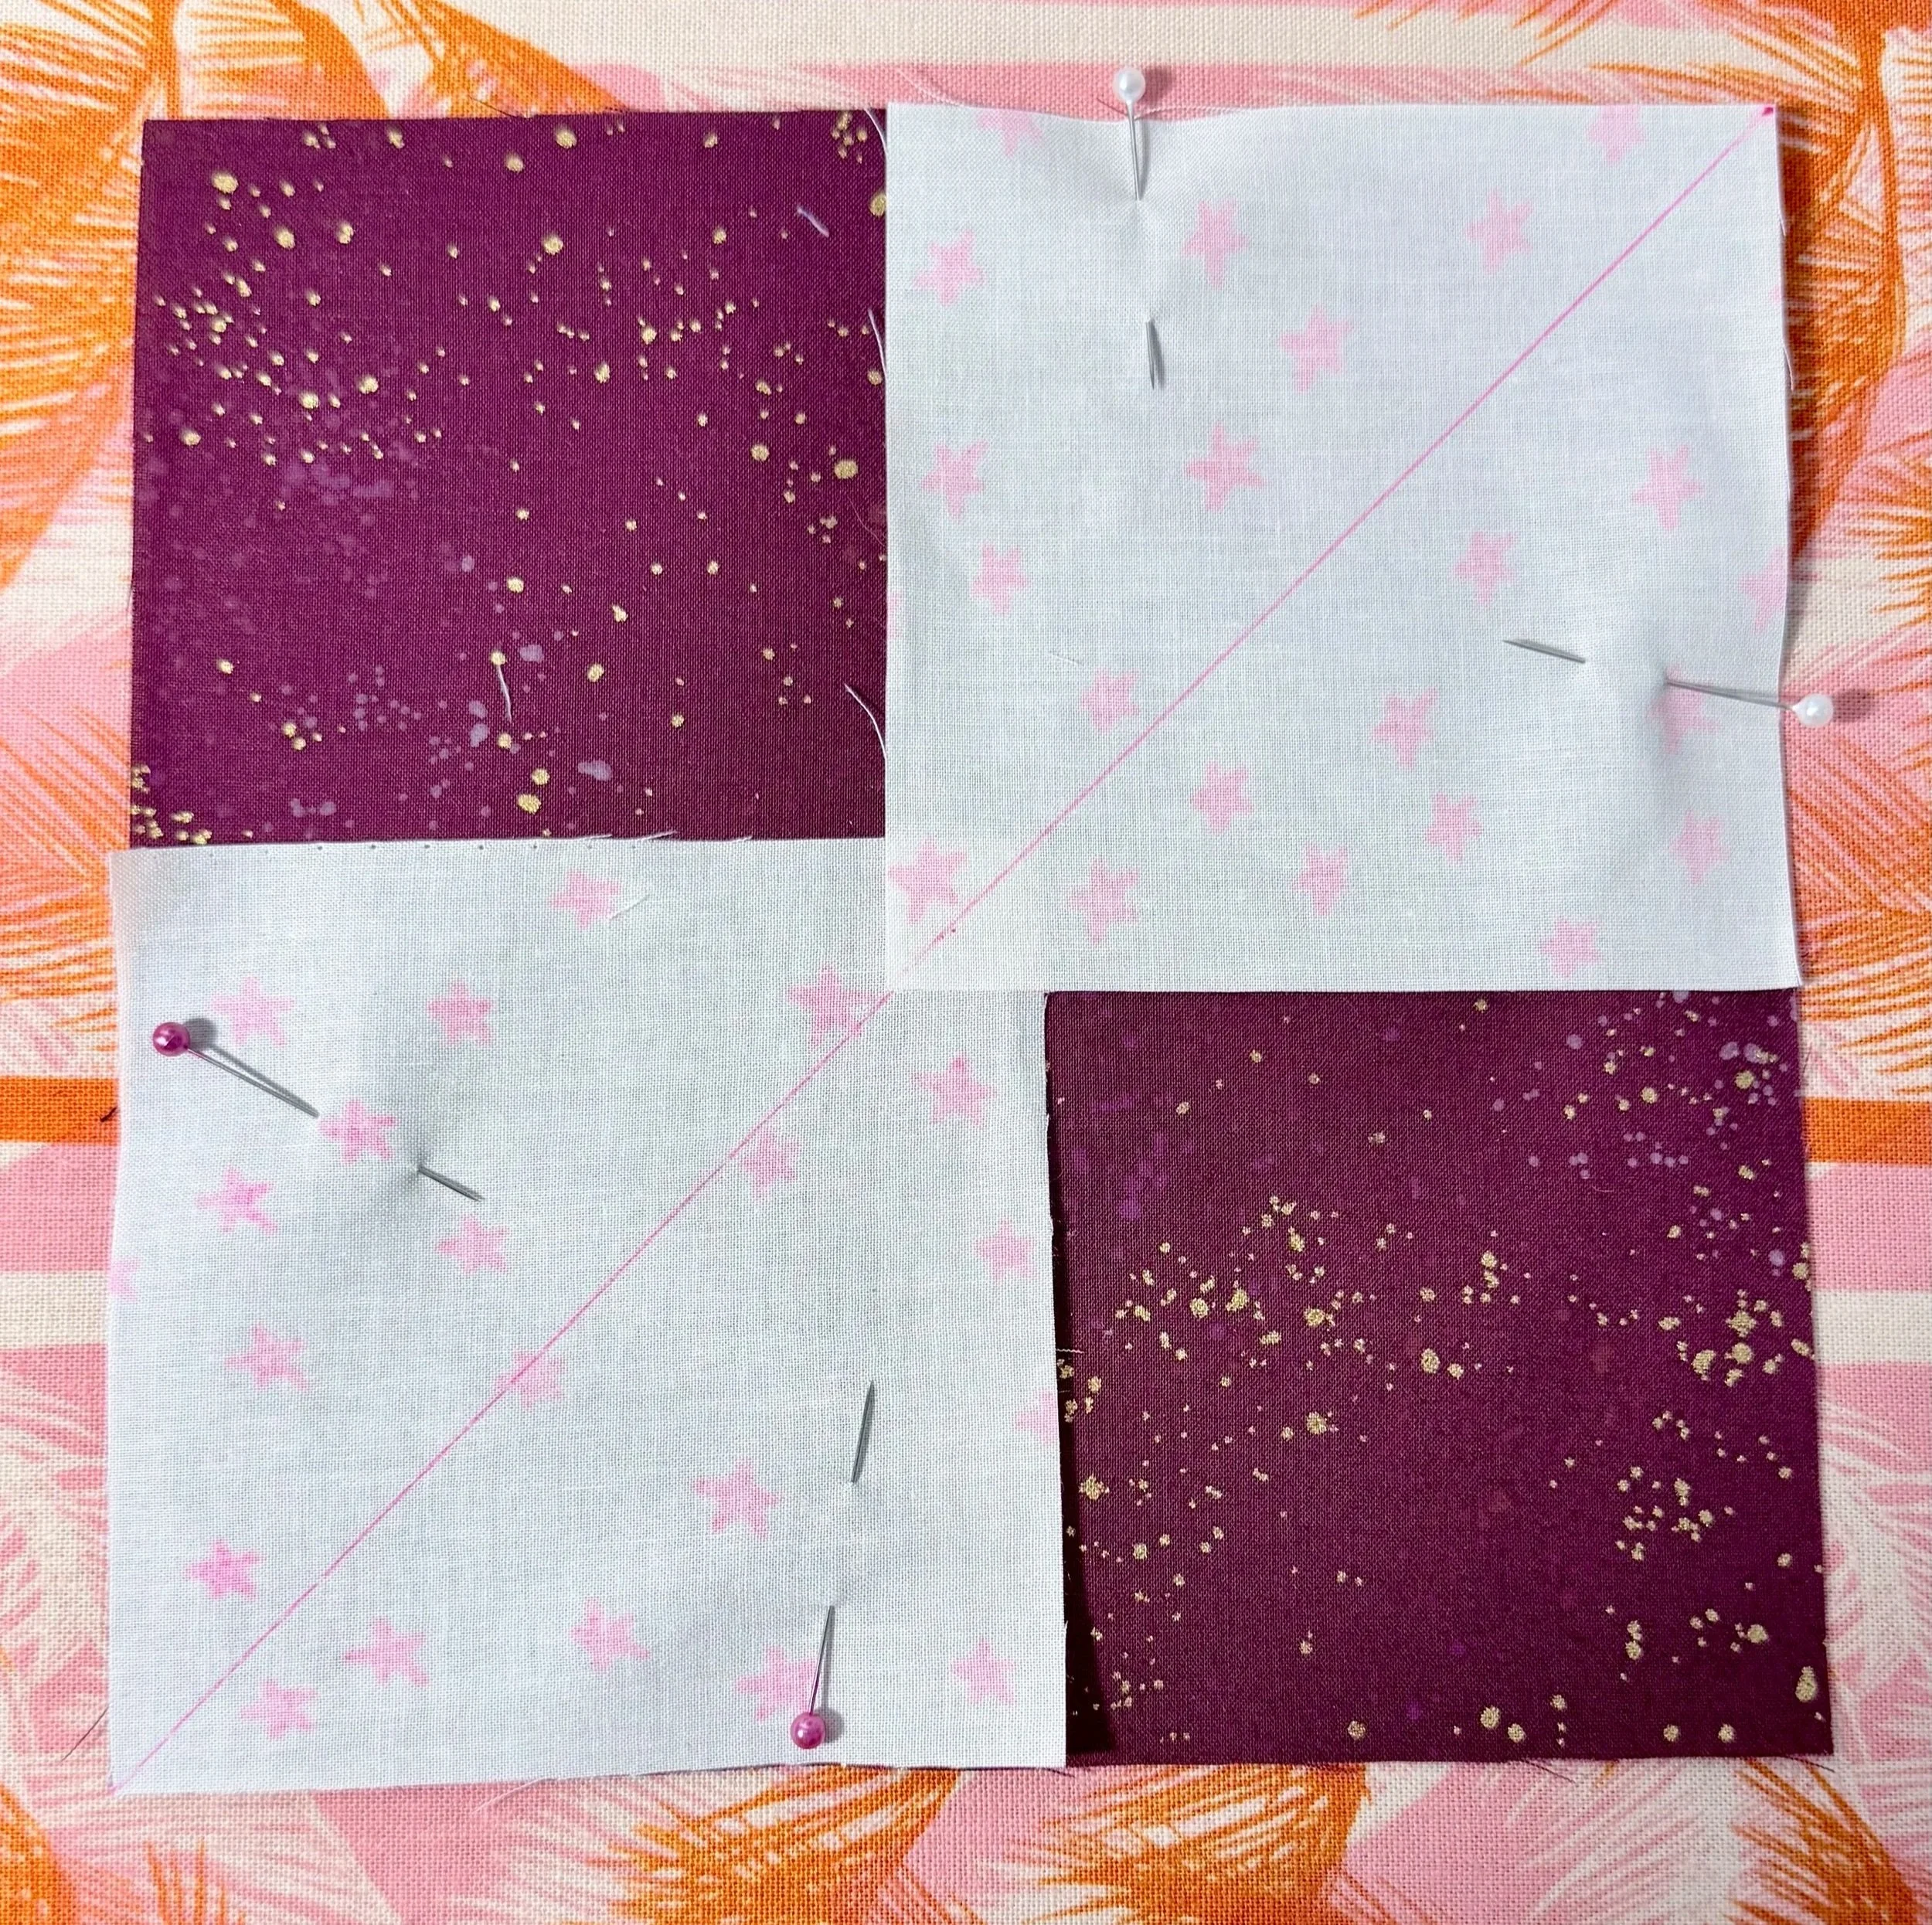
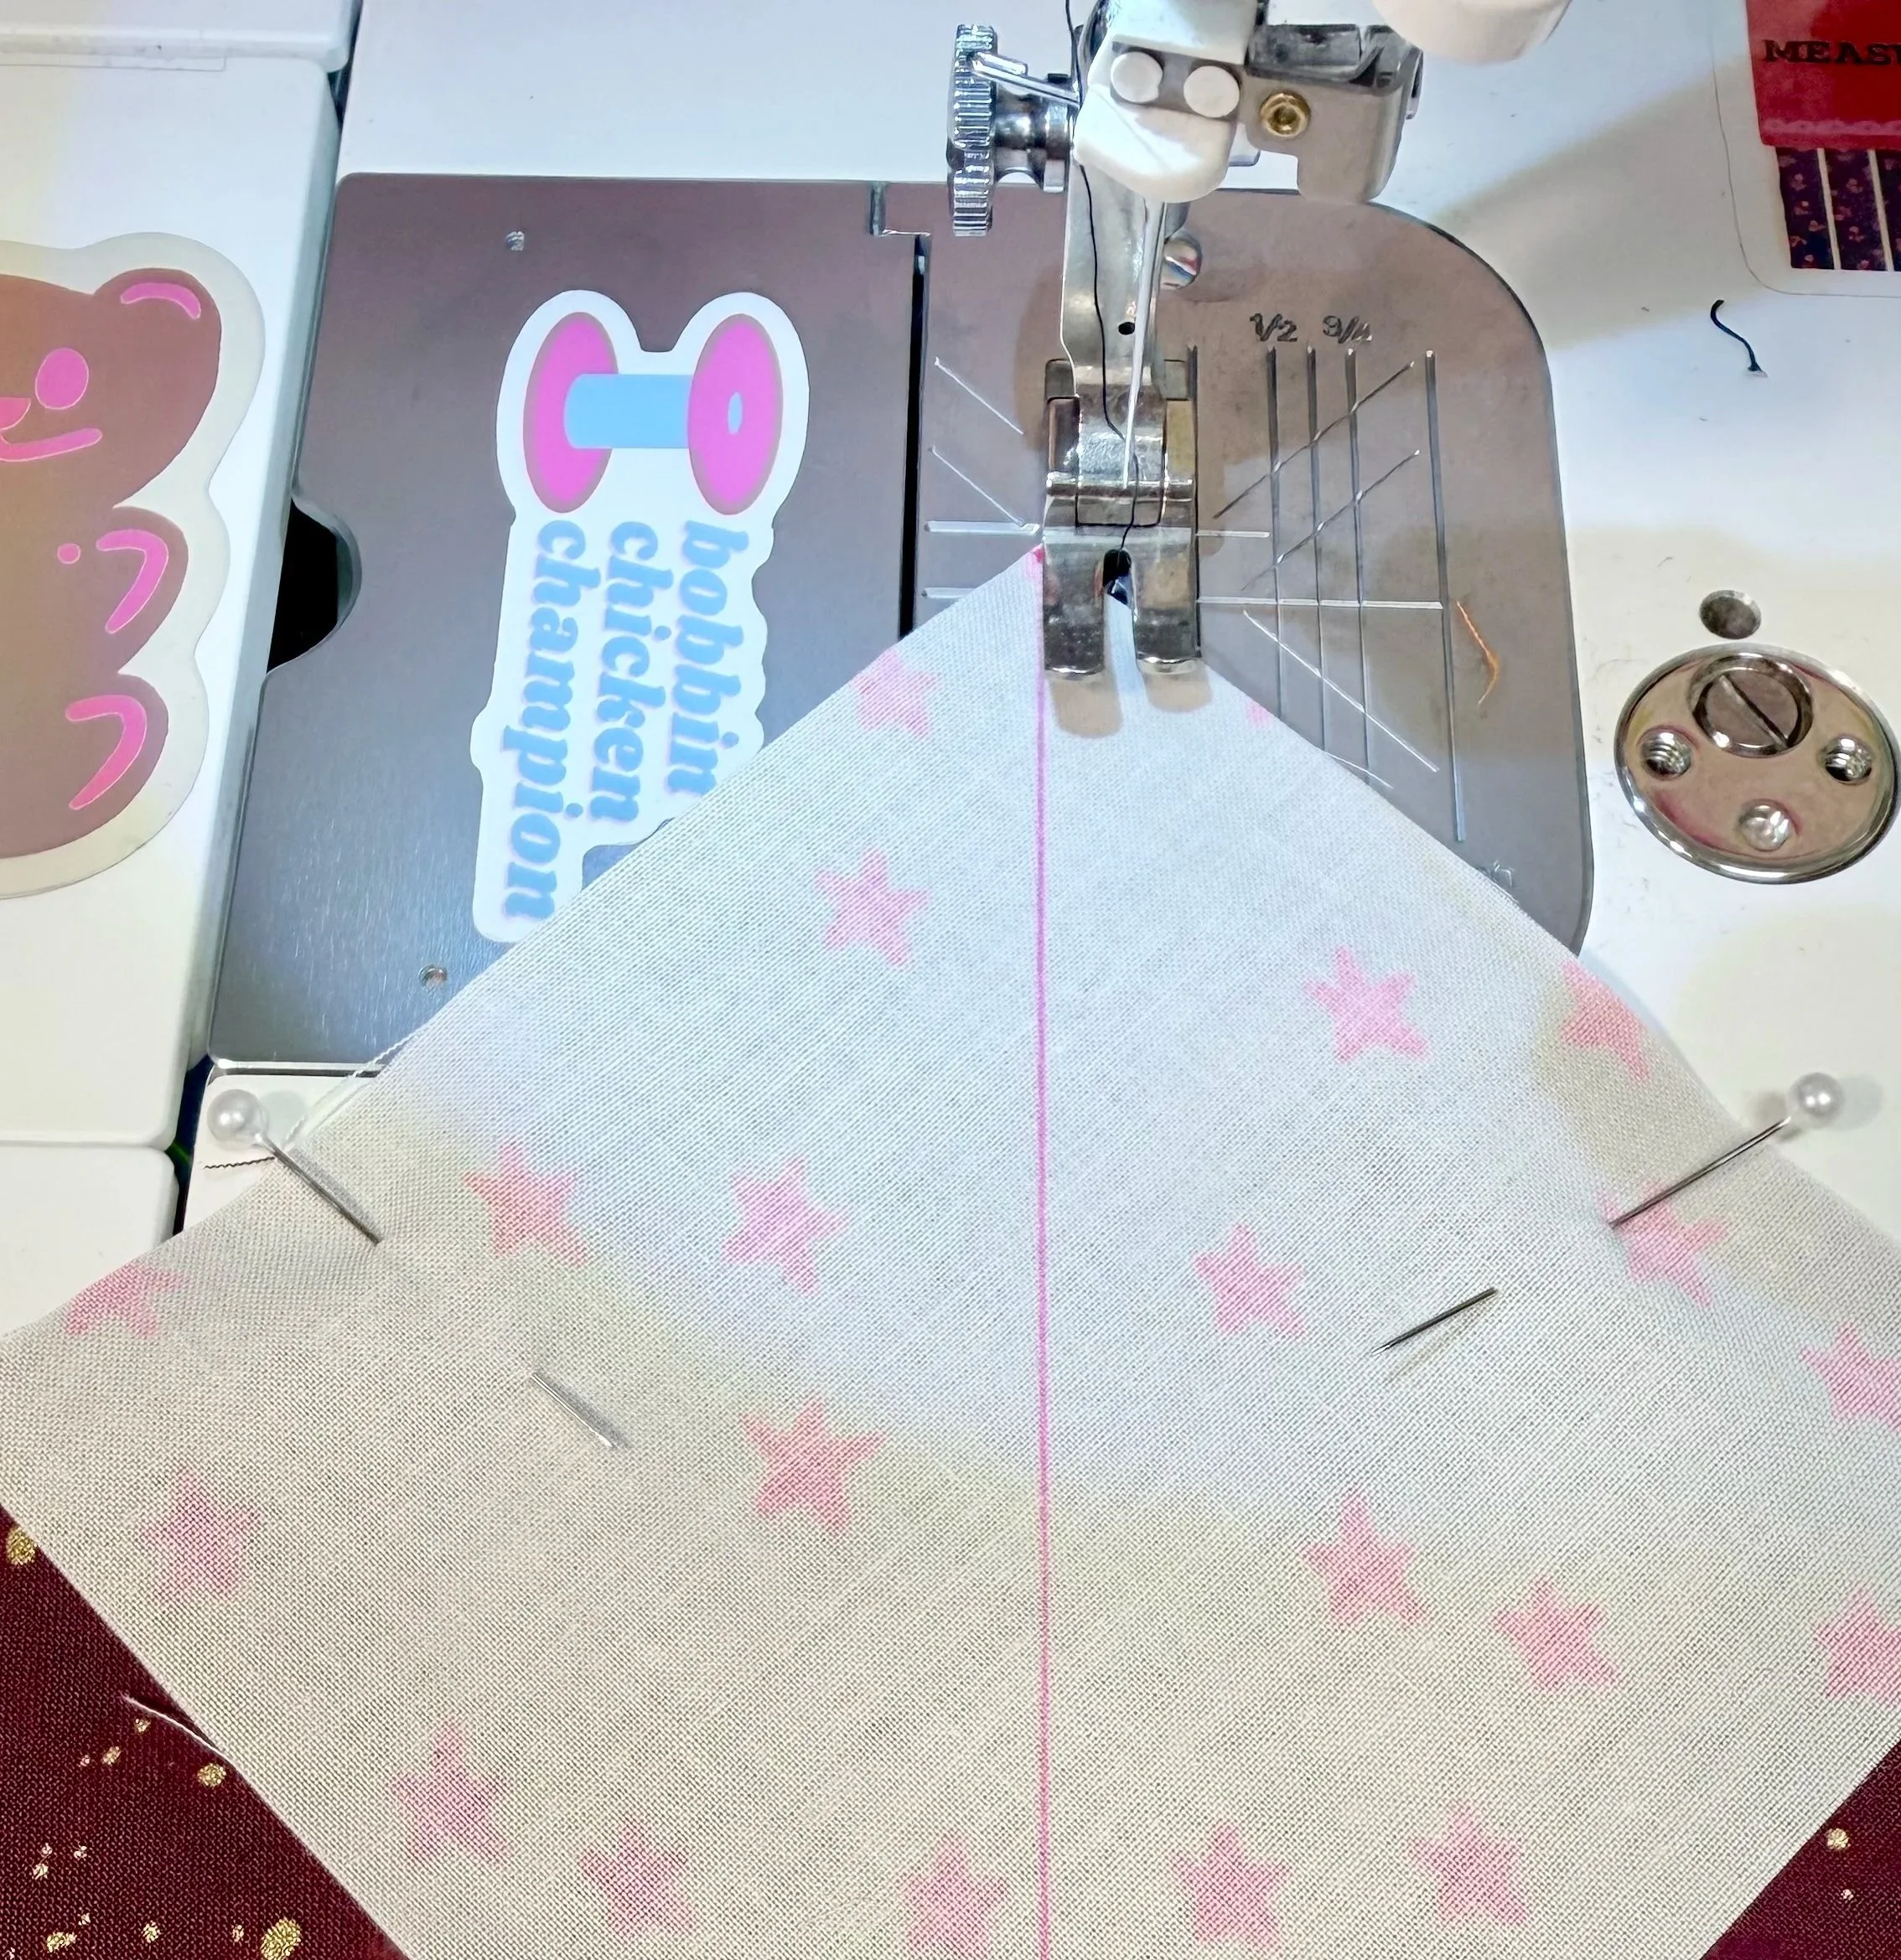
Side note: Depending on your level of patience for pinning, your ability to “eyeball” sewing in a straight line, and the amount of space you have between yourself and the needle on your sewing machine/extension table, you may want to pin the small squares in place. I generally wing it (ha!) and place one small square, start sewing (see next step), and then about an inch before I reach the corner of the first small block, I put the second small block into place, letting the first small block be on top of the second. By that point in time, the big block is then resting flat on my extension table so I have a flat surface to work with and I can see, or almost see, my seam tape to help guide me. When I feel like being more exact or I’m working with huge blocks, I draw my diagonals and pin.
1/4” seam tape is really helpful for these kinds of blocks!
When placing the tape, line up the center line of the tape with your needle, then unroll straight toward you and place the tape perfectly square, all the way to the front of your machine bed or extension table. When sewing to the right of a diagonal line, line up the corner of the blocks with the lefthand line on the tape. Keep that lined up as you sew. The tape will get scuzzy over time with fabric lint. It comes on a roll with plenty more and does not leave any residue behind when it’s time to replace it!
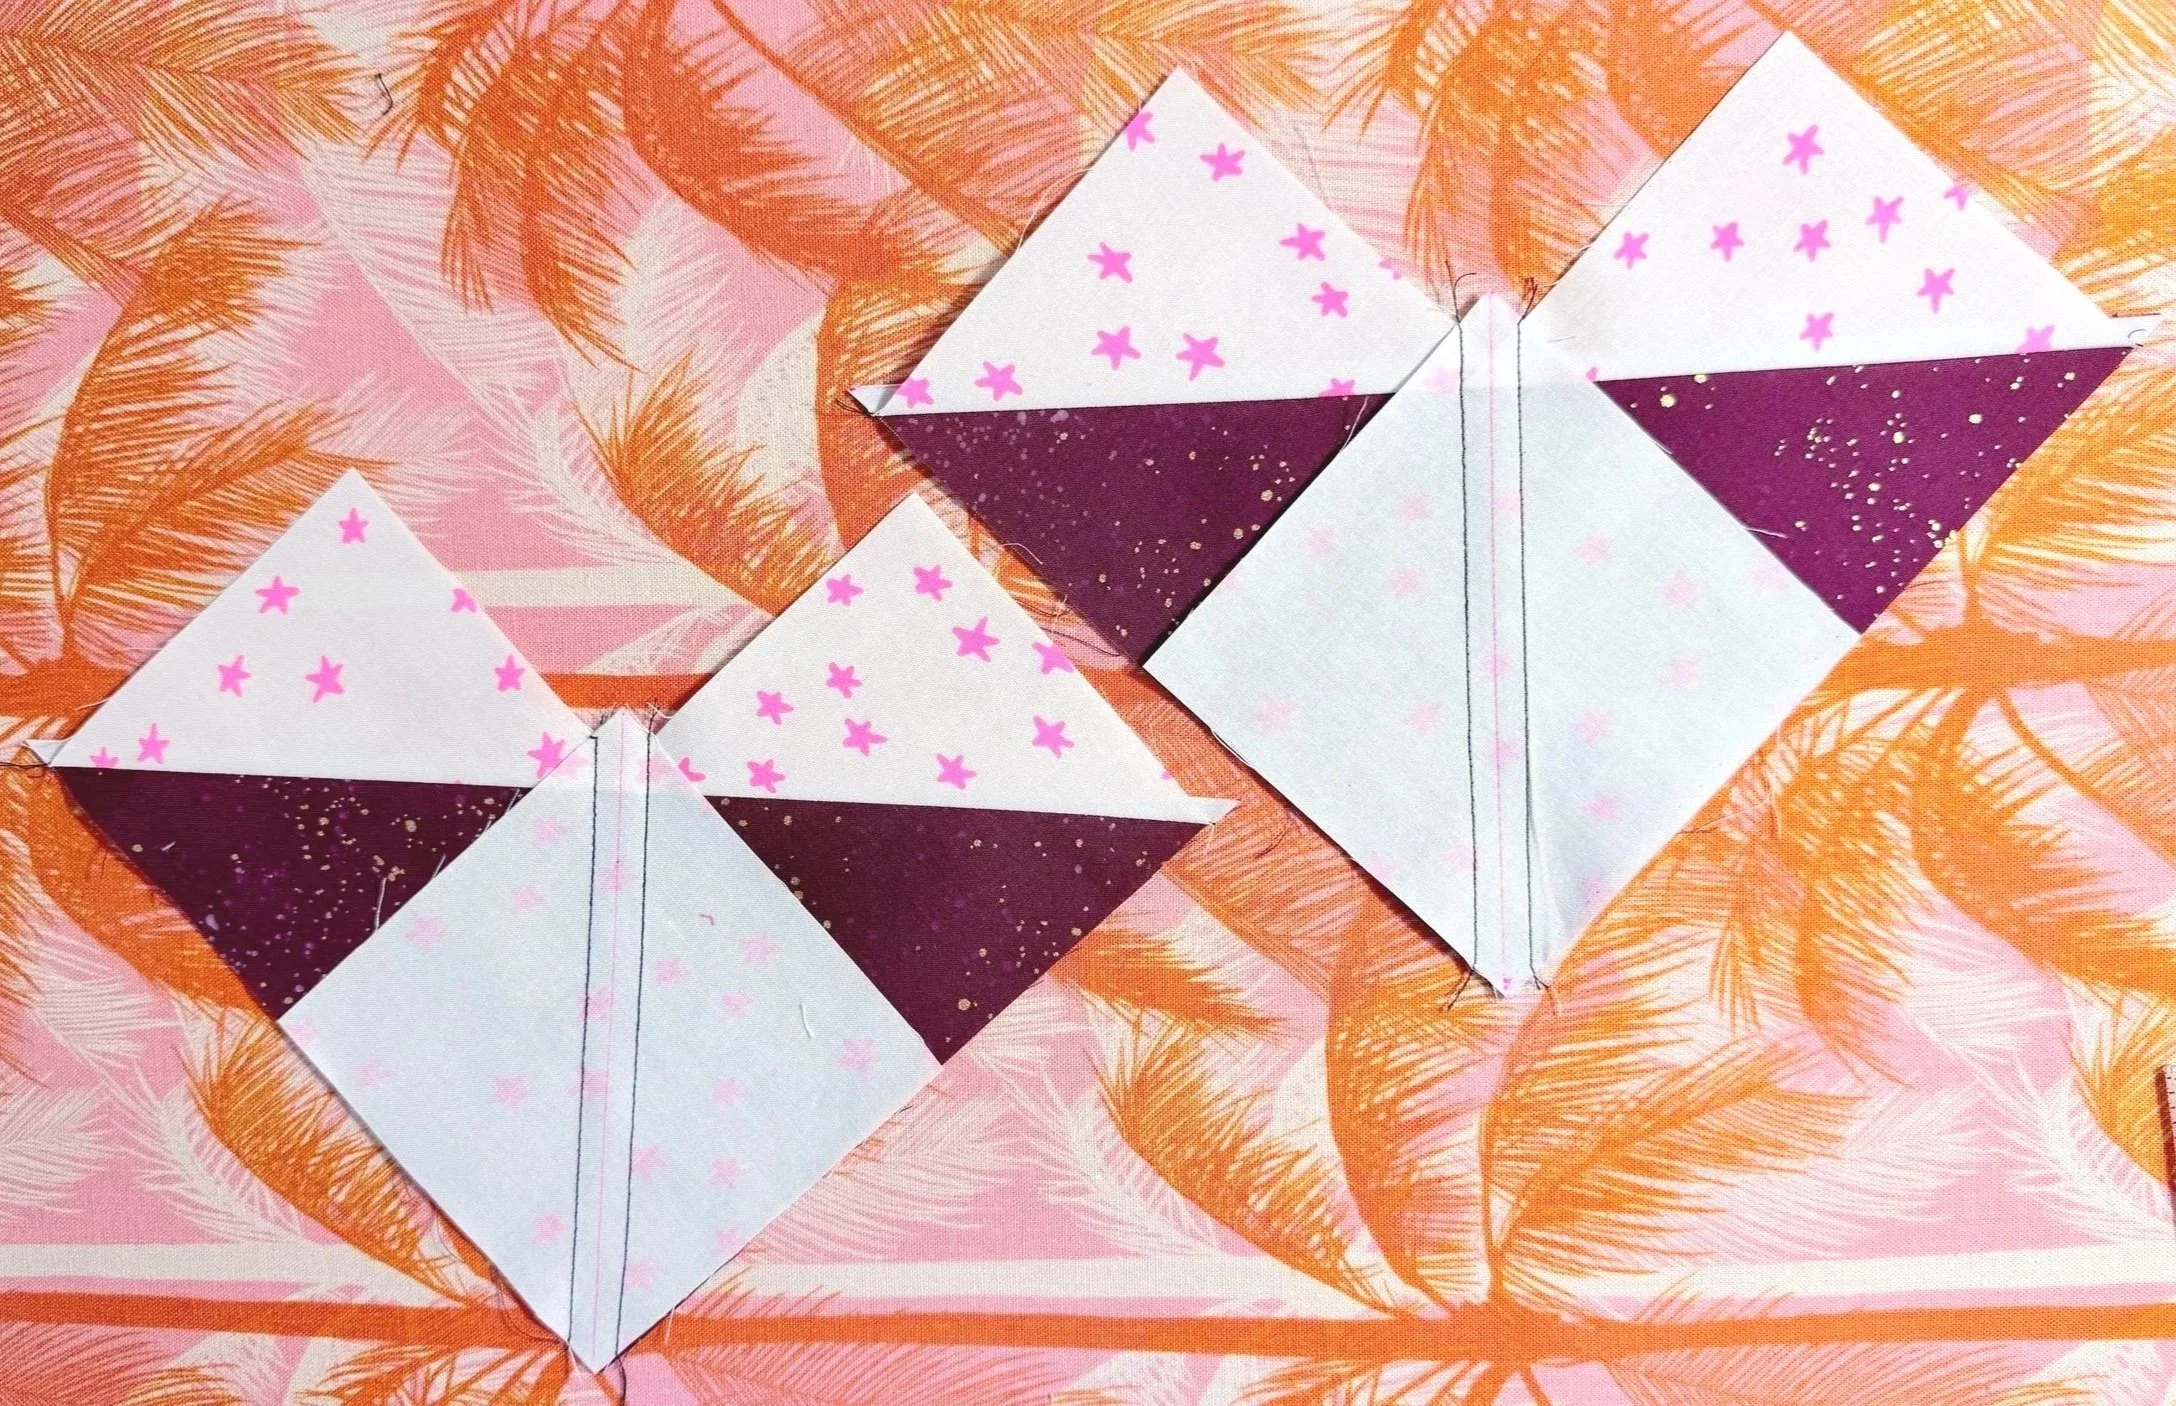
Rotate the whole project 180 degrees and sew a scant 1/4” on the other side of the drawn line.
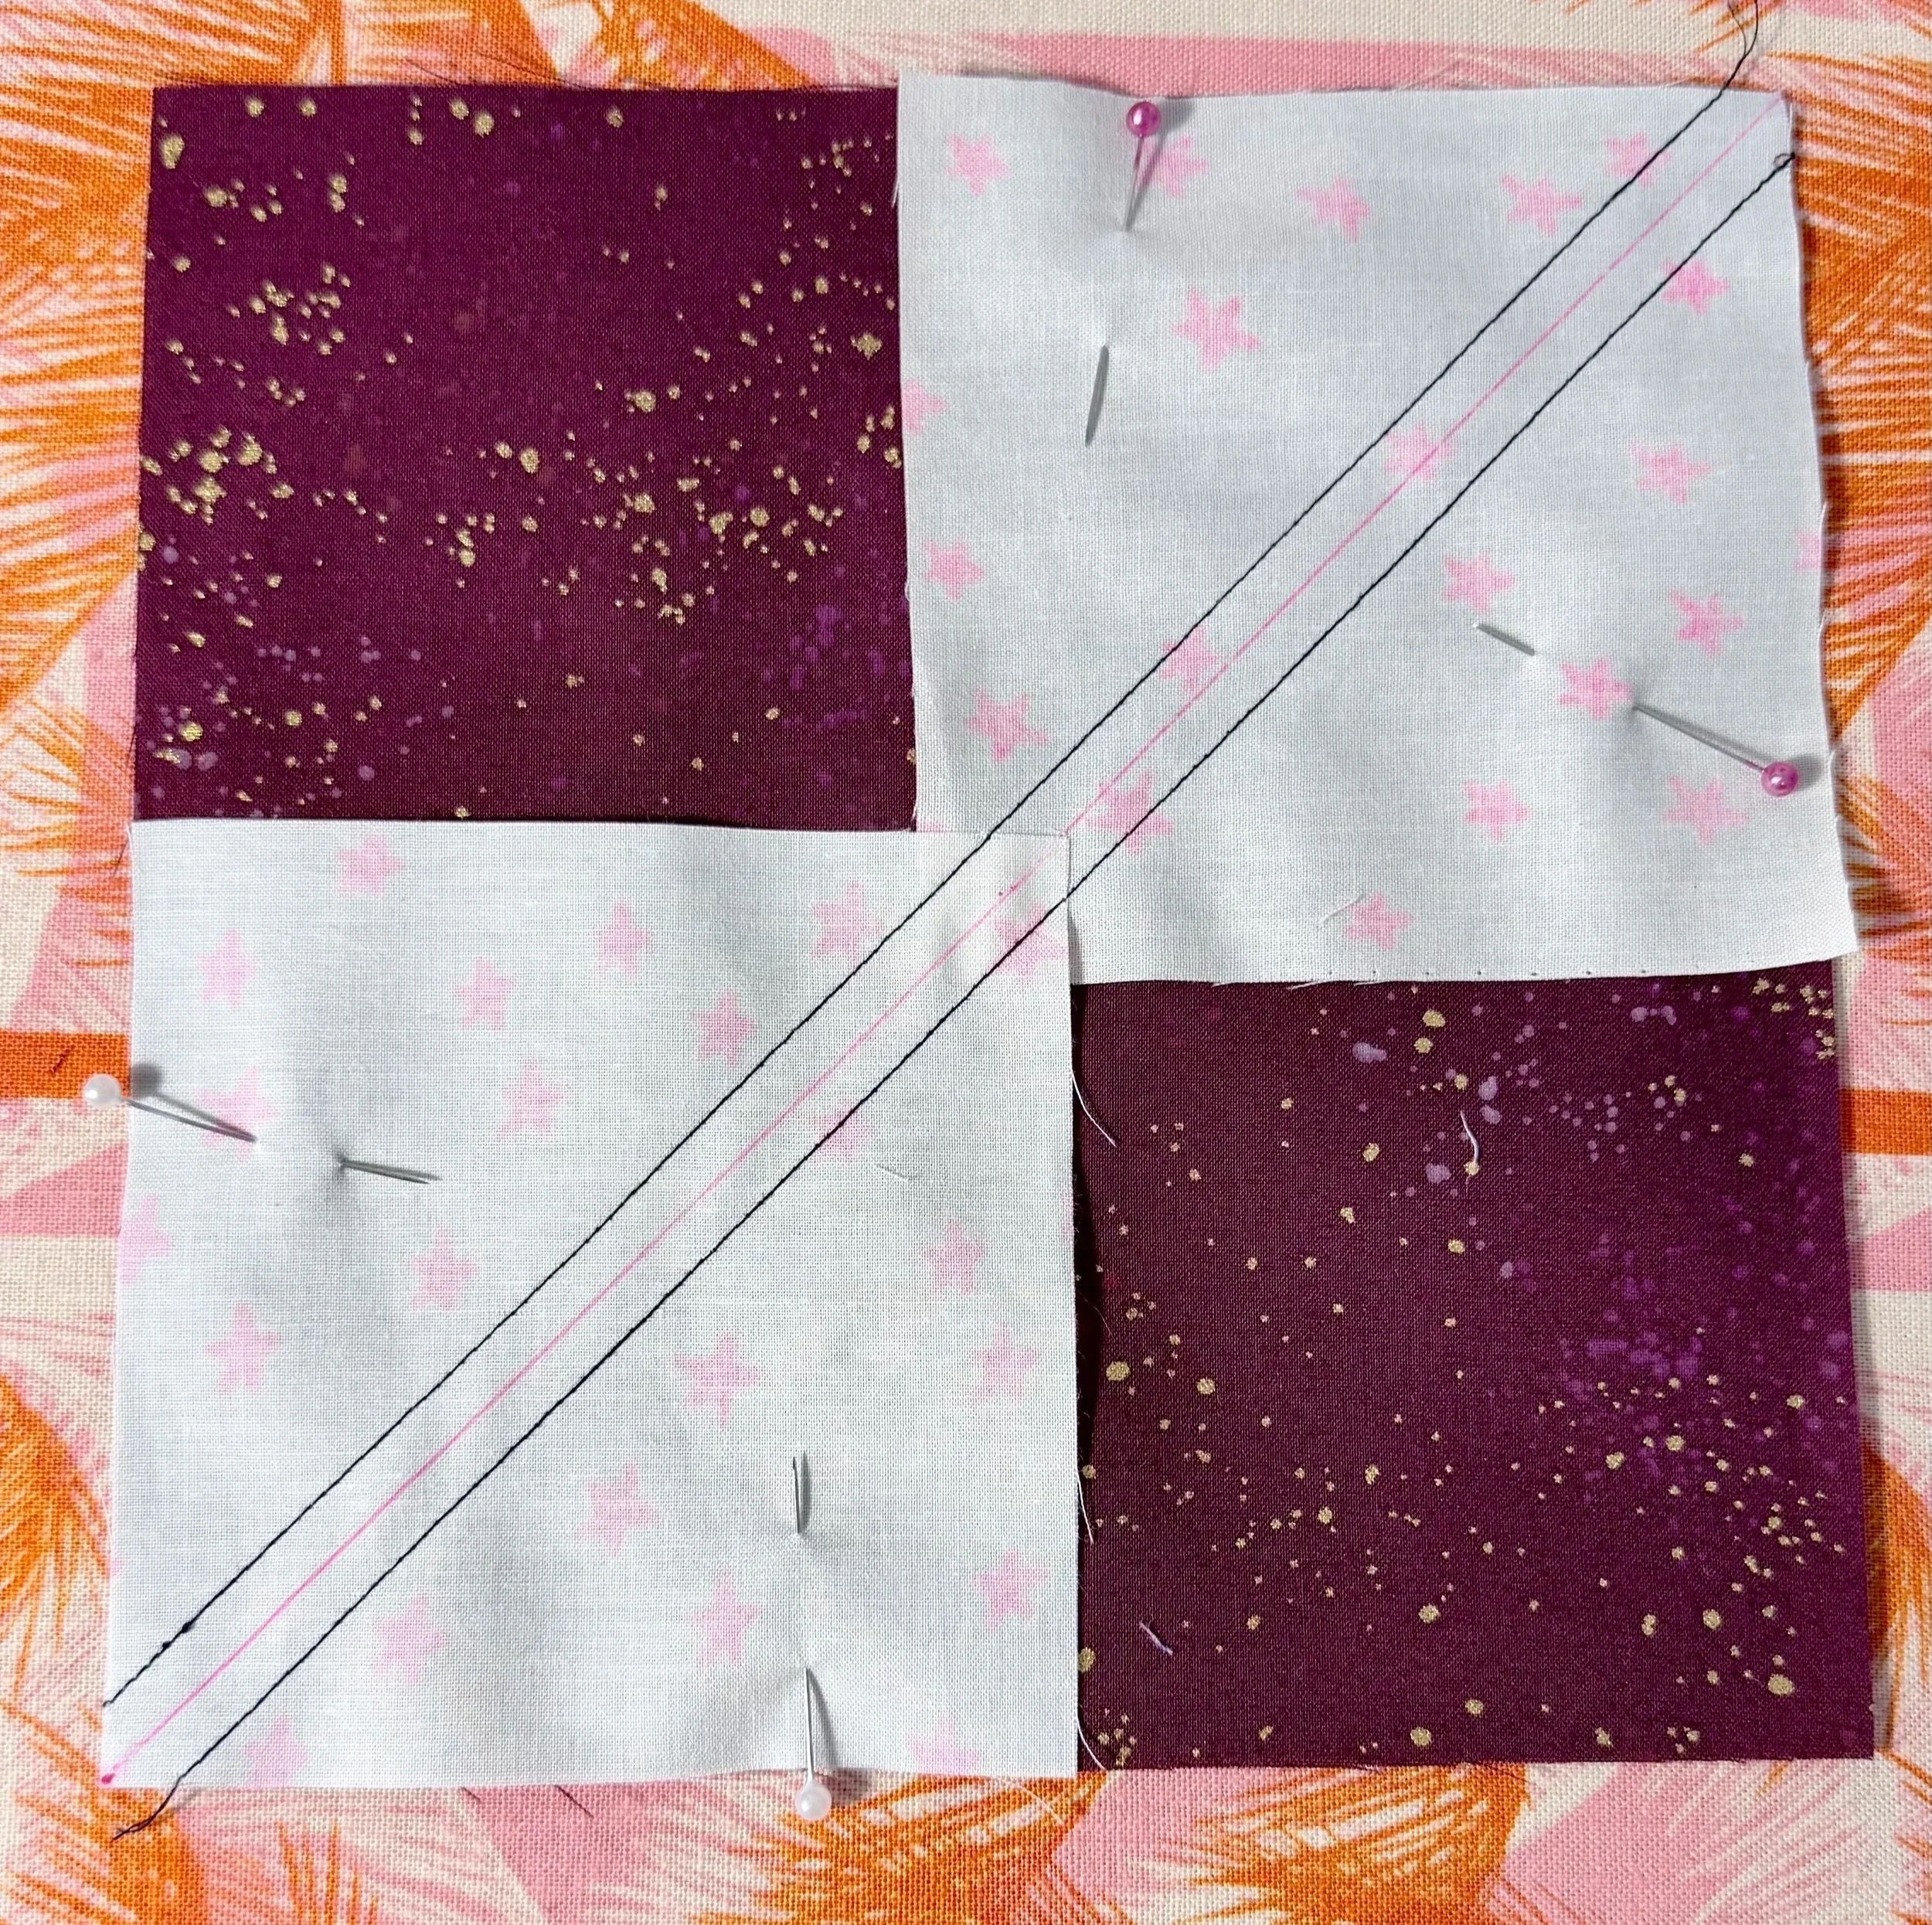
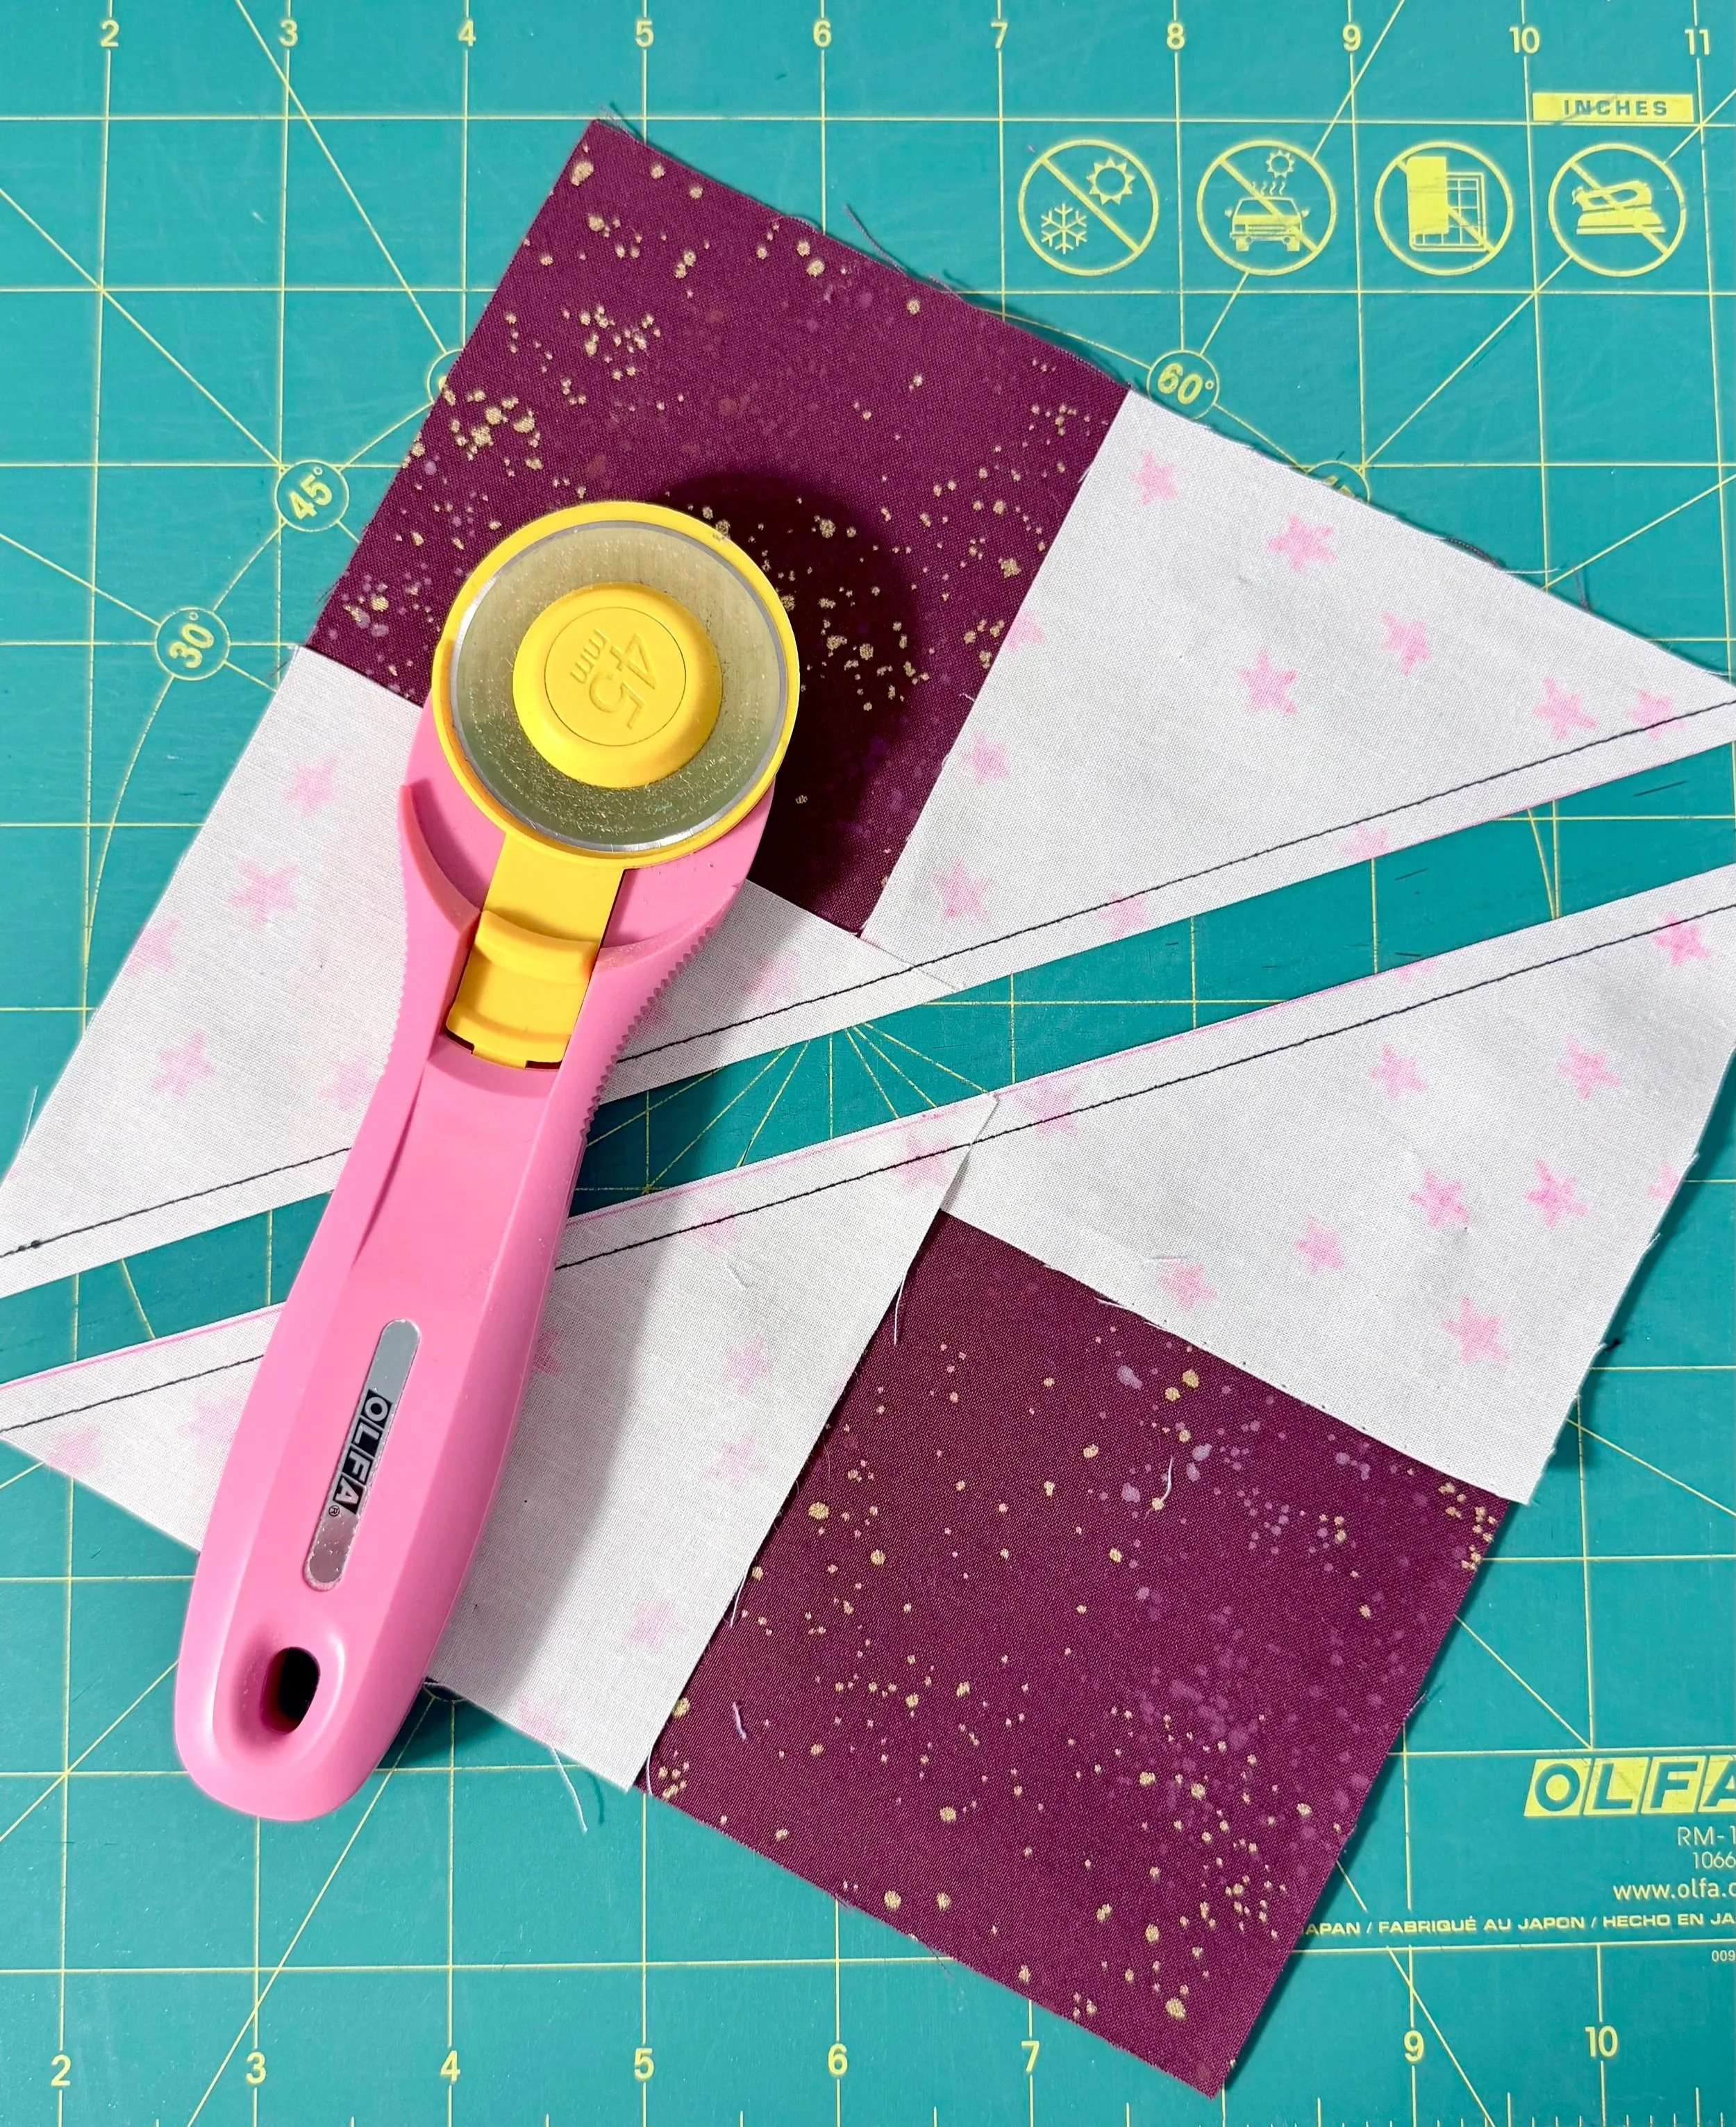
Use a rotary cutter and ruler to cut on the drawn line. If you didn’t draw, just place the ruler edge halfway between the stitch lines. Having a nice scant 1/4” seam on each resulting piece is great, but if it is not perfectly even on both sides, it’s not the end of the world. The more important part is that you stitched a straight line.
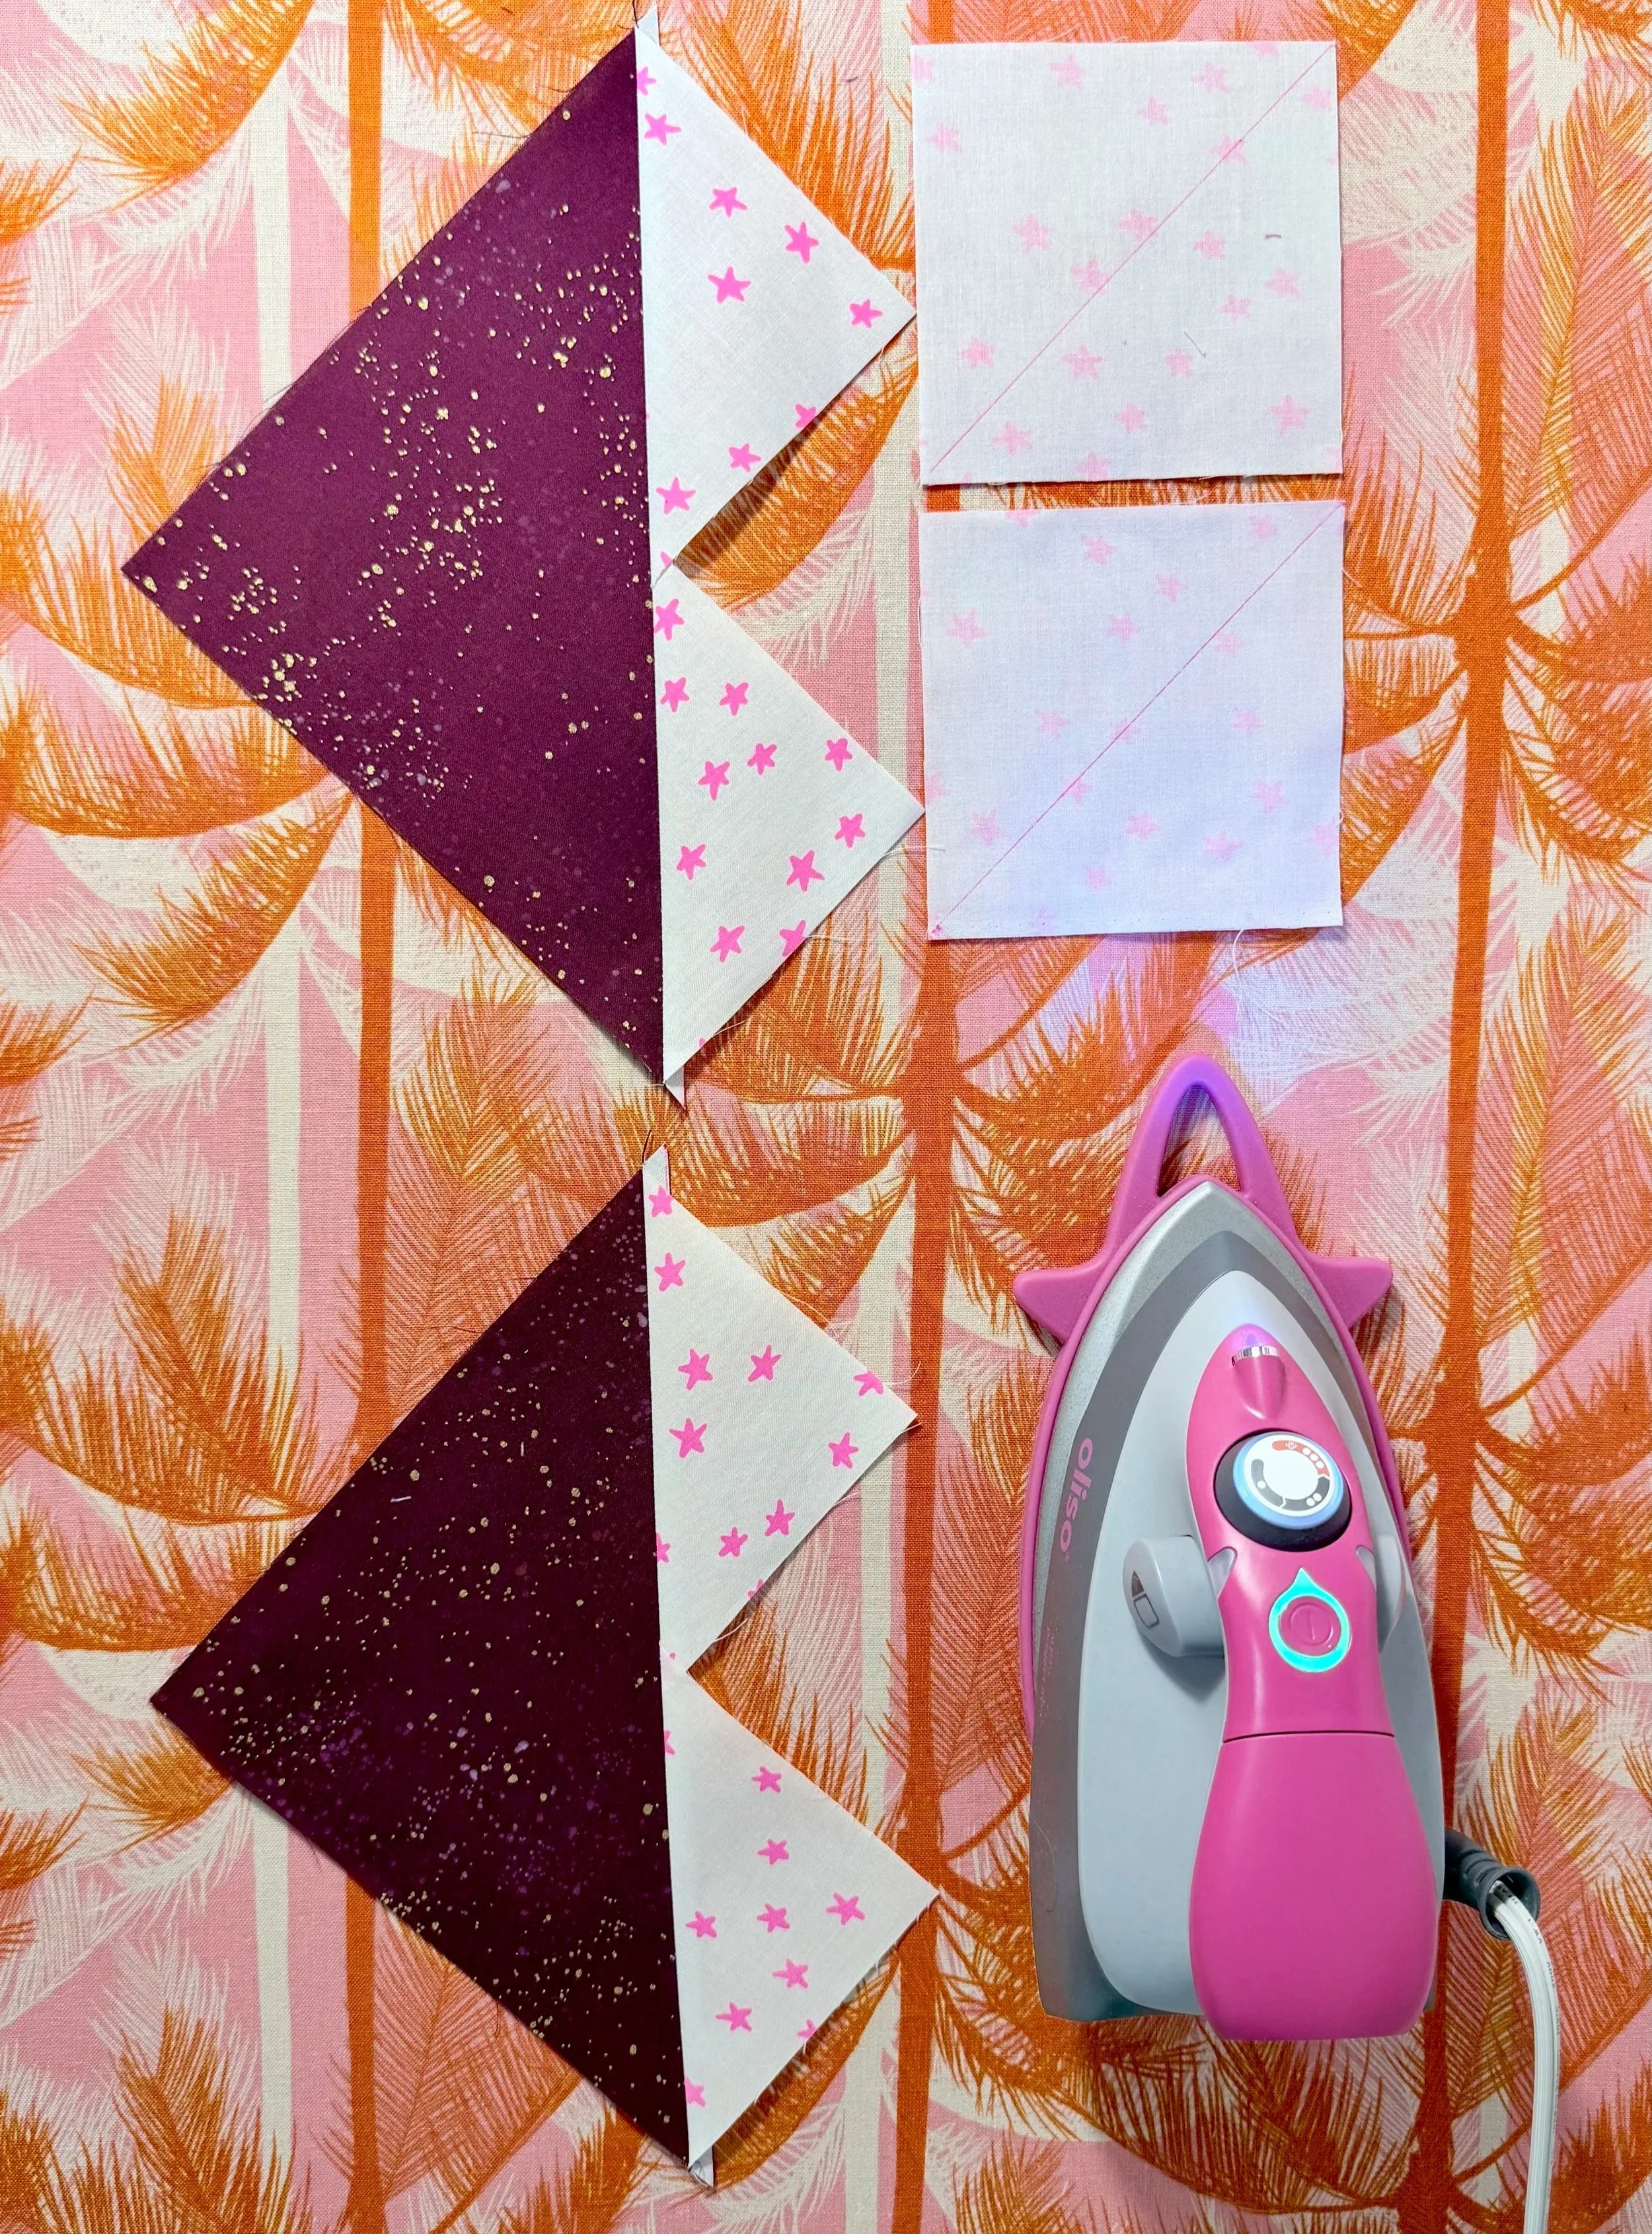
It is easiest to press these 2 resulting units toward the small pieces. Once pressed, they look like little foxes or hearts! If you have dark fabric for your large square and lighter/see-through fabric for the small squares, you may want to press open, or press toward the darker fabric.
Pair a fox unit with another small square, placing them RST so the small square corners line up with the top of the fox head (between the ears) and the tip of the nose. A little piece of the new square will stick out between the fox ears.
Sew a scant 1/4” on both sides of the diagonal line again, and cut between the two stitch lines.
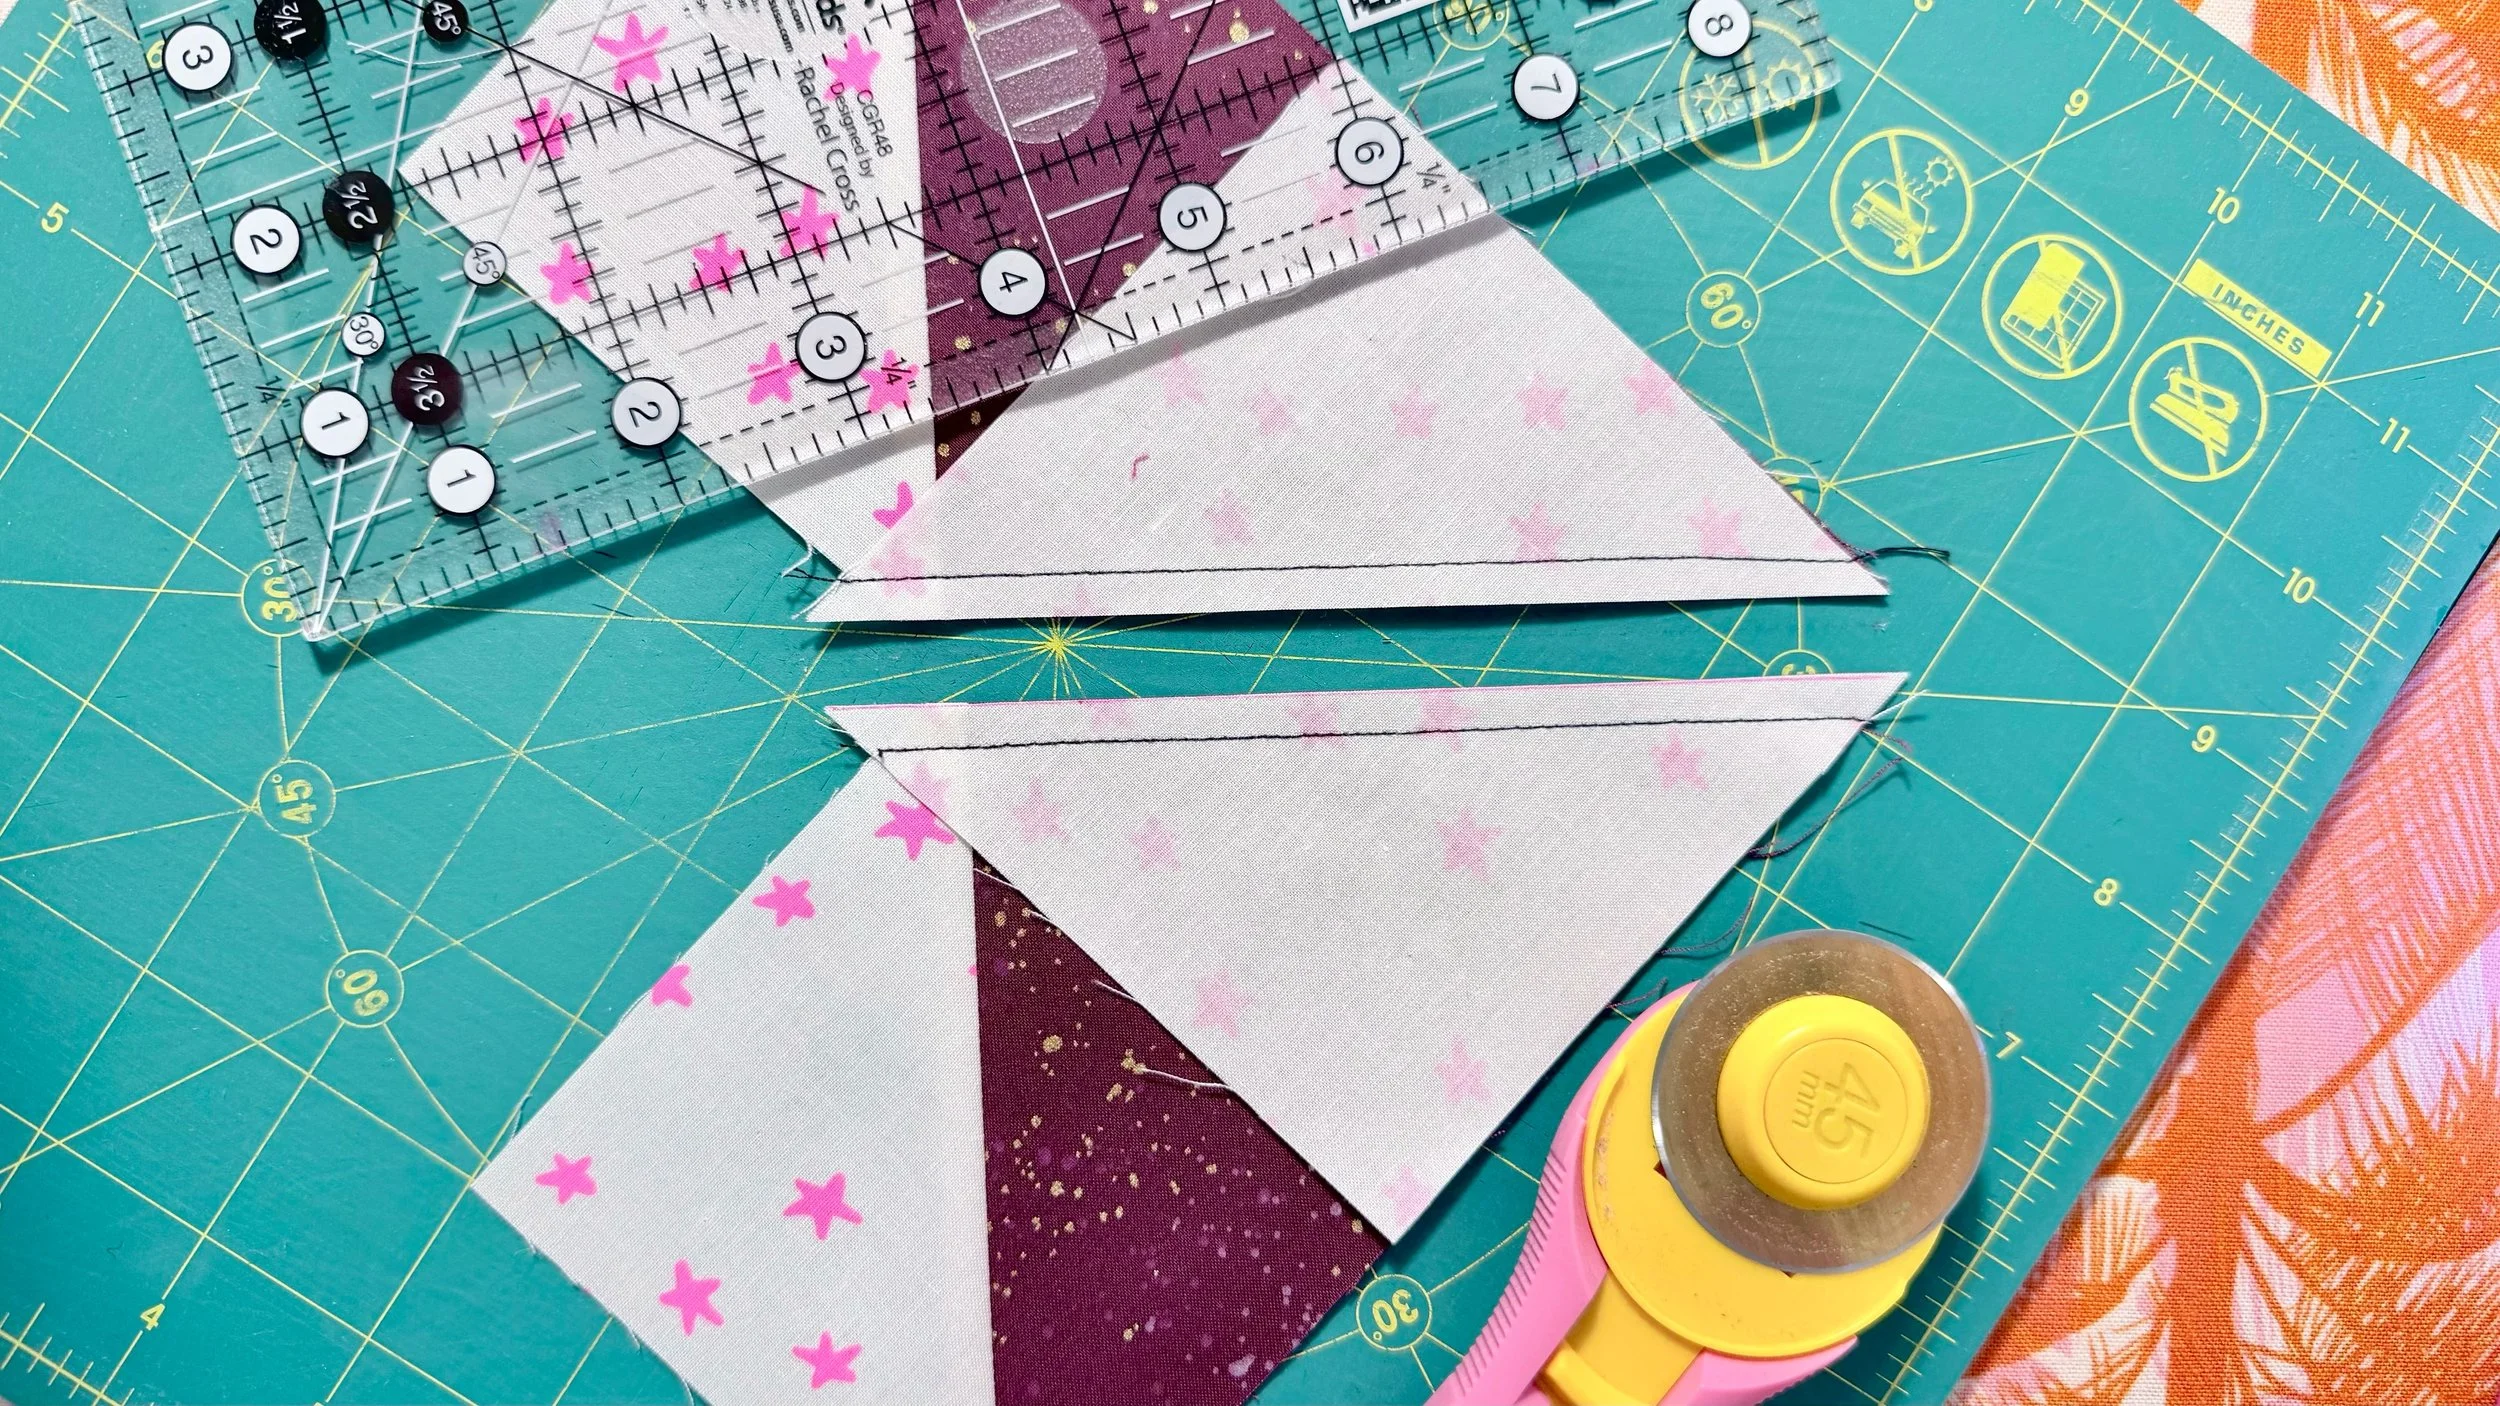
Press, and now you have your flying geese! They just need to be trimmed.
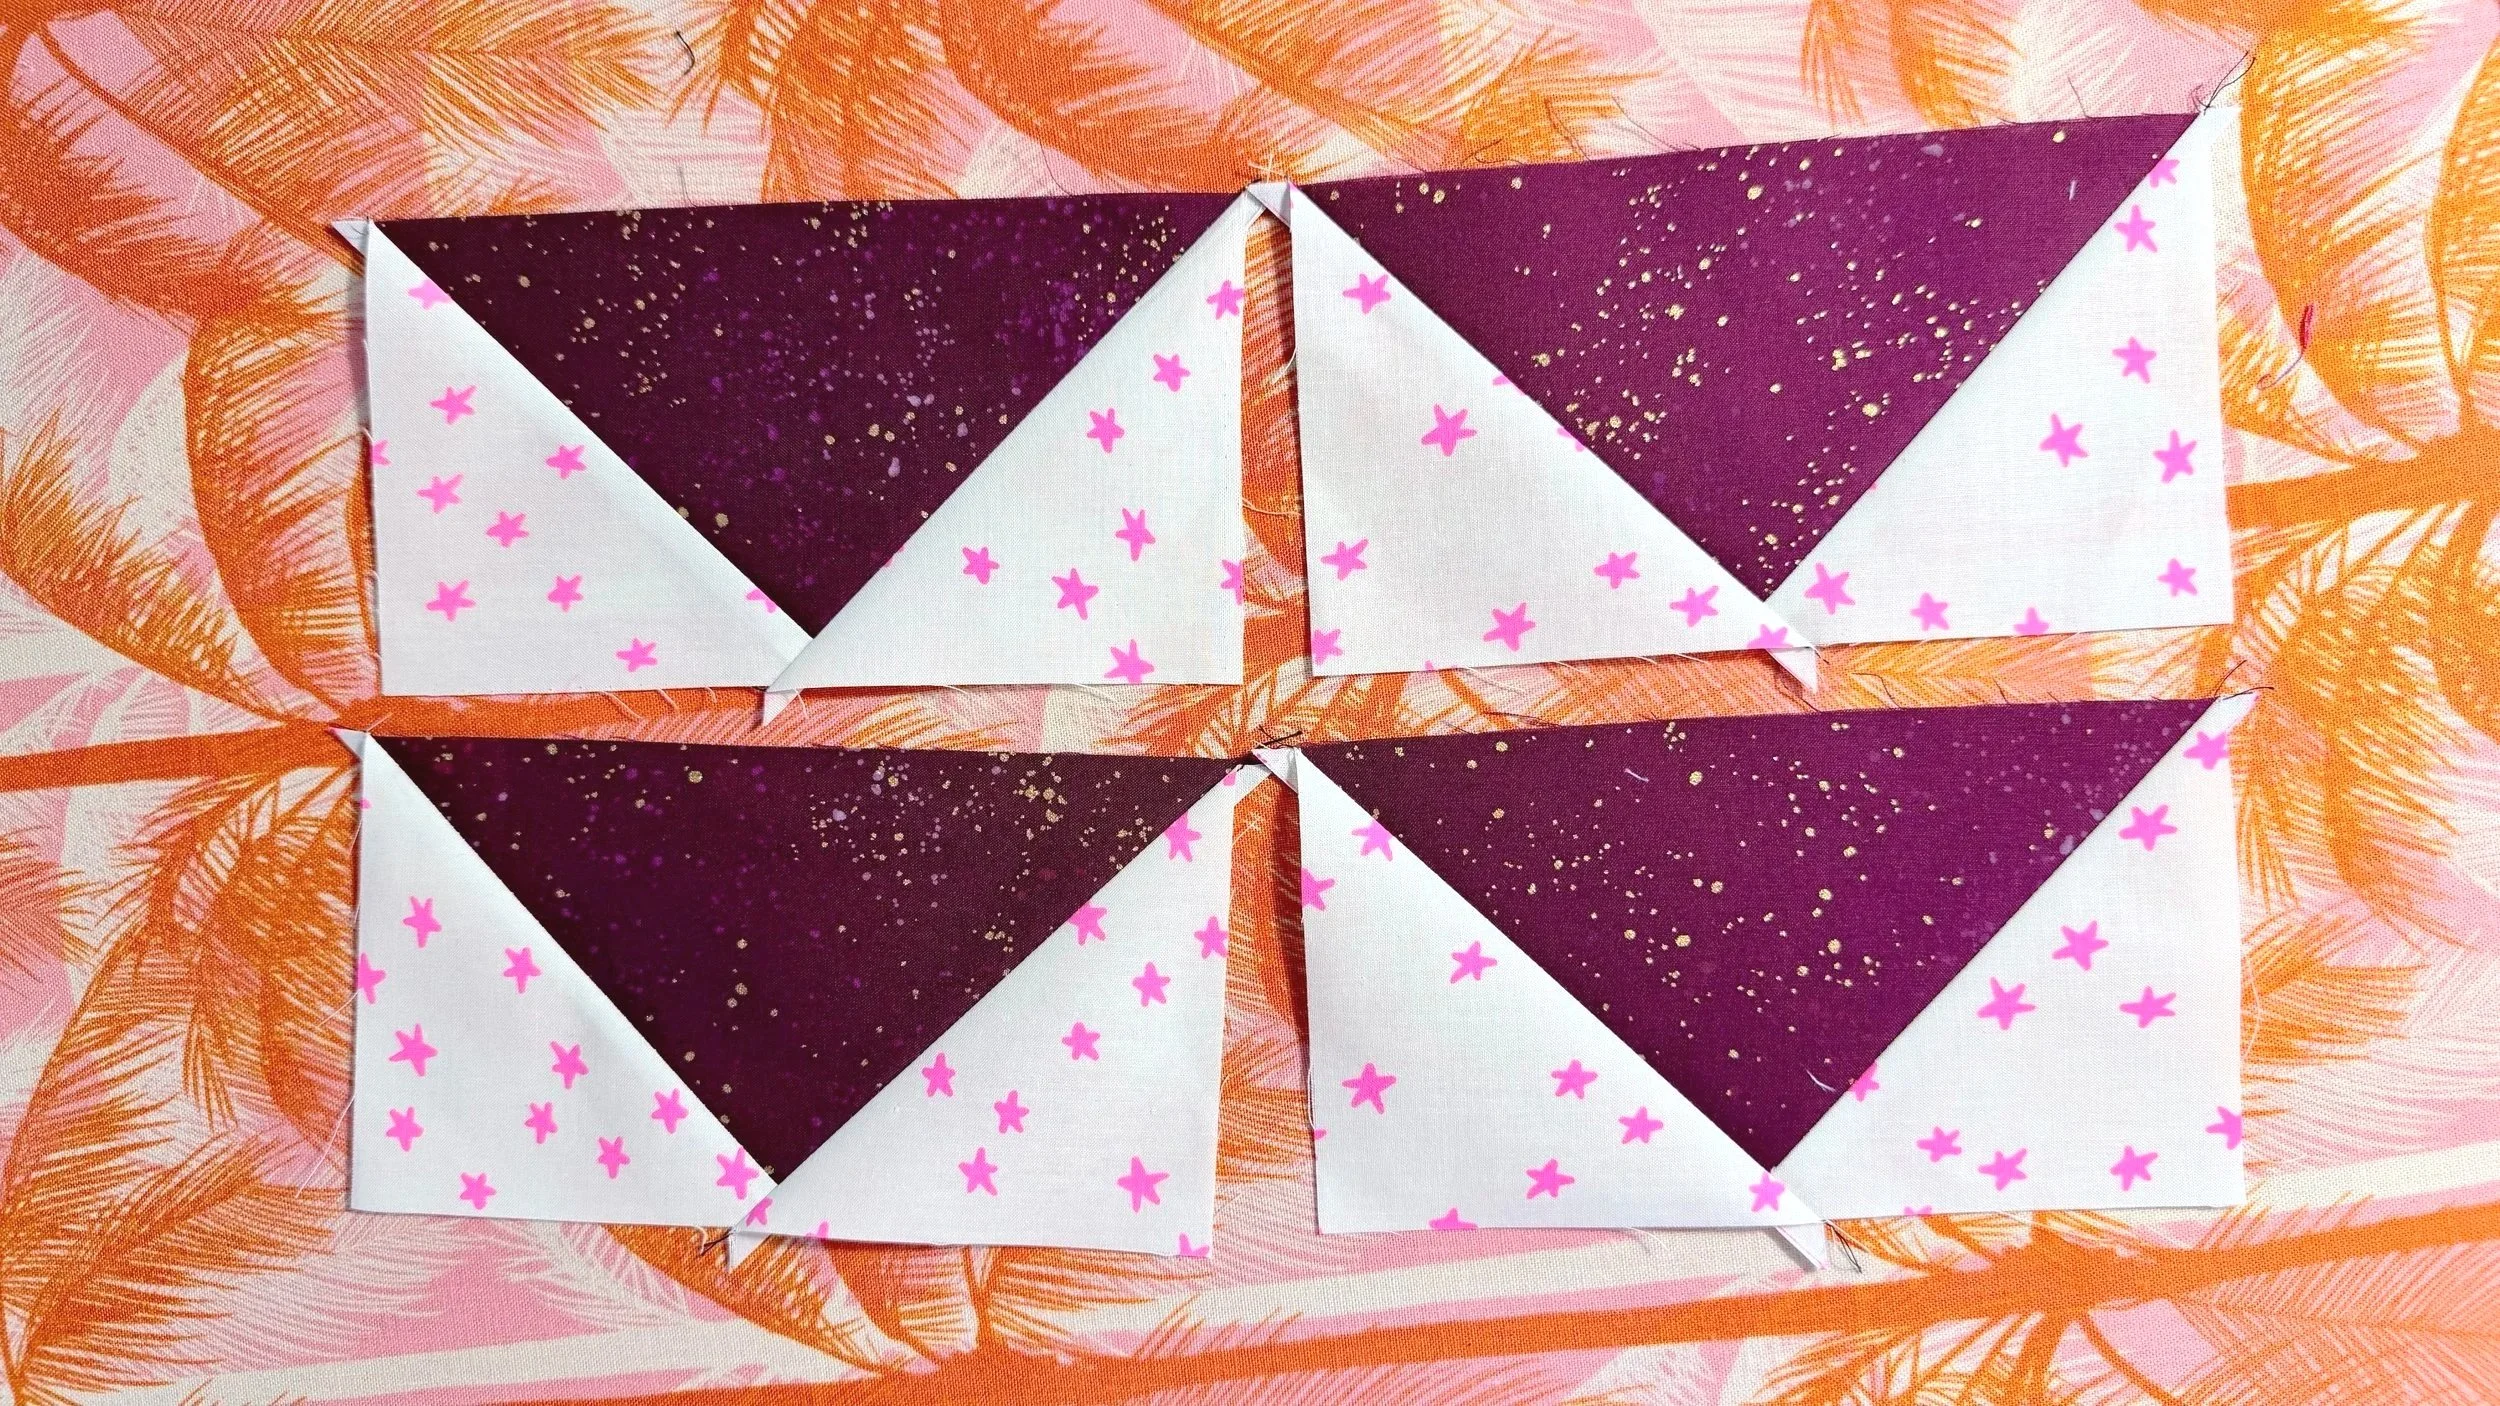
What’s with this little flap?!
A finy flap in the middle sometimes happens, and it’s due to the overlap of the small squares (corner fabric). Sometimes if your cutting is just a little bit off, or the squares are not positioned perfectly, those flaps can happen. It can also be avoided by making the smaller squares just a wee bit smaller. Regardless, if you’ve already made your geese and some of them have the flap, the good news is threefold!
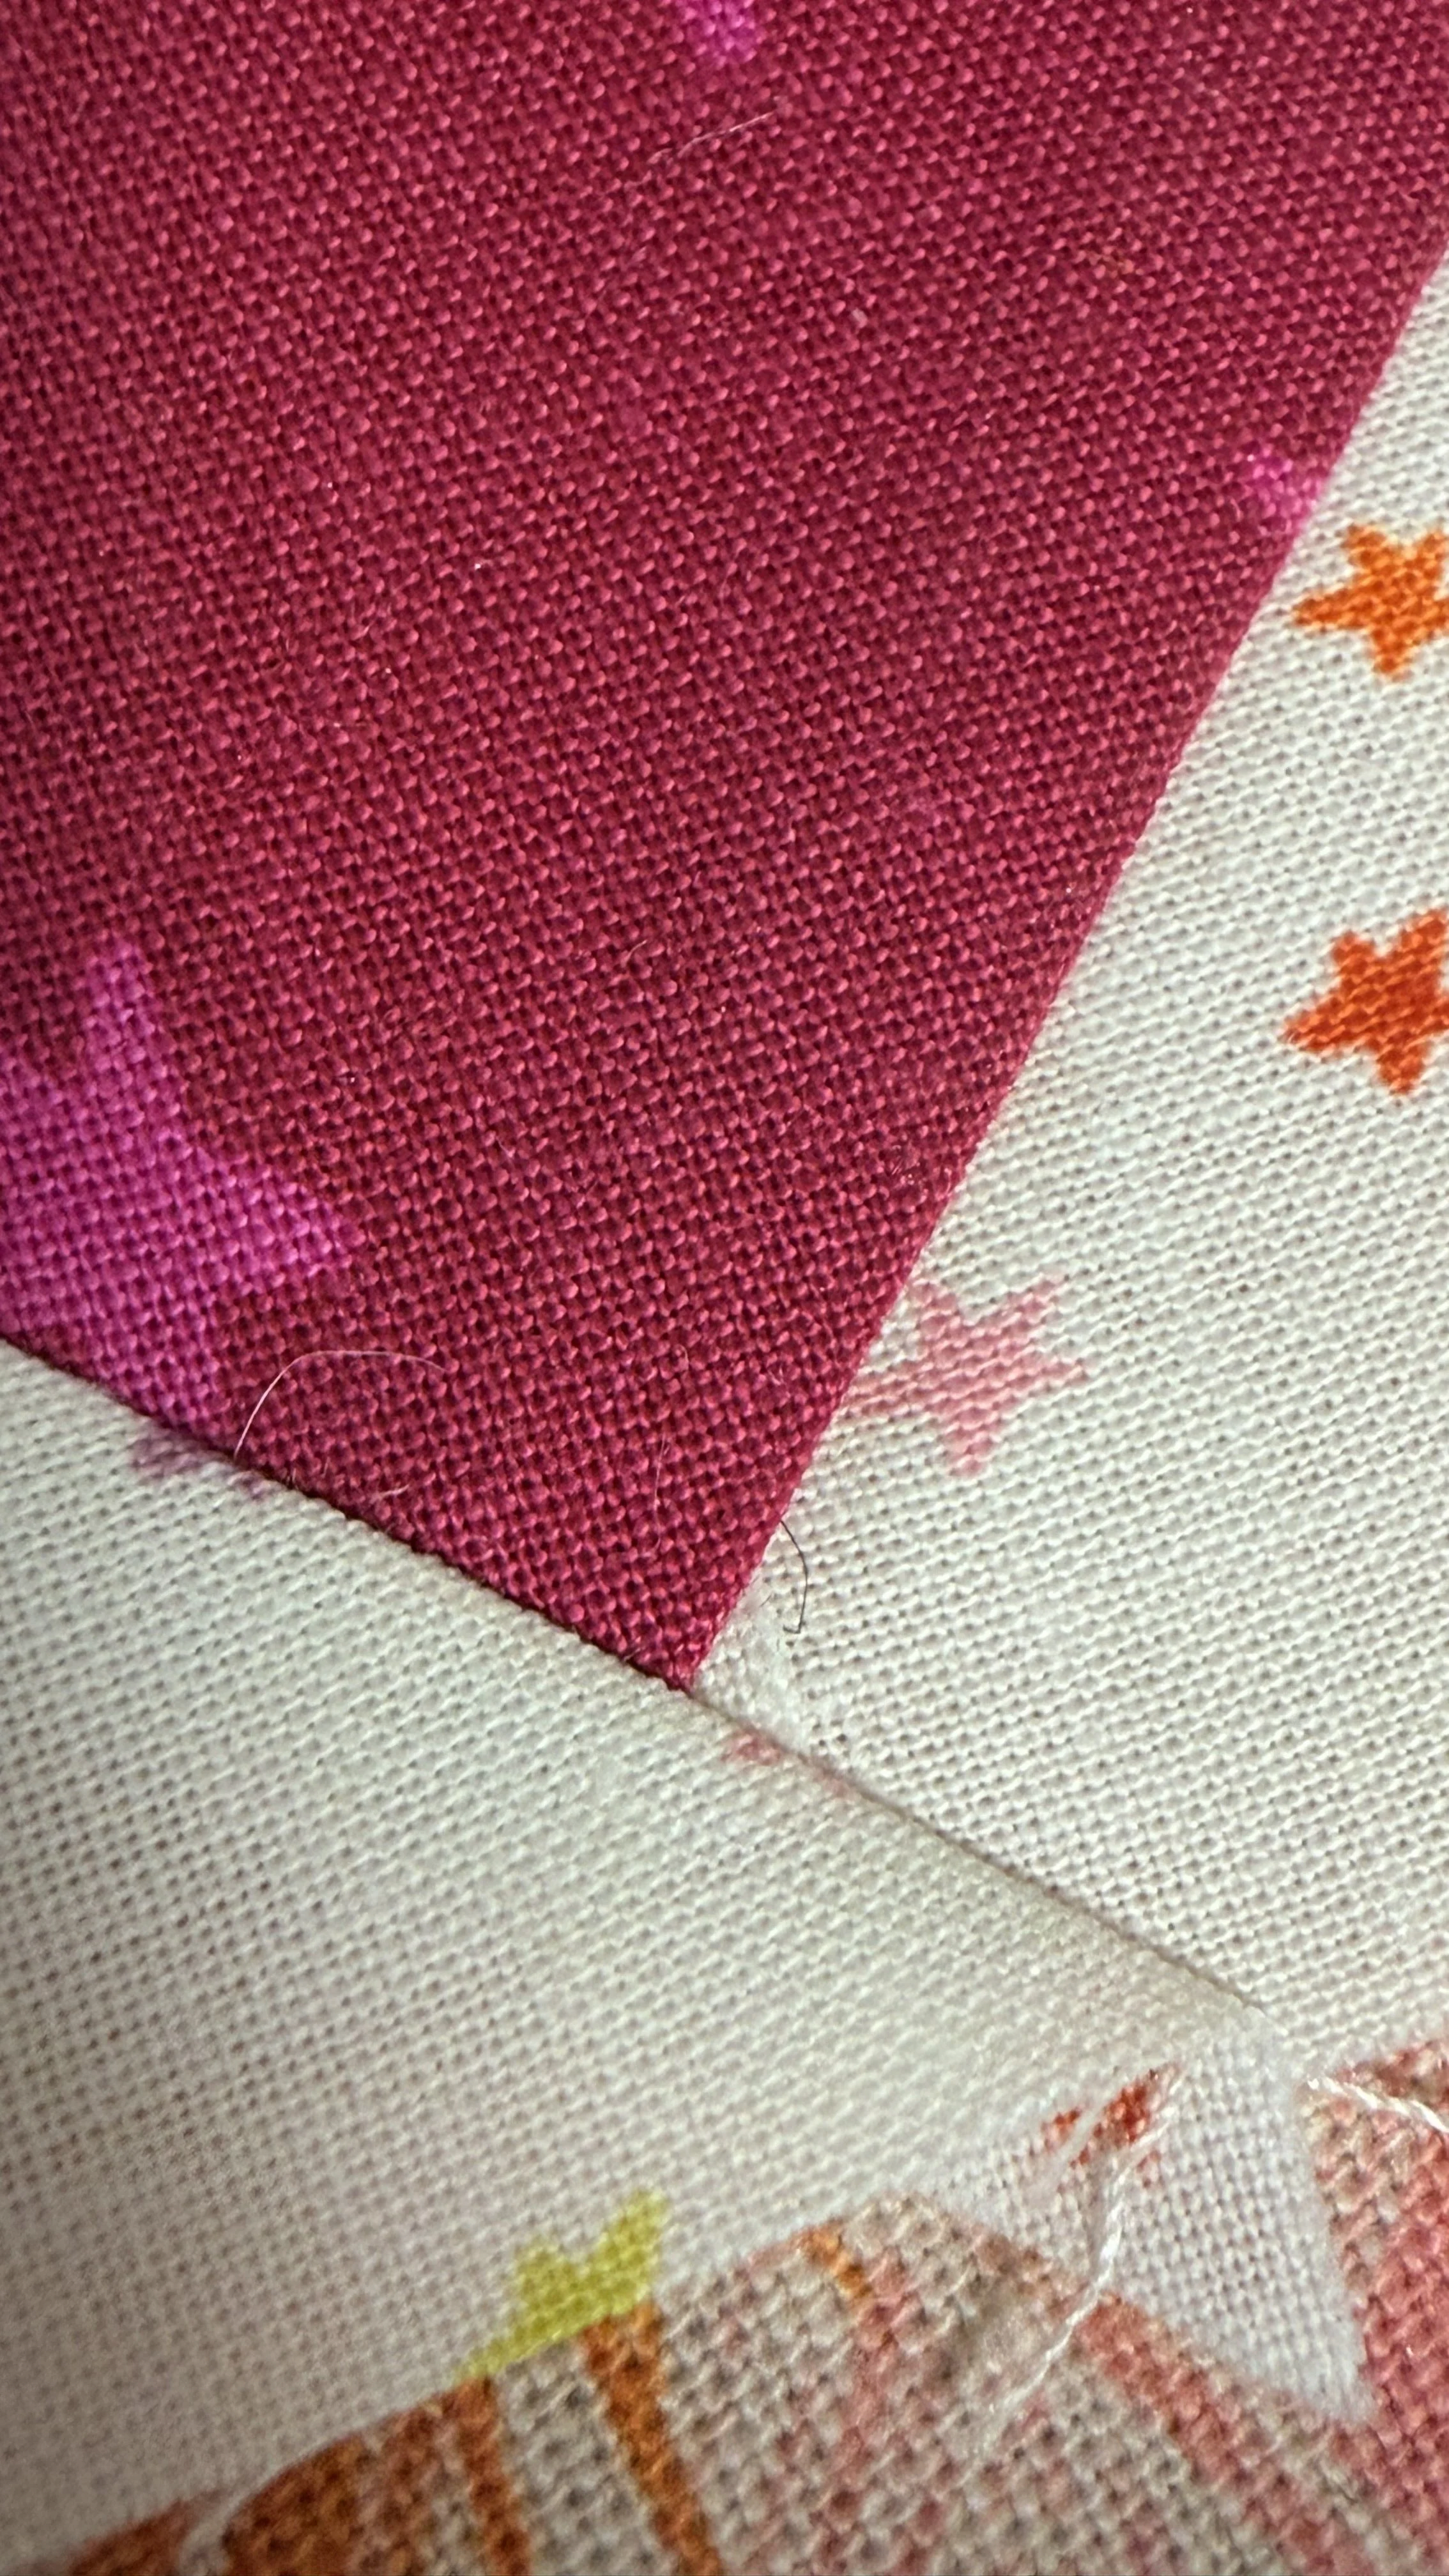
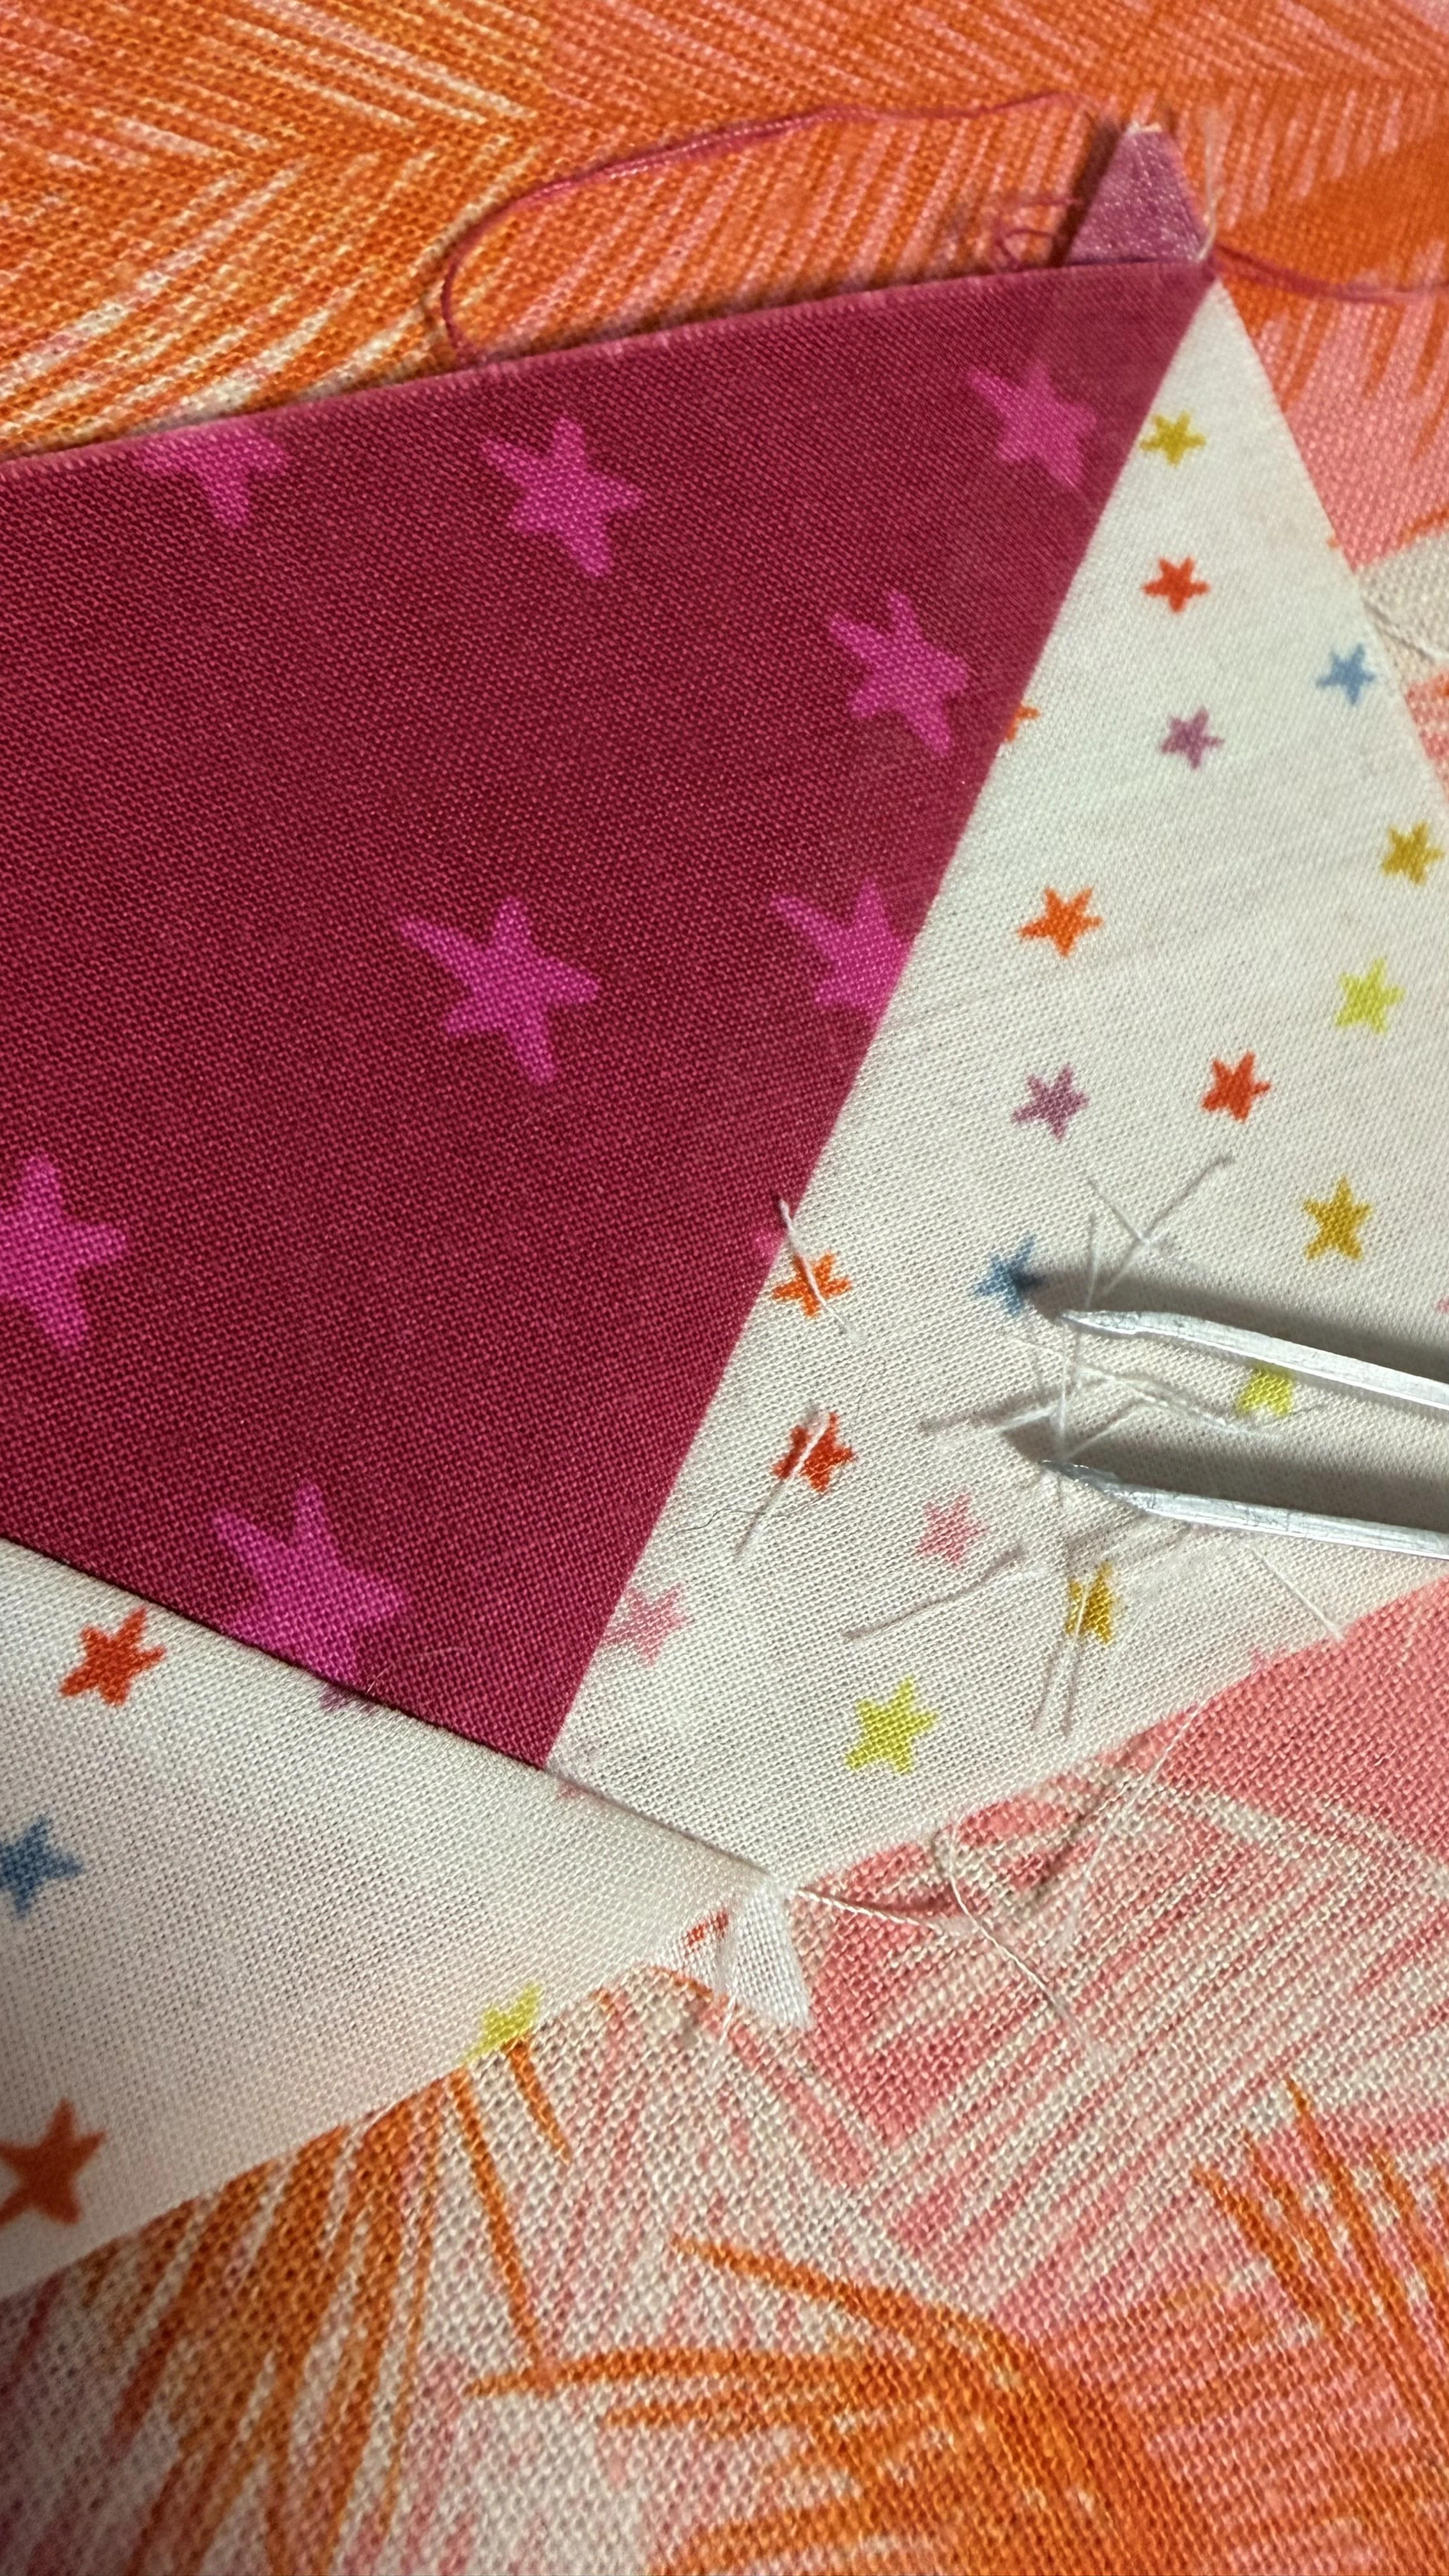
The flap is not flipped, meaning that it’s still the right side of that outside/corner fabric. This makes it less noticeable.
The flap is very tiny, only a few threads, which makes it even less noticeable!
You can pluck it thread-by-thread if it really bothers you, using a pair of tweezers. No need to take the block apart.
In another post I’m going to try out a trick where you cut the overlap of the squares before sewing. I still need time to research!
